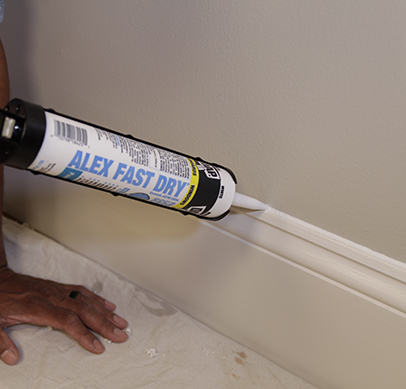
How to Caulk Like the Pros
Hone your caulking skills with these 8 tips for indoor and outdoor projects.

-
How to Caulk Like The Pros
How to Caulk Like The Pros
Tools
- Putty knife
- Dripless caulk gun
- Utility knife
- Painter's tape (optional)
Applying caulks and sealants with a caulk gun can be a little intimidating. And it does take practice. Still, there are some simple tricks to getting it right. These caulking tips will help you with everything from choosing the right product for your project to mastering those gun skills. You’ll be putting down clean, consistent beads in no time.
Tip 1: Choose the Right Caulk
It’s important that you use a caulk or sealant that’s right for your project.
- For sealing exterior siding, window and door perimeters, and trim and siding joints, use a premium sealant with maximum flexibility and adhesion that can withstand the elements. DAP Dynaflex 230 Premium Indoor/Outdoor Sealant is paintable, stays flexible, doesn’t shrink and doesn’t attract dust and dirt.
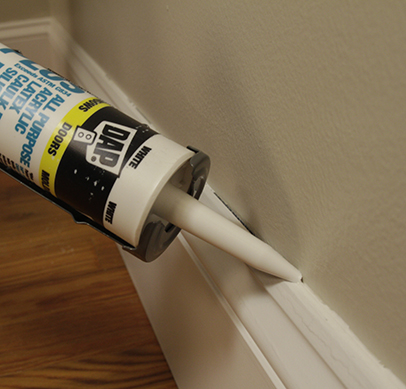
- For interior sealing applications such as molding, trim, baseboards, and window and door perimeters, use a sealant that applies easily and has excellent compatibility with paint. DAP Alex Fast Dry Acrylic Latex Caulk Plus Silicone cleans up with water, dries fast and tools easily.
- For high-moisture, wet areas like kitchens and bathrooms, look for a sealant that provides strong adhesion and long-lasting mold and mildew protection. DAP Kwik Seal Ultra Premium Siliconized Kitchen & Bath Sealant is mold- and mildew-resistant and can be easily removed and replaced when it gets grungy.
Tip 2: Use a Dripless Caulk Gun
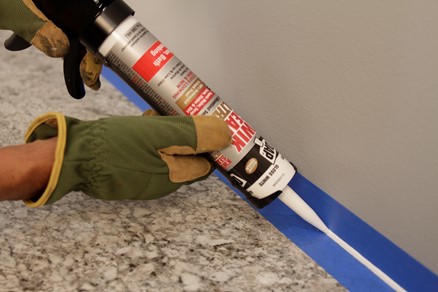
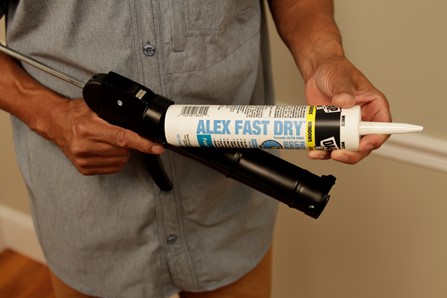
When caulking, you’ll want to be able to stop the flow of the caulk instantly, to avoid messy drips. A dripless, smooth-rod-style caulk gun does this best. It also requires less hand pressure on the trigger than older-style guns. Look for one with a seal punch (used to break the foil seal that some tubes have at the base of the nozzle) and a built-in cutter (for cutting off the tip of the nozzle). Also check the thrust ratio of the gun—the force or mechanical advantage applied every time you pull the trigger. The thicker the caulk or sealant you’re applying, the greater force you need. For most home projects, a gun with a mechanical advantage around 10:1 should handle the majority of sealants and caulks you’d use.
Tip 3: Prep the Surface
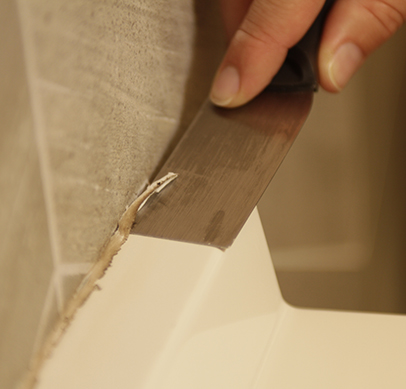
First, pull away or pry off as much old caulk or sealant as you can. Use a flexible putty knife or the caulk remover tool included in the DAP Pro Caulk 8-Piece Caulking Tool Kit. For any sealant that remains, score one edge of the sealant using a flexible putty knife or utility knife. This breaks its bond. Then soften it with Krud Kutter Caulk Remover, let it sit for 5 to 20 minutes, and scrape away the remaining sealant with a putty knife or caulk remover tool. After the old caulk has been removed, wipe down the area with a damp rag. Let it dry before applying new sealant.

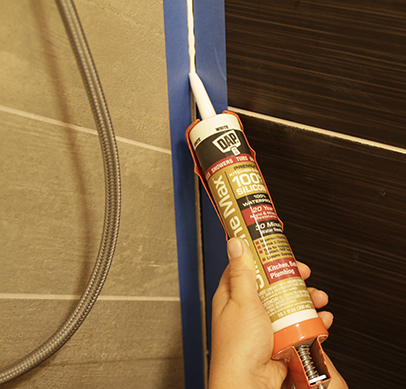
BONUS TIP: To prepare areas like showers for caulking, where the caulk line is highly visible, you may want to use painter’s tape to ensure you get straight lines. Place the tape about 1/8 inch from the joint on each side. Remove the tape immediately after caulking and tooling.
Tip 4: Cut Hole in Nozzle
Use a utility knife or the gun’s built-in cutter to cut the tip at a 45-degree angle or straight across, at a size that matches the gap you’re caulking. If you have various sizes of gaps to fill, cut the tip for a small hole and fill the smallest joints. Then cut it bigger for the larger gaps.
Tip 5: Load and Practice
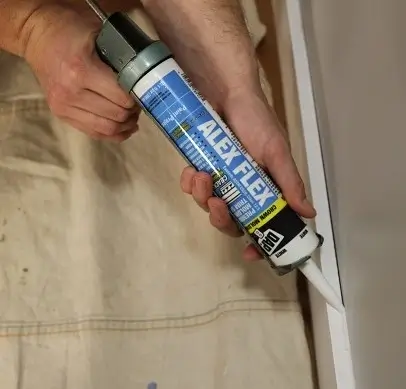
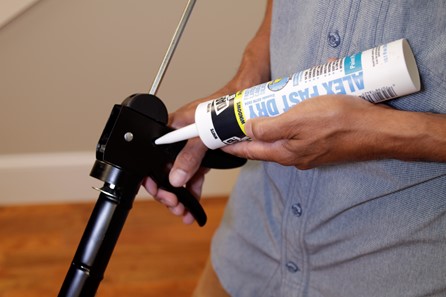
To load the cartridge in the gun, push the release lever, pull back the rod and insert the cartridge so that it rests as far forward as it can go. Push the rod back in so it rests against the bottom of the cartridge. Practice caulking on a piece of cardboard or newspaper. If you’ve cut the tip straight across, you can hold the gun at a 90-degree angle to the gap and pull or push it, depending on your preference. If you’ve cut it at a 45-degree angle, it’s easier to pull the gun. Keep steady pressure on the trigger. If at some point caulk no longer comes out, release the trigger and then squeeze it again. The goal is to have a consistent flow of caulk as you steadily move the gun.
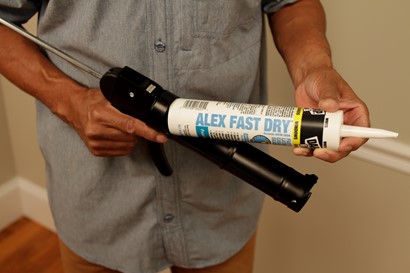
Tip 6: Work from End to End
Start at one end of the gap and move the gun steadily to the other end. The goal is to start and stop at natural transition points. When you have a long run and can’t get it done in one shot, stop at some point of the run (avoid halting at eye level). Then start at the other end and caulk to meet where you stopped the first run, to avoid creating a glob.
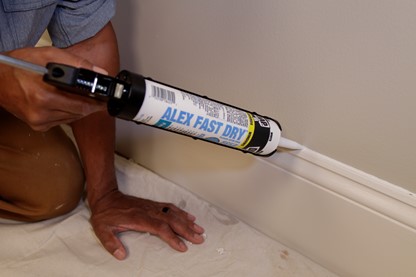
Tip 7: Smooth Immediately
Smoothing is the secret to caulking neatly. Within 10 minutes of application, use a caulk smoothing tool (there’s one in the DAP Pro Caulk Tool Kit). You can also use the back of a spoon or a gloved finger. For best results, tool with a steady hand and long strokes, but not too much pressure. If you’re having difficulty tooling a solvent-based sealant, dip a spoon or gloved finger in mineral spirits first. Or if it’s a latex sealant, dip the tool in water.
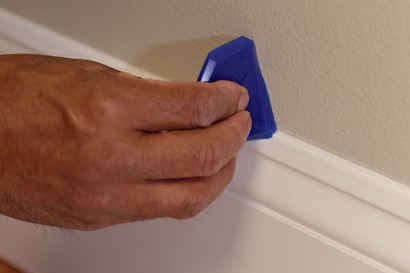
Tip 8: Preserve Leftover Caulk
Got leftover caulk? Don’t toss it. Seal it so you can use it again in the future. If the caulk doesn’t come with a cap, use one of these methods:
- Use one of the caps included with the DAP Pro Caulk Tool Kit.
- Force enough caulk out of the tube to form a peanut-sized ball. Then wet your finger and shape the ball to form a cap that you put on the tip.
- Use an electrical wire nut.
- Insert a nail or screw into the tip.
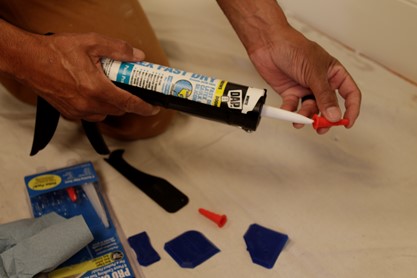
-
Recommended Products
Product Recommendations
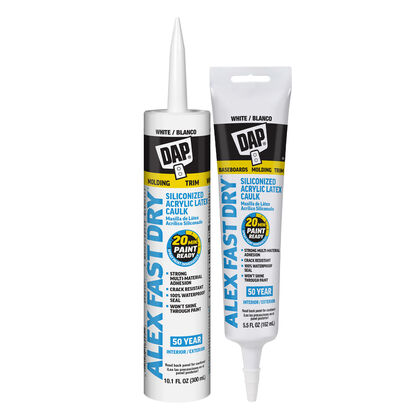
DAP Alex Fast Dry Sealant
Alex Fast Dry Sealant is a pro-grade acrylic latex silicone for professional painters. Brush paint in 20 mins or spray immediately for quick finishing. This durable, flexible and waterproof caulk is ideal for indoor/outdoor surfaces.
View Product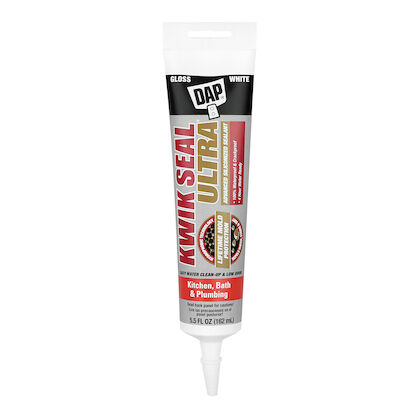
Kwik Seal Ultra Advanced Kitchen & Bath Sealant
Advanced kitchen & bath sealant with ultra-hydrophobic tech. Lifetime mold resistance, 100% waterproof, safe for granite. Easy application & cleanup.
View Product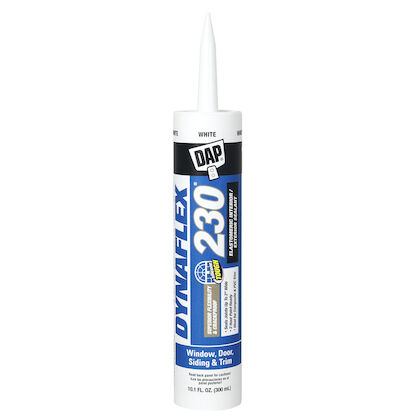
DAP Dynaflex 230 Sealant
Premium waterproof sealant for windows, doors, siding, and trim. Durable, flexible, paintable, low odor. Ideal for indoor/outdoor use.
View Product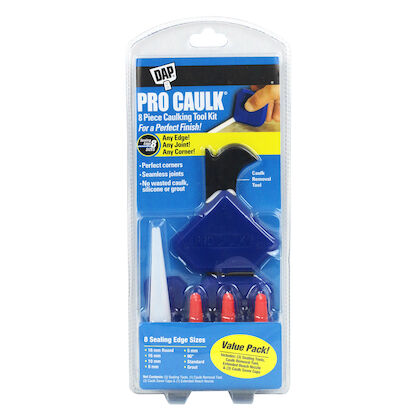
PRO CAULK 8 Piece Caulking Tool Kit
Helps you caulk like a pro in seconds! Create a perfect looking seal, on any edge, joint or corner, every time while reducing wasted caulk and sealant.
View Product -
Related Projects
Related Projects
![]()
Choosing the Right Caulk or Sealant
Use this guide to help you find the right caulk or sealant for the most common home projects.
Read More![how to Recaulk a shower]()
How to Re-Caulk a Shower
When the caulk or sealant no longer looks attractive, take these steps to replace it.
Read More![paintlikeaprolanding]()
How to Paint Like the Pros
Follow these interior painting tips and tricks to give every room of your home that expert finish.
Read More

