Tips for Upcycling Furniture (like IKEA®) in Five Simple Steps
This easy furniture hack takes an ordinary kitchen island and transforms it into a versatile piece with a rustic feel.

-
How to Upcycle Ready-to-Assemble Furniture (like IKEA) Step-By-Step
How to Upcycle Ready-to-Assemble Furniture (like IKEA) Step-By-Step
Tools
- Screwdriver
- Plastic sheets
- Drill
- Putty knife
- 120-grit sanding sponge or sandpaper
- Tack cloth
- Table saw with carbide tipped blade or carbide cutting tool
- Straightedge
- Router and laminate trimming bit
- Cleanup solvent (mineral spirits)
- Gloves (optional)
Materials
- DAP® Plastic Wood-X™ All-Purpose Wood Filler
- Weldwood® Original ® Contact Cement Spray Adhesive
- Rust-Oleum® Chalked Ultra Matte Spray Paint (in your color of choice)
- Rust-Oleum Comfort Grip®
- IKEA Tornviken Kitchen Island (28 3/8 inches long x 20 ½ inches wide)
- White or marble laminate sheet
- ½- inch wood dowels
- Handle for drawer
It’s easy to understand the appeal of ready-to-assemble (RTA) furniture. Cost-conscious shoppers love the prices, and the simple designs look good anywhere. It’s no wonder do-it-yourselfers have taken to upcycling RTA pieces to make them even more versatile and full of character. To show you how easy upcycling is, we took an IKEA kitchen island and topped it with laminate. Then we painted the rest with chalk paint and added new hardware to soften its appearance. Follow these step-by-step directions for the island or try them on another piece, like an IKEA bedside table.
Step 1: Disassemble and Drill New Holes
Disassemble the island and remove the knob from the drawer face. Mark the screw positions for the new handle and drill new holes.
Step 2: Patch and Sand Existing Hole
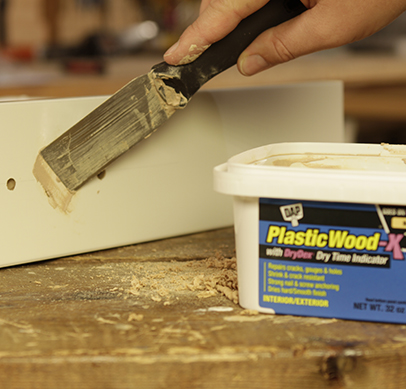
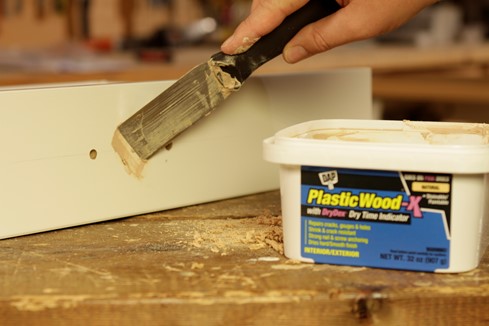
Fill the old screw hole of the drawer face with DAP Plastic Wood-X All-Purpose Wood Filler. It has a dry time indicator that goes on pink and dries natural so you know when it’s ready to be sanded and stained or painted. Press the filler into the hole, overfilling it slightly. (For holes deeper than ¼ inch, apply several thin layers of filler, letting them dry between applications.) Lightly sand the drawer face and all other components with 120-grit sandpaper. Wipe off any dust with a tack cloth.
Step 3: Spray-Paint Components
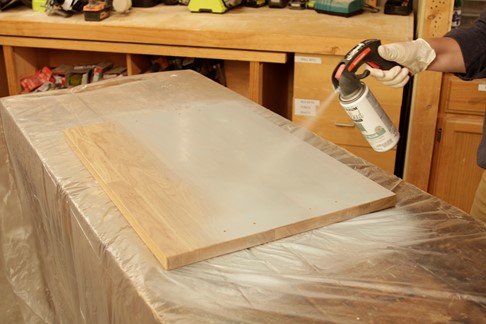
Spray-paint all the components, including the underside of the island top and its two side edges (the front and back edges will be painted after laminating it). We used Rust-Oleum Chalked Ultra Matte Spray Paint in Serenity Blue but choose whatever color works for you.
Set up the area where you’ll be painting: Provide proper ventilation and use plastic sheeting to protect surrounding surfaces from overspray. Clean all surfaces by washing with soap and water and let dry. Shake the can for one minute after the mixing ball begins to rattle before using and occasionally during use. Holding the can 10–12 inches above the surface, spray a light coat in a back-and-forth motion, slightly overlapping each stroke while keeping the can moving. Let it dry briefly, then spray on a second light coat. Make sure to follow the directions on the can for recoat and dry times.
BONUS TIP: Spray-paint the new handle to give the piece even more character. Rust-Oleum Universal® Spray Paint in Sunlit Brass nicely complements the Serenity Blue chalked paint.
Step 4: Cut Laminate
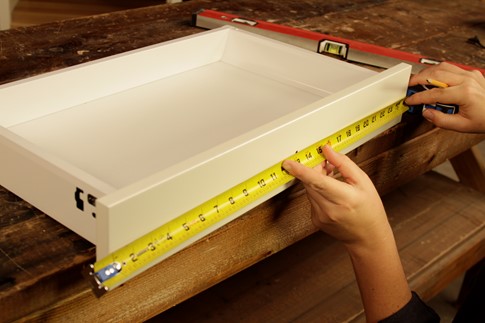
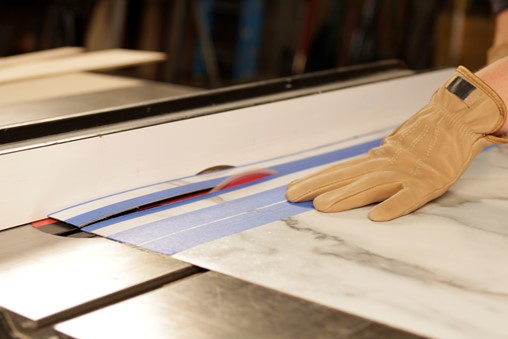
Measure and cut the laminate for the island top with a carbide cutting tool and a straightedge. Cut the laminate 1 inch larger overall than your measurements.
Step 5: Apply Contact Cement
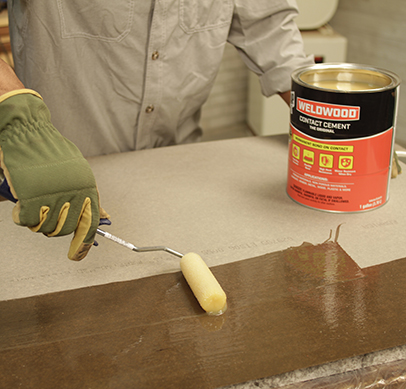
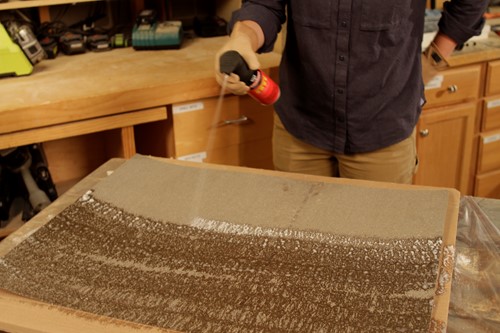
DAP Weldwood Contact Cement Spray Adhesive is ideal for securing laminate to wood or, in this case, wood veneer. To use it, protect the surrounding area with plastic sheets, make sure the area has proper ventilation and wear eye protection. Shake the can for one to two minutes prior to use and occasionally during use. Spray the back side of the laminate as well as the top of the island, using a back-and-forth motion. Let it sit 5–10 minutes. Then, wearing a glove, lightly touch the contact cement. It’s ready if it’s tacky but doesn’t leave a residue on your glove.
Step 6: Trim Excess Laminate
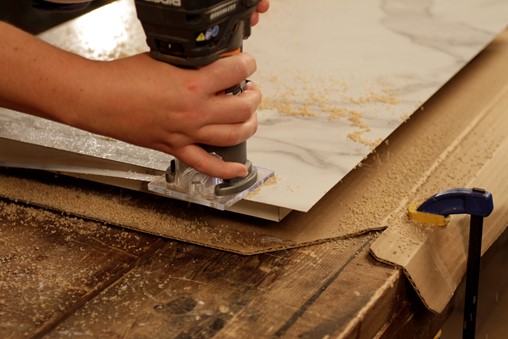
After pressing the laminate in place and letting it set up, use a router with a laminate flush trimming bit to remove the excess laminate. Then attach the front and back edge pieces and trim.
Step 7: Prepare and Place the Top Piece
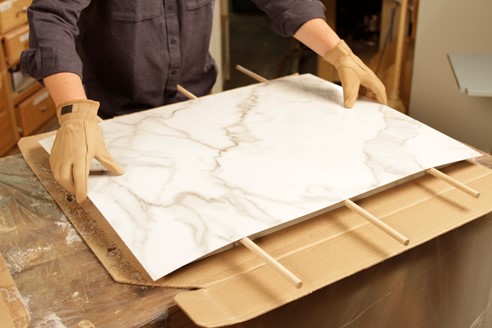
Spray the underside of the laminate for the top and the island’s top surface with the contact cement. When the contact cement is ready, place ½-inch wood dowels on the island surface 3 to 6 inches apart. These will keep the laminate from touching the surface while you’re positioning it. Set the laminate on the dowels, keeping in mind there should be a slight overlap on each edge. Remove the dowels one at a time, starting in the middle, letting the laminate touch the surface and gently pressing it down.
Step 8: Press Top in Place
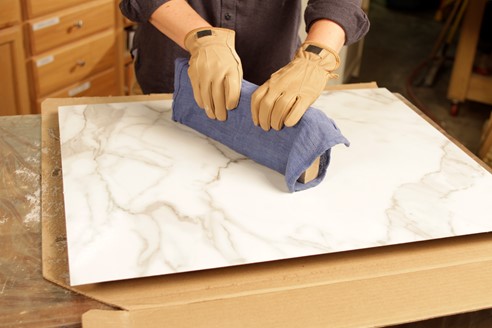
After the laminate has been positioned, use a scrap 2x4 wrapped in a rag to press it down. Work from the center out to the edges. To avoid breaking the excess laminate, don’t press too hard at the edges. When the contact cement has set, trim the edges with a router and laminate flush trimming bit.
-
Recommended Products
Product Recommendations
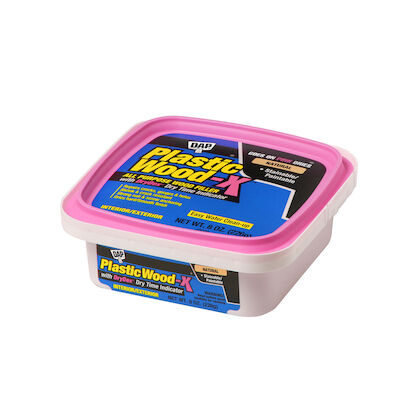
DAP Plastic Wood-X Wood Filler with DryDex
Plastic Wood-X Filler with DryDex dries natural. No guesswork, easy repairs. Stainable, paintable, won't shrink or crack and is ideal for wood surfaces.
View Product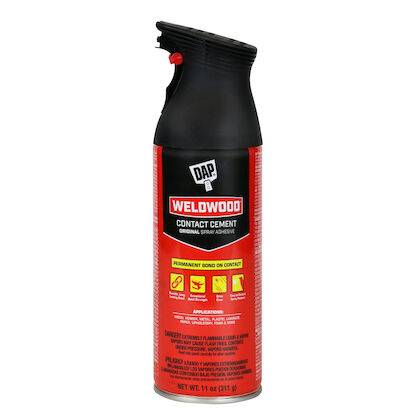
DAP Weldwood Original Contact Cement Spray Adhesive
DAP Weldwood Original Spray Adhesive is a web formula that provides a long-lasting permanent bond on contact. When cured Weldwood Original is high heat resistant, water resistant, and creates a flexible bond. It is ideal for use on trim work, door panels, decorative laminates, upholstery work, and many other demanding applications.
View Product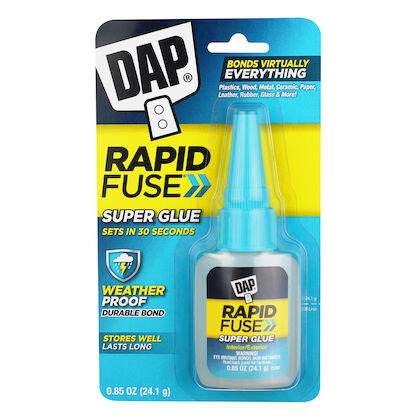
DAP RapidFuse Super Glue
RapidFuse Liquid Super Glue bonds in 30s, cures in 30min. Hybrid tech for durable, non-brittle bond. Clear, no mess. Indoor/outdoor, works on various materials.
View Product -
Related Projects
Related Projects
![]()
How to Prevent Loose Screws
Here’s a new way to keep screws from coming loose, without gluing them.
Read More![]()
How to Tile a Kitchen Backsplash
Follow these 12 key tiling tips and give your kitchen a professional-quality upgrade.
Read More![]()
How to DIY Laminate Countertops
Expand your wheelhouse of skills with these step-by-step instructions.
Read More

