


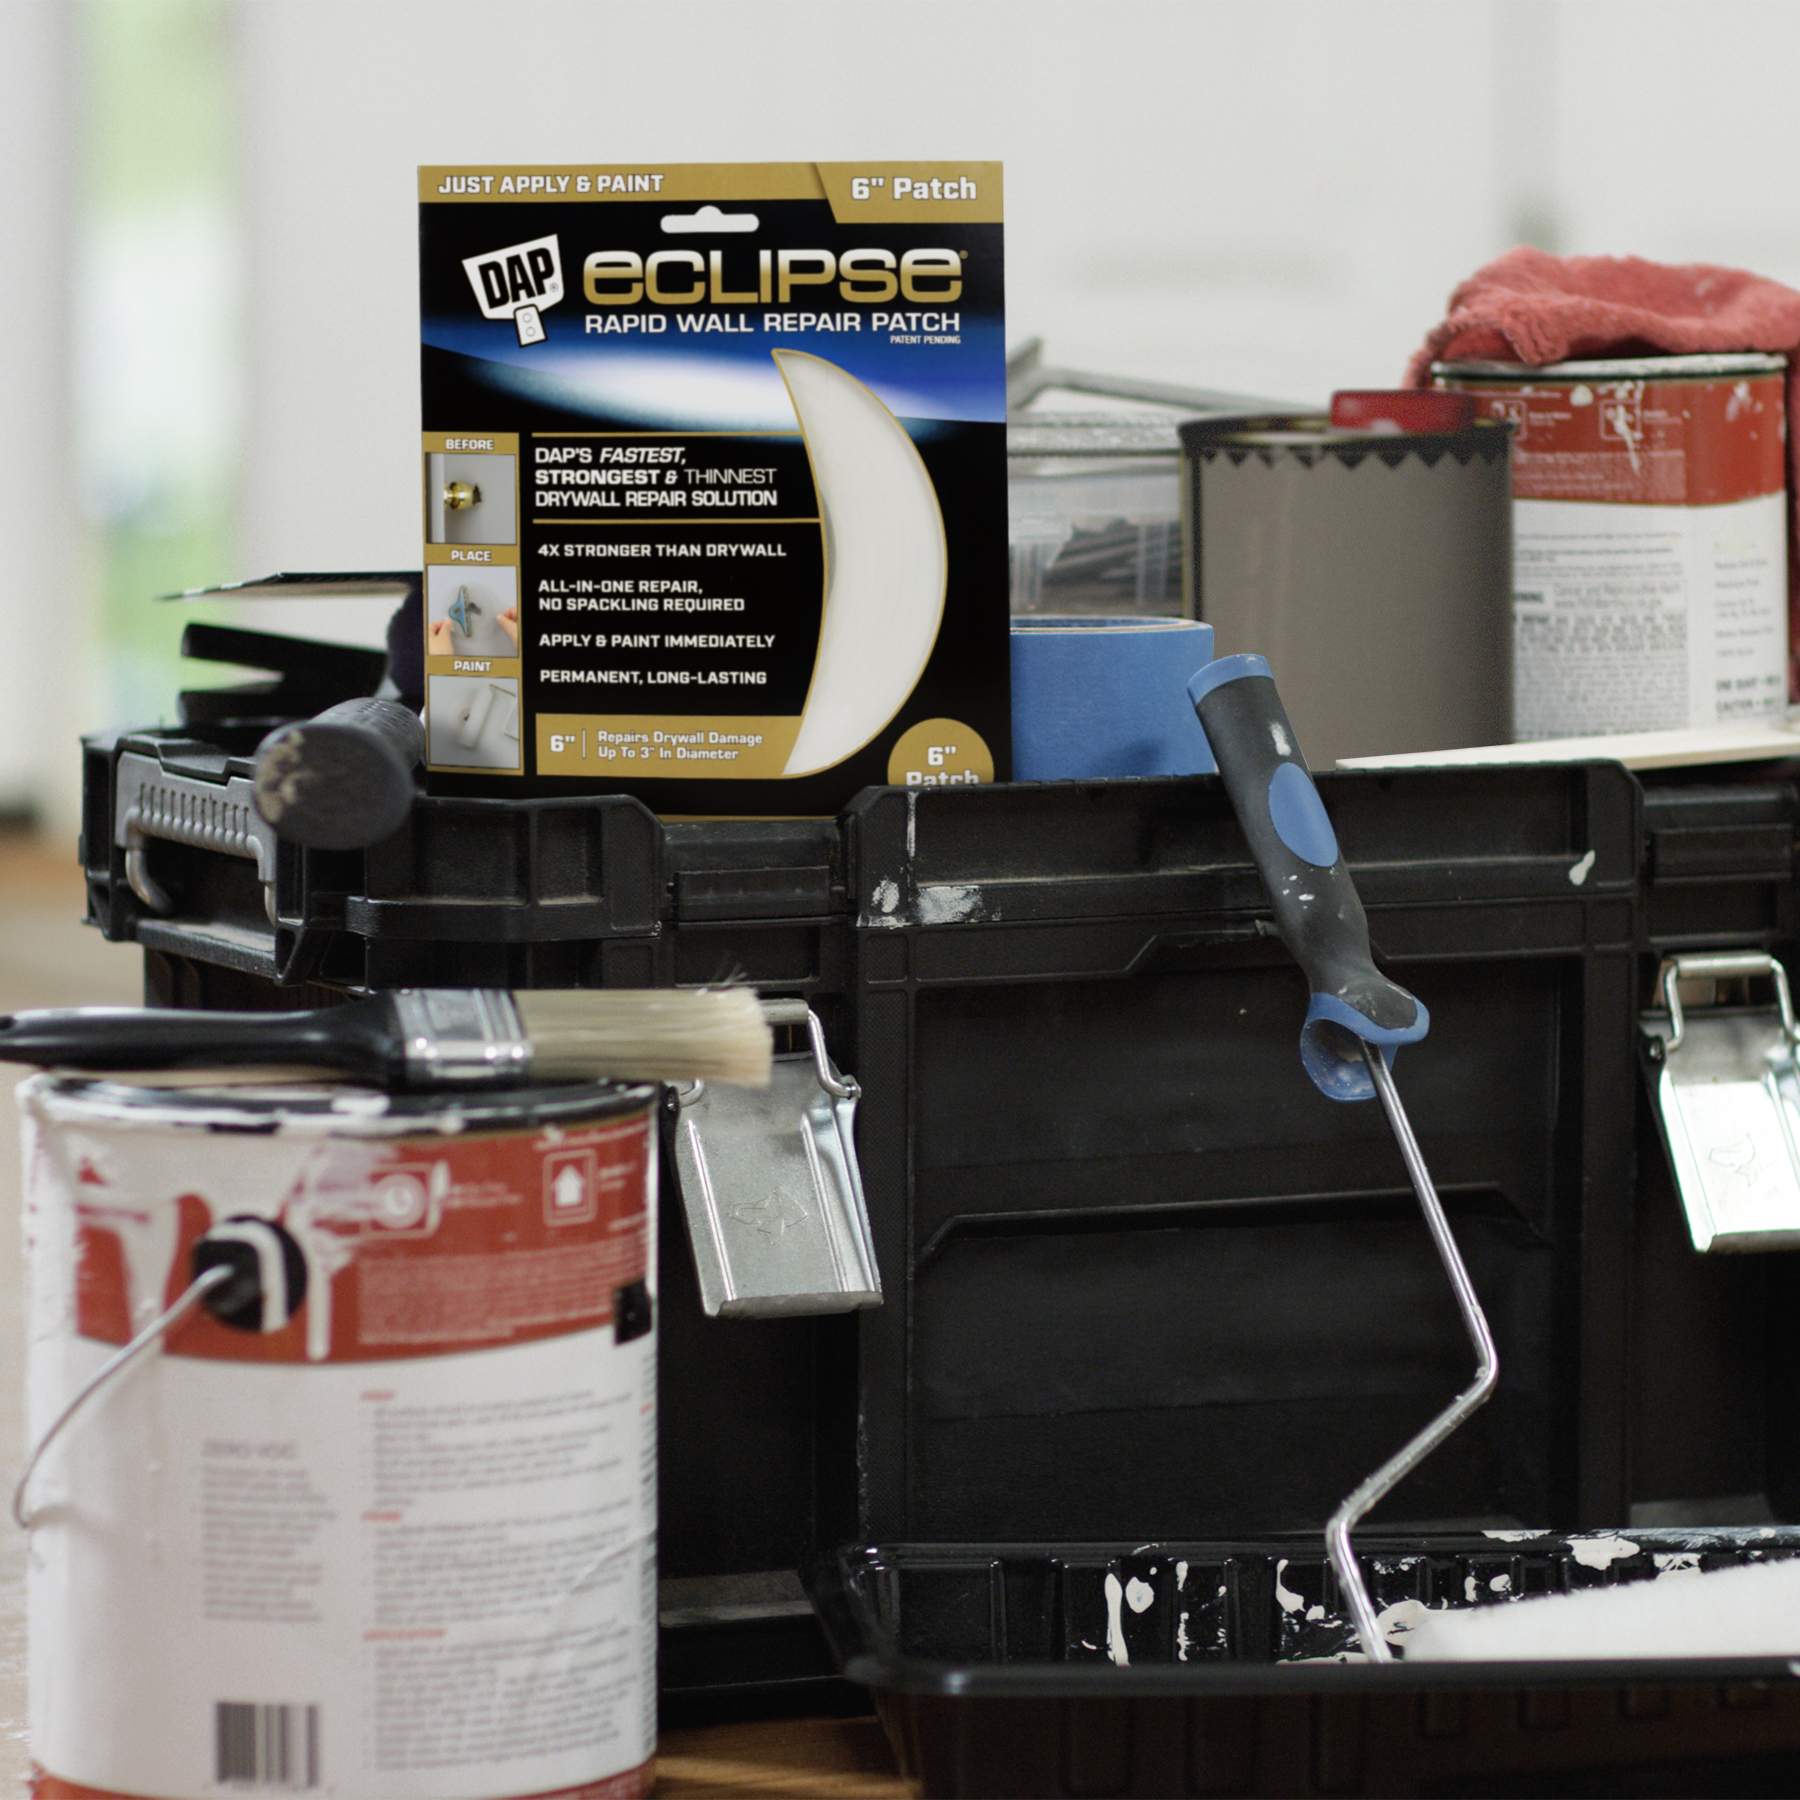
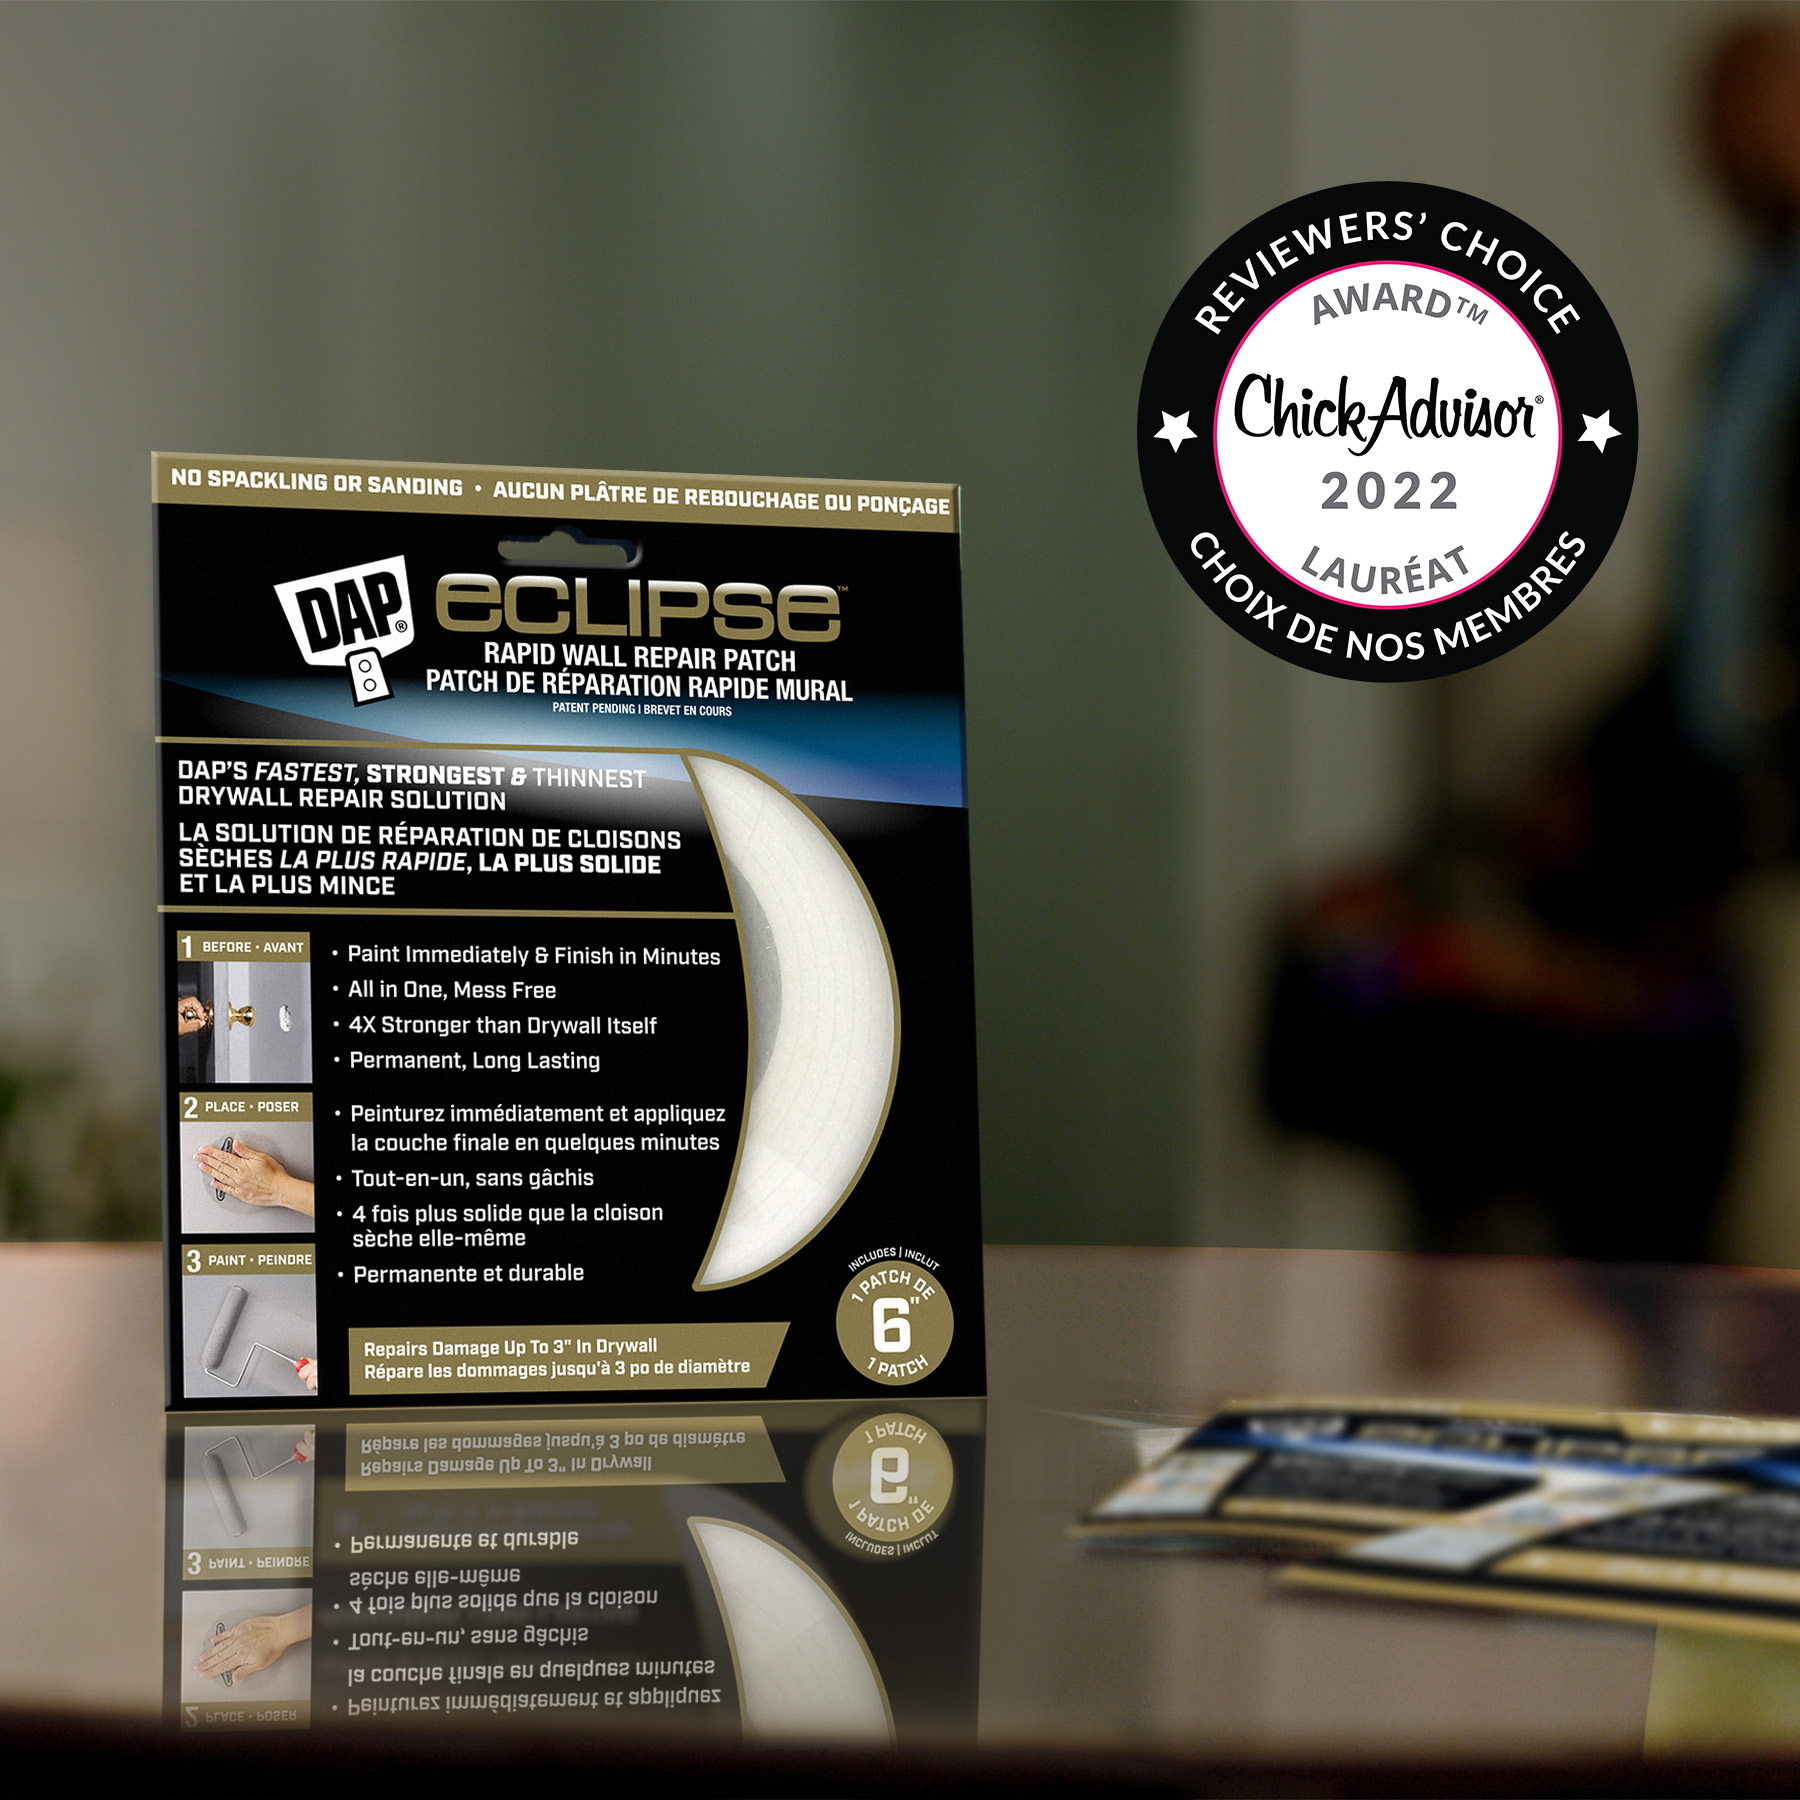
DAP Eclipse Rapid Wall Repair Patch
- Best For:

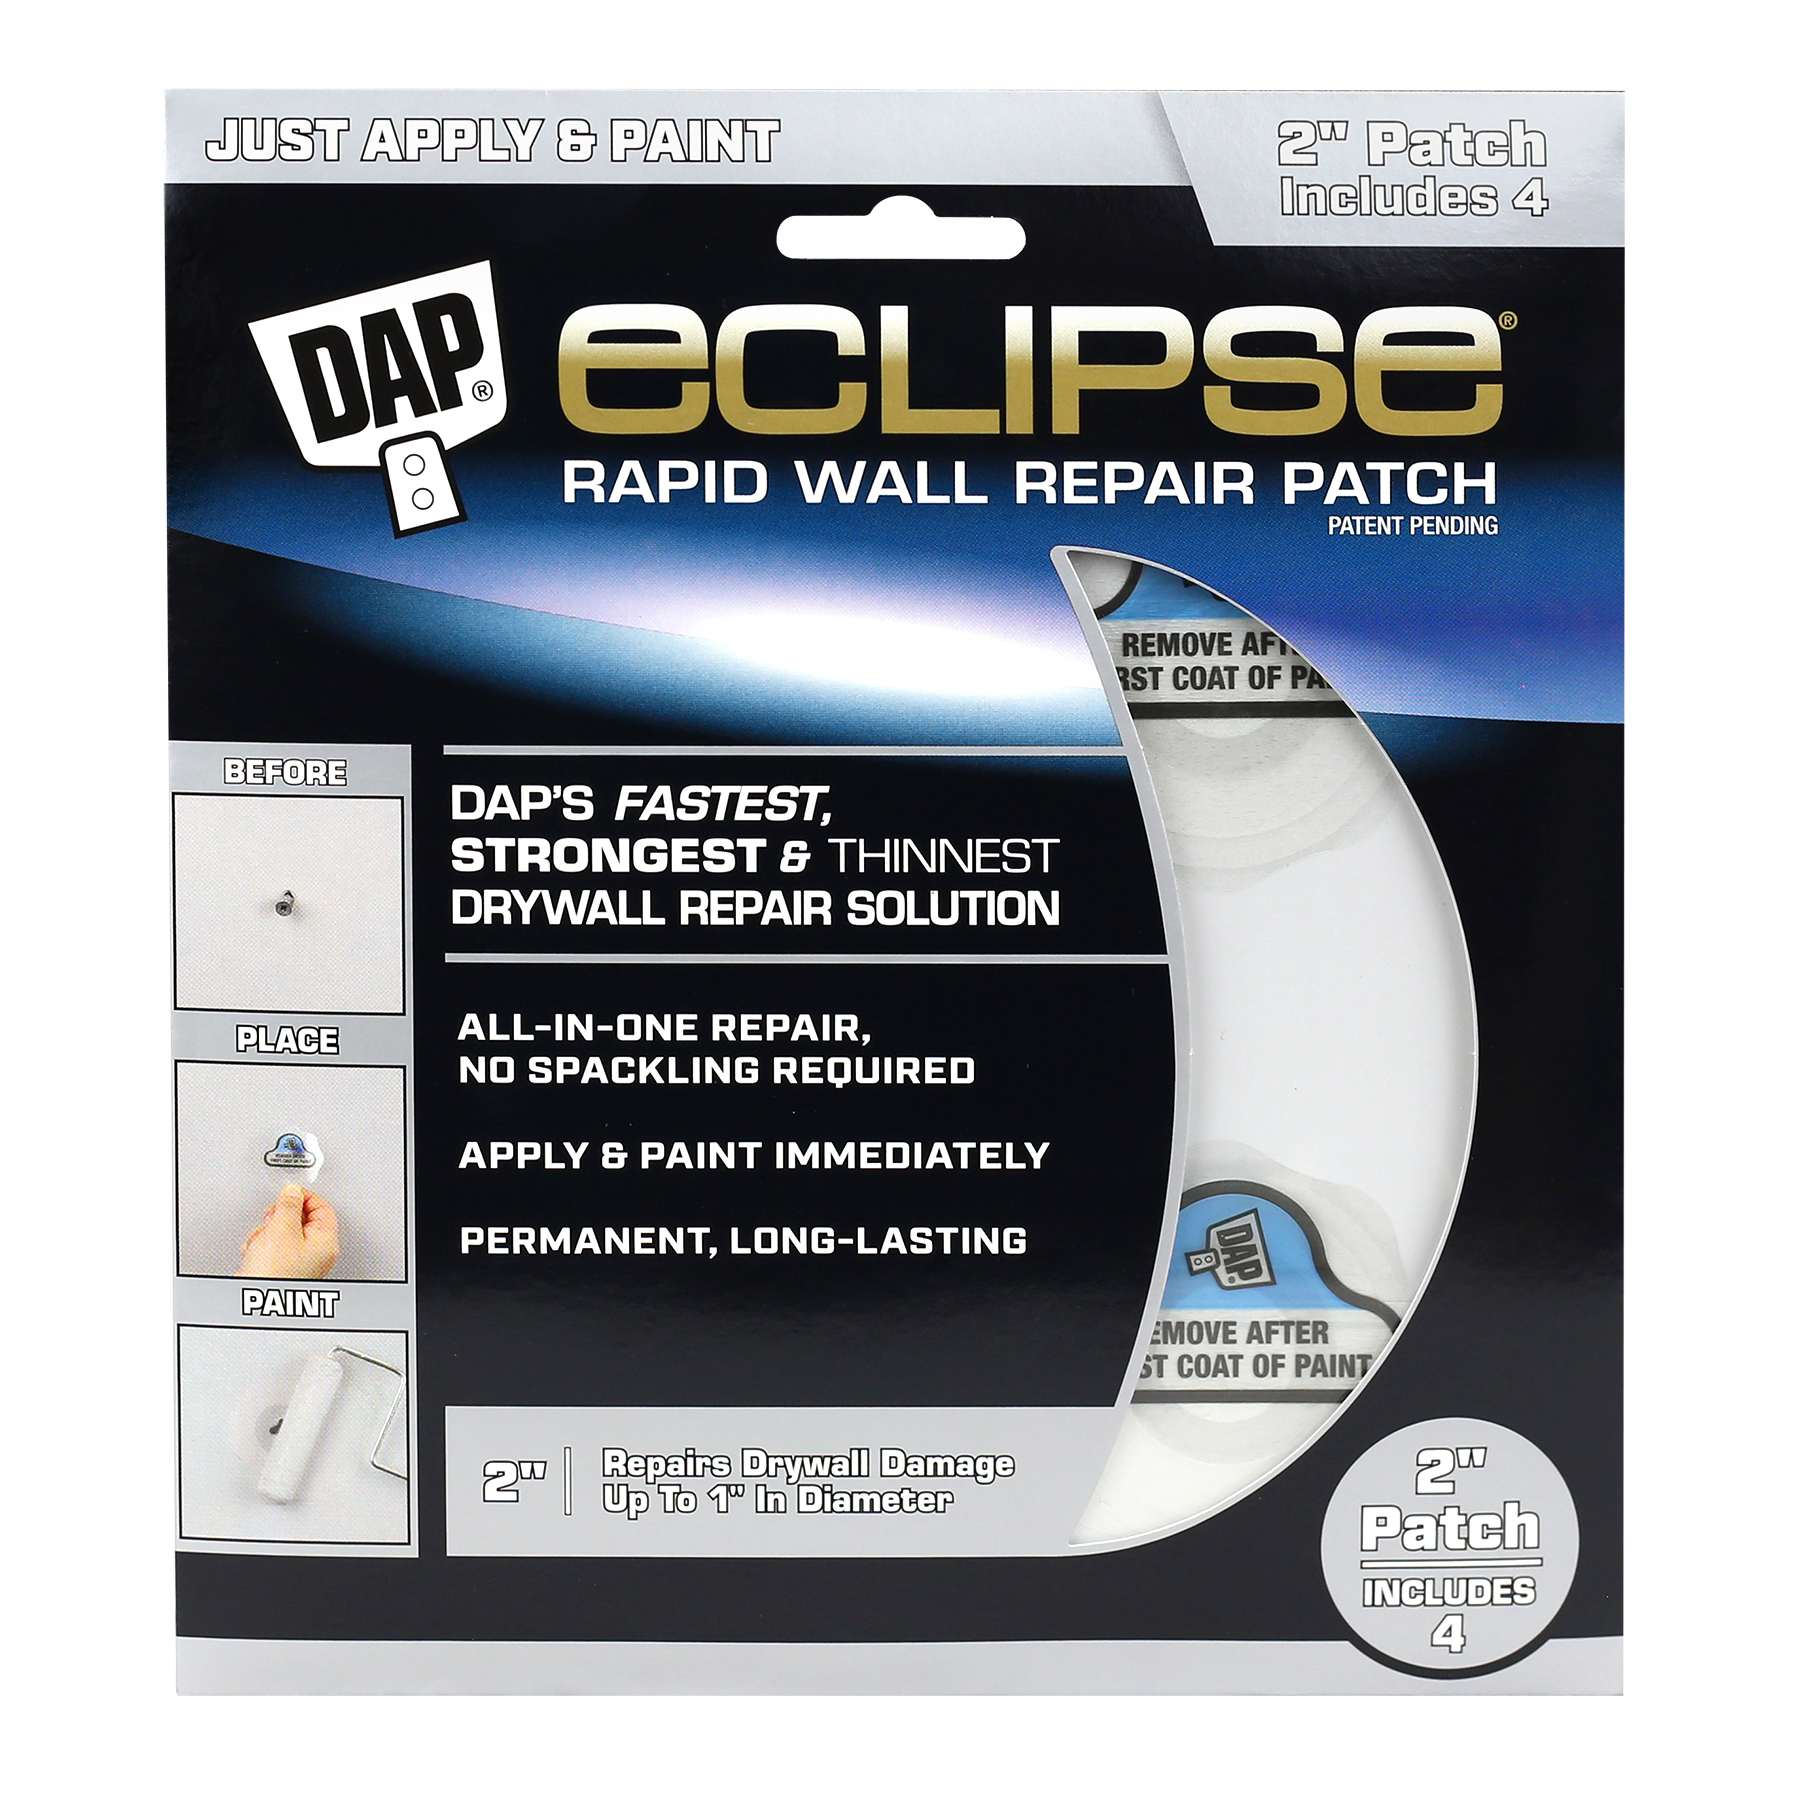
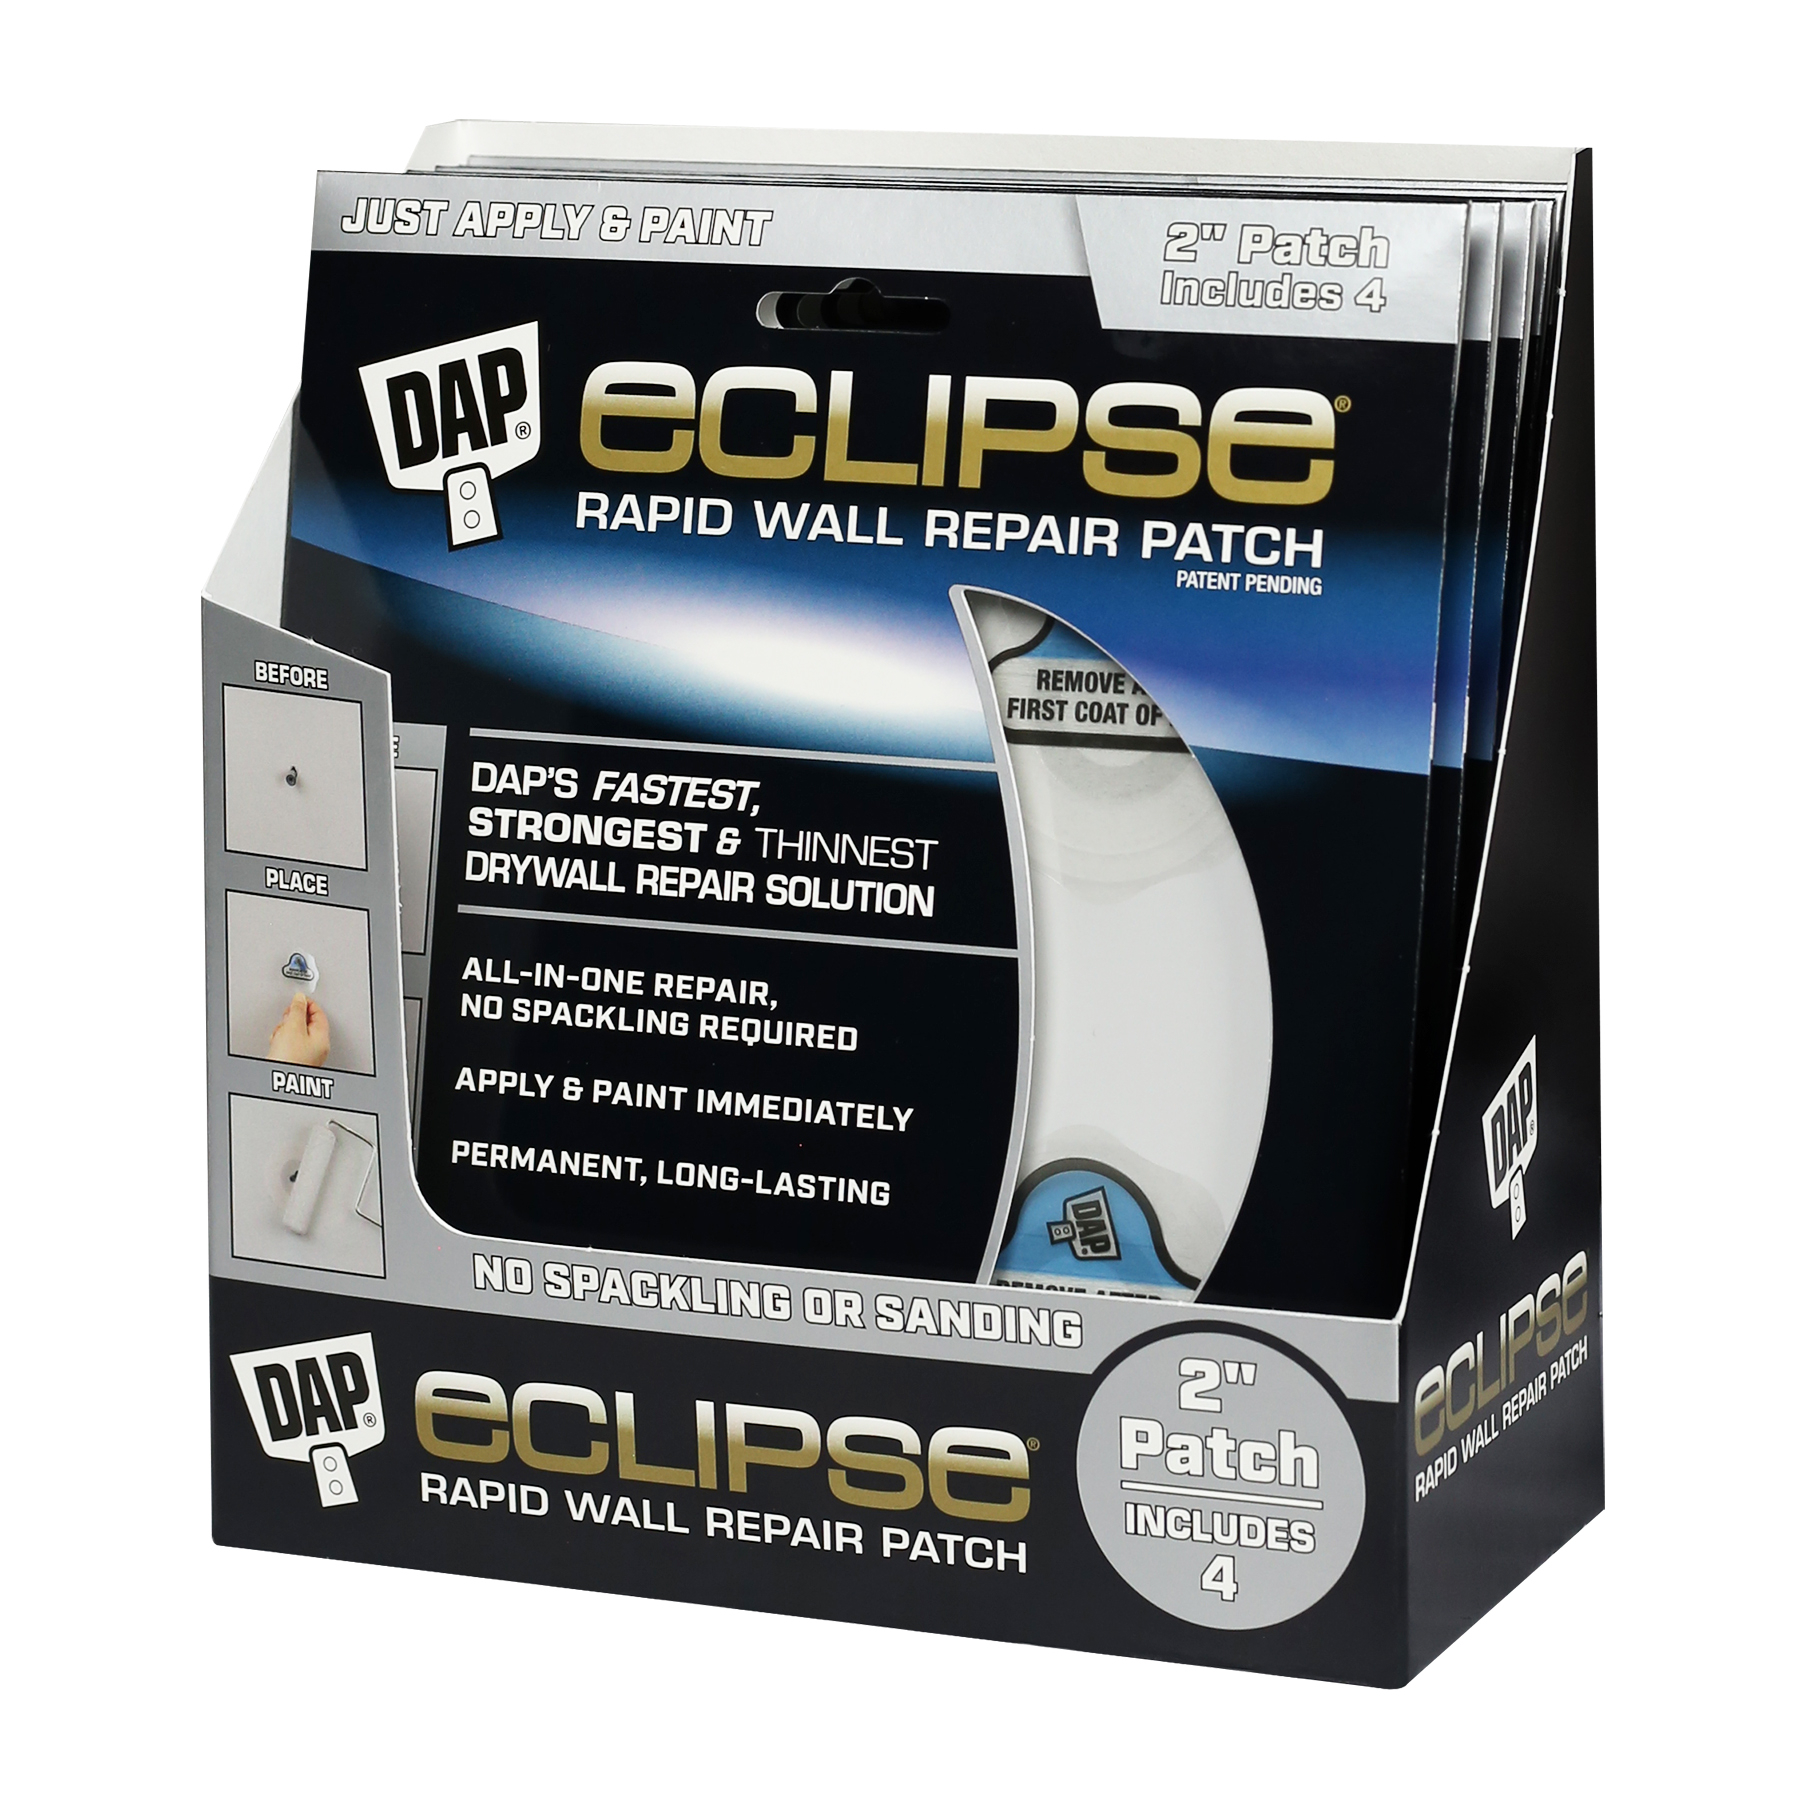
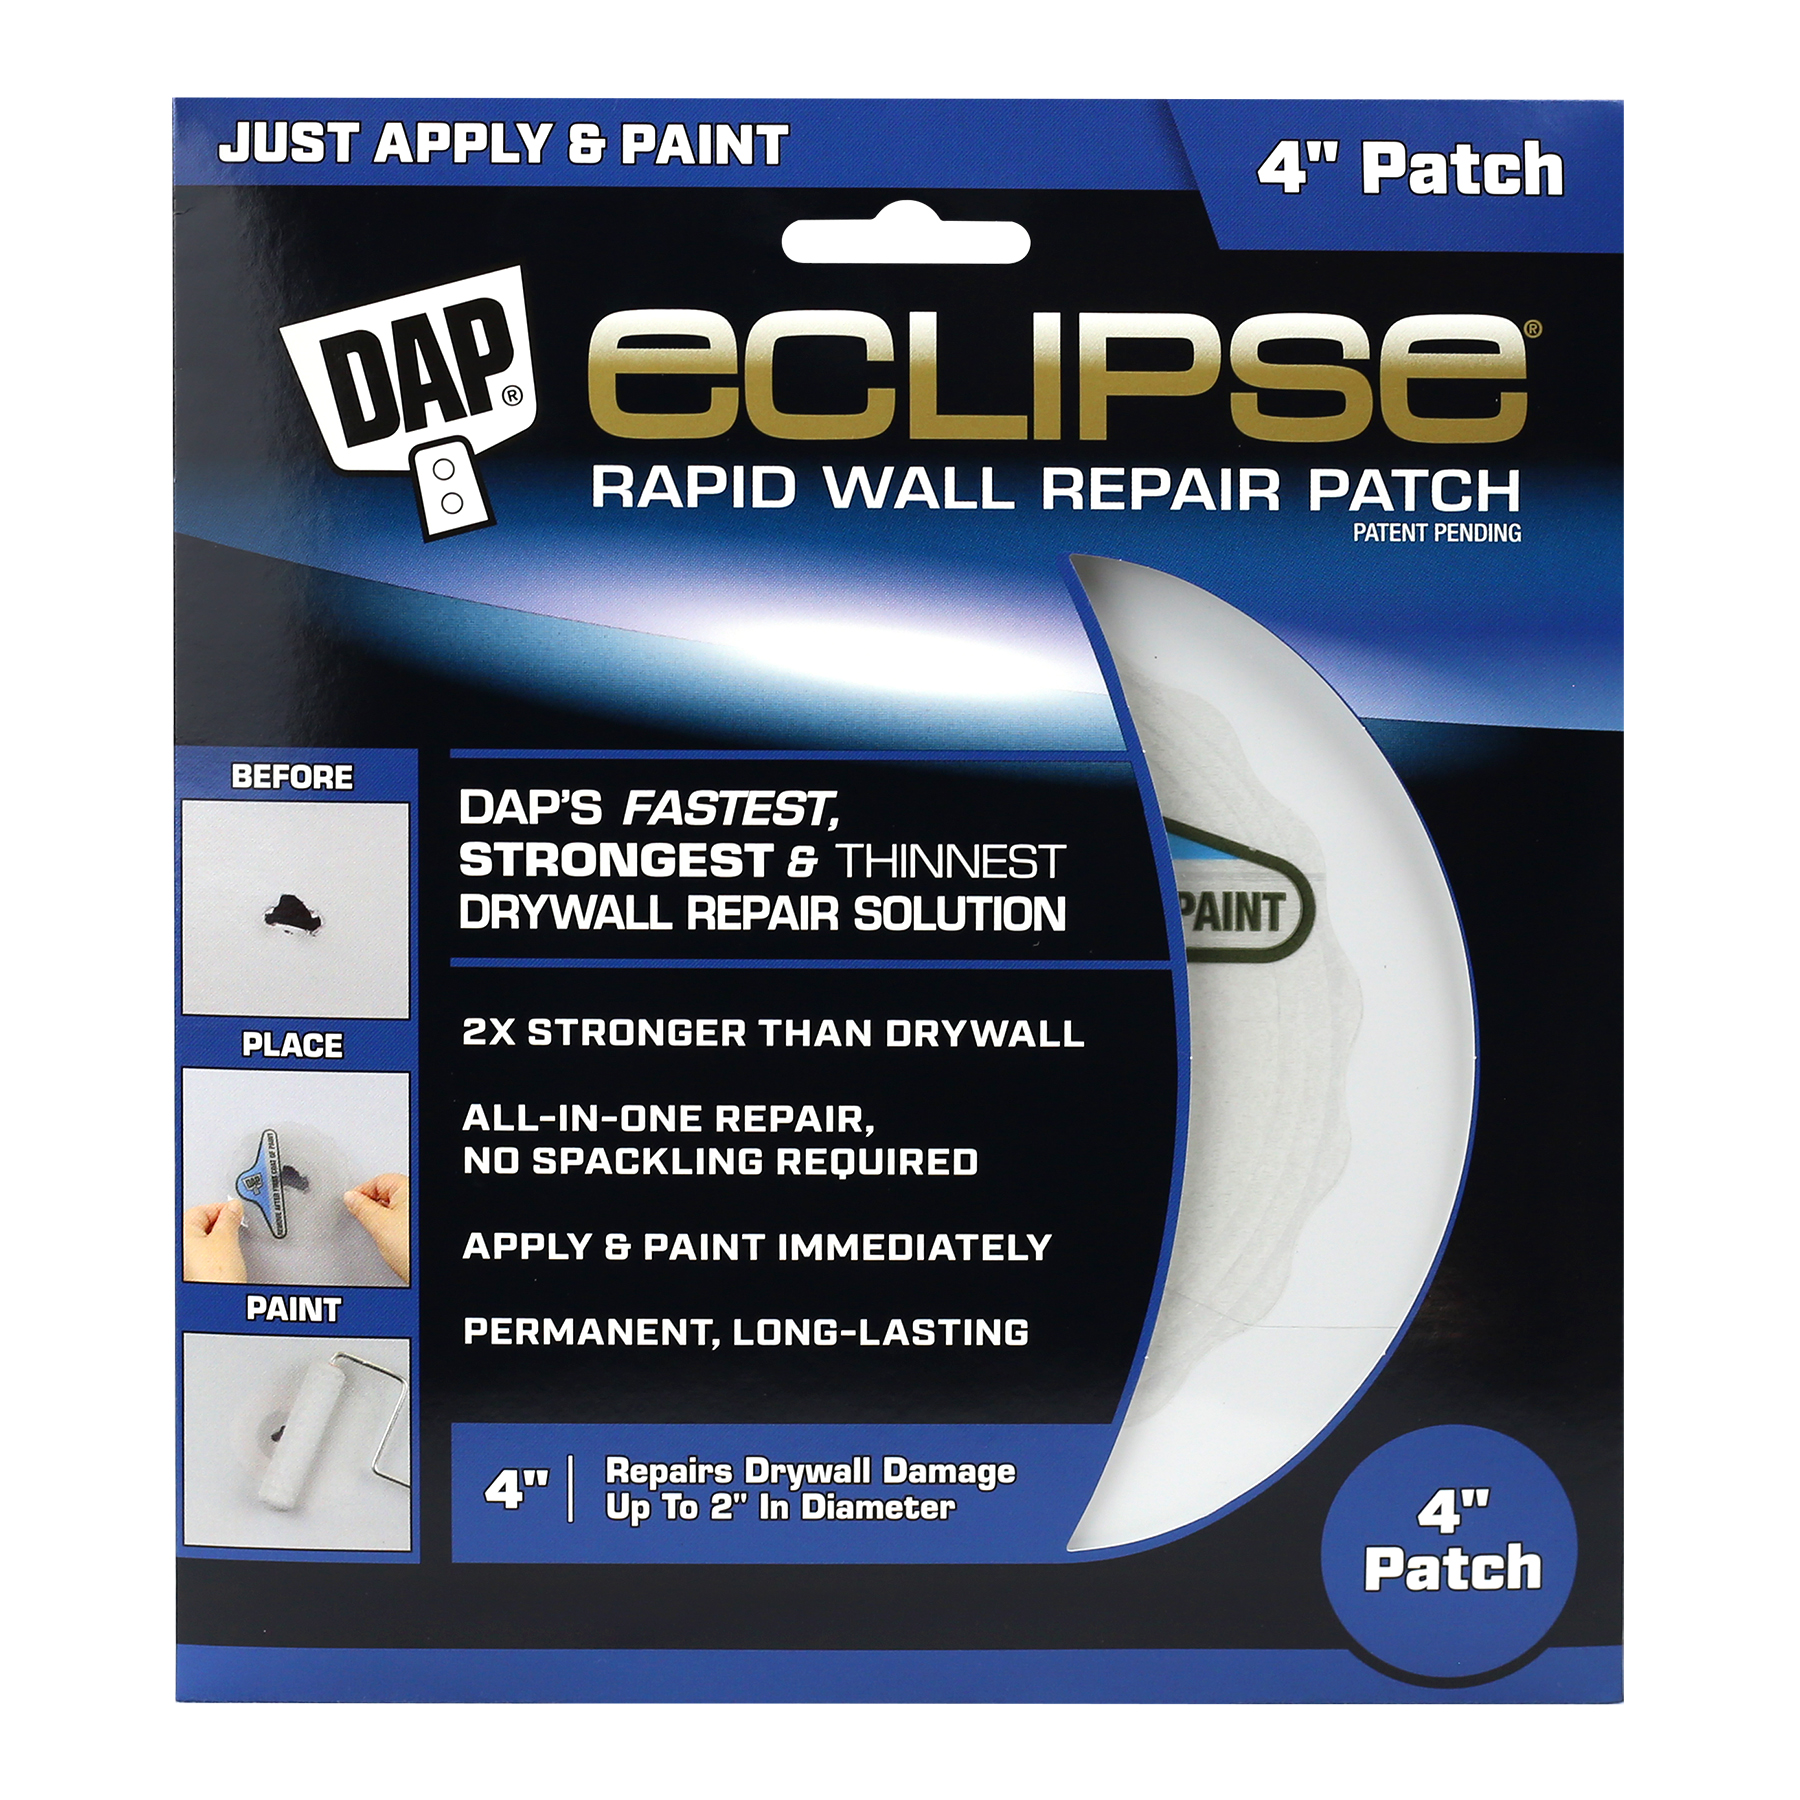
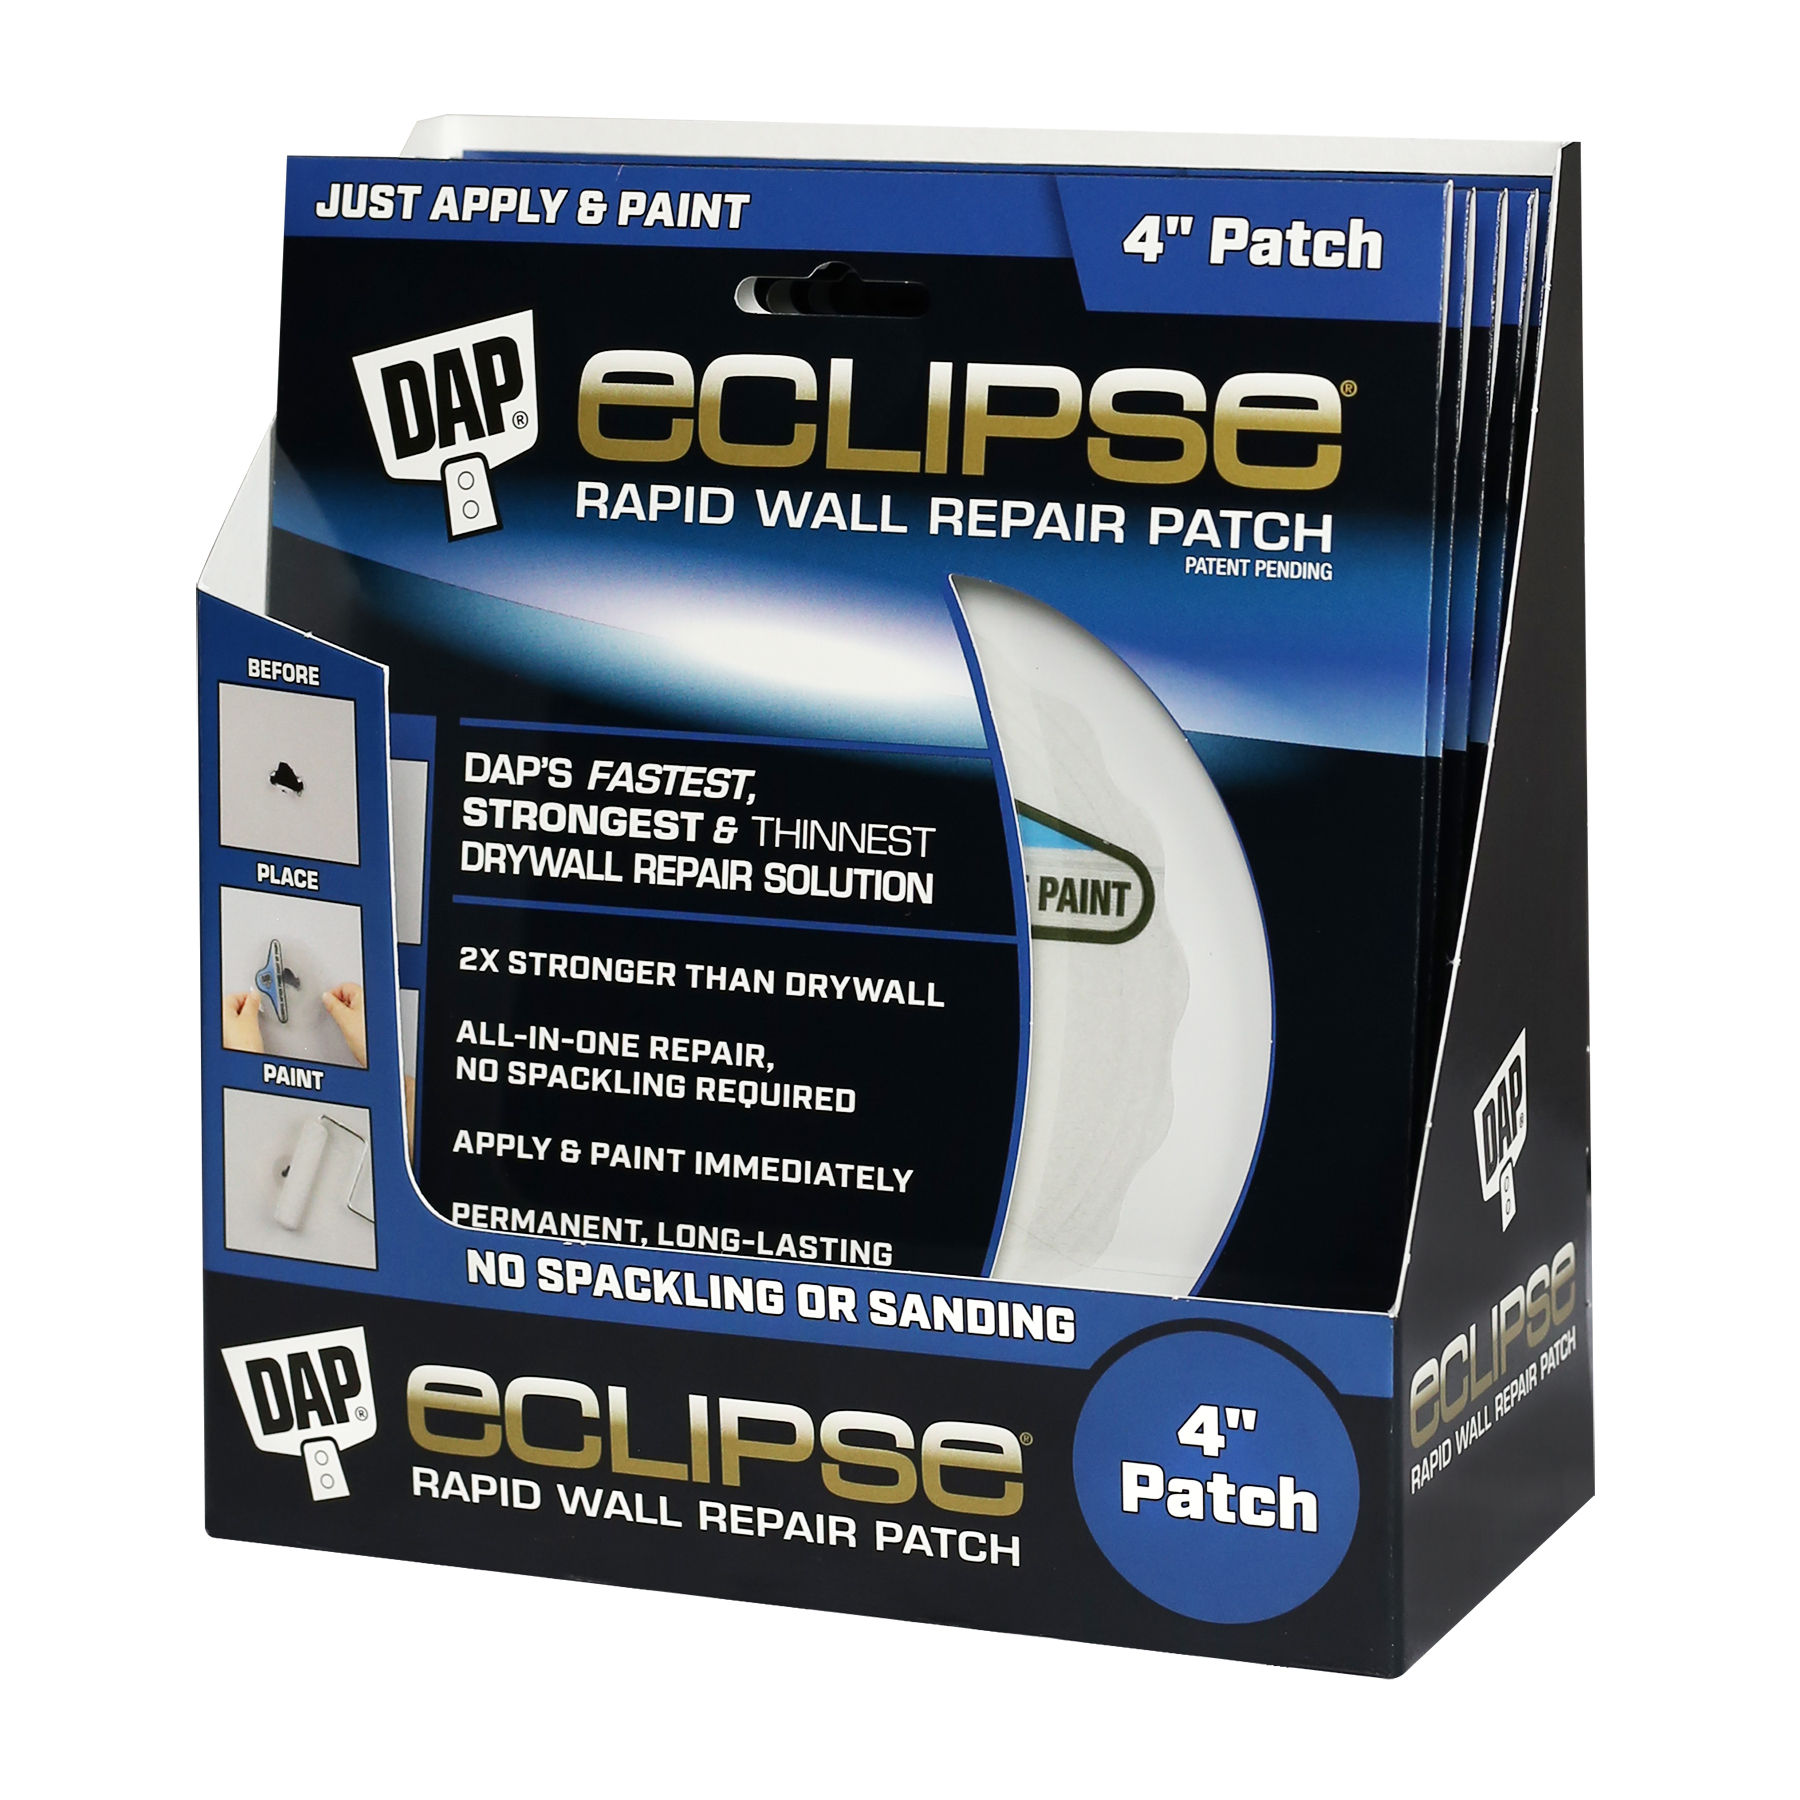
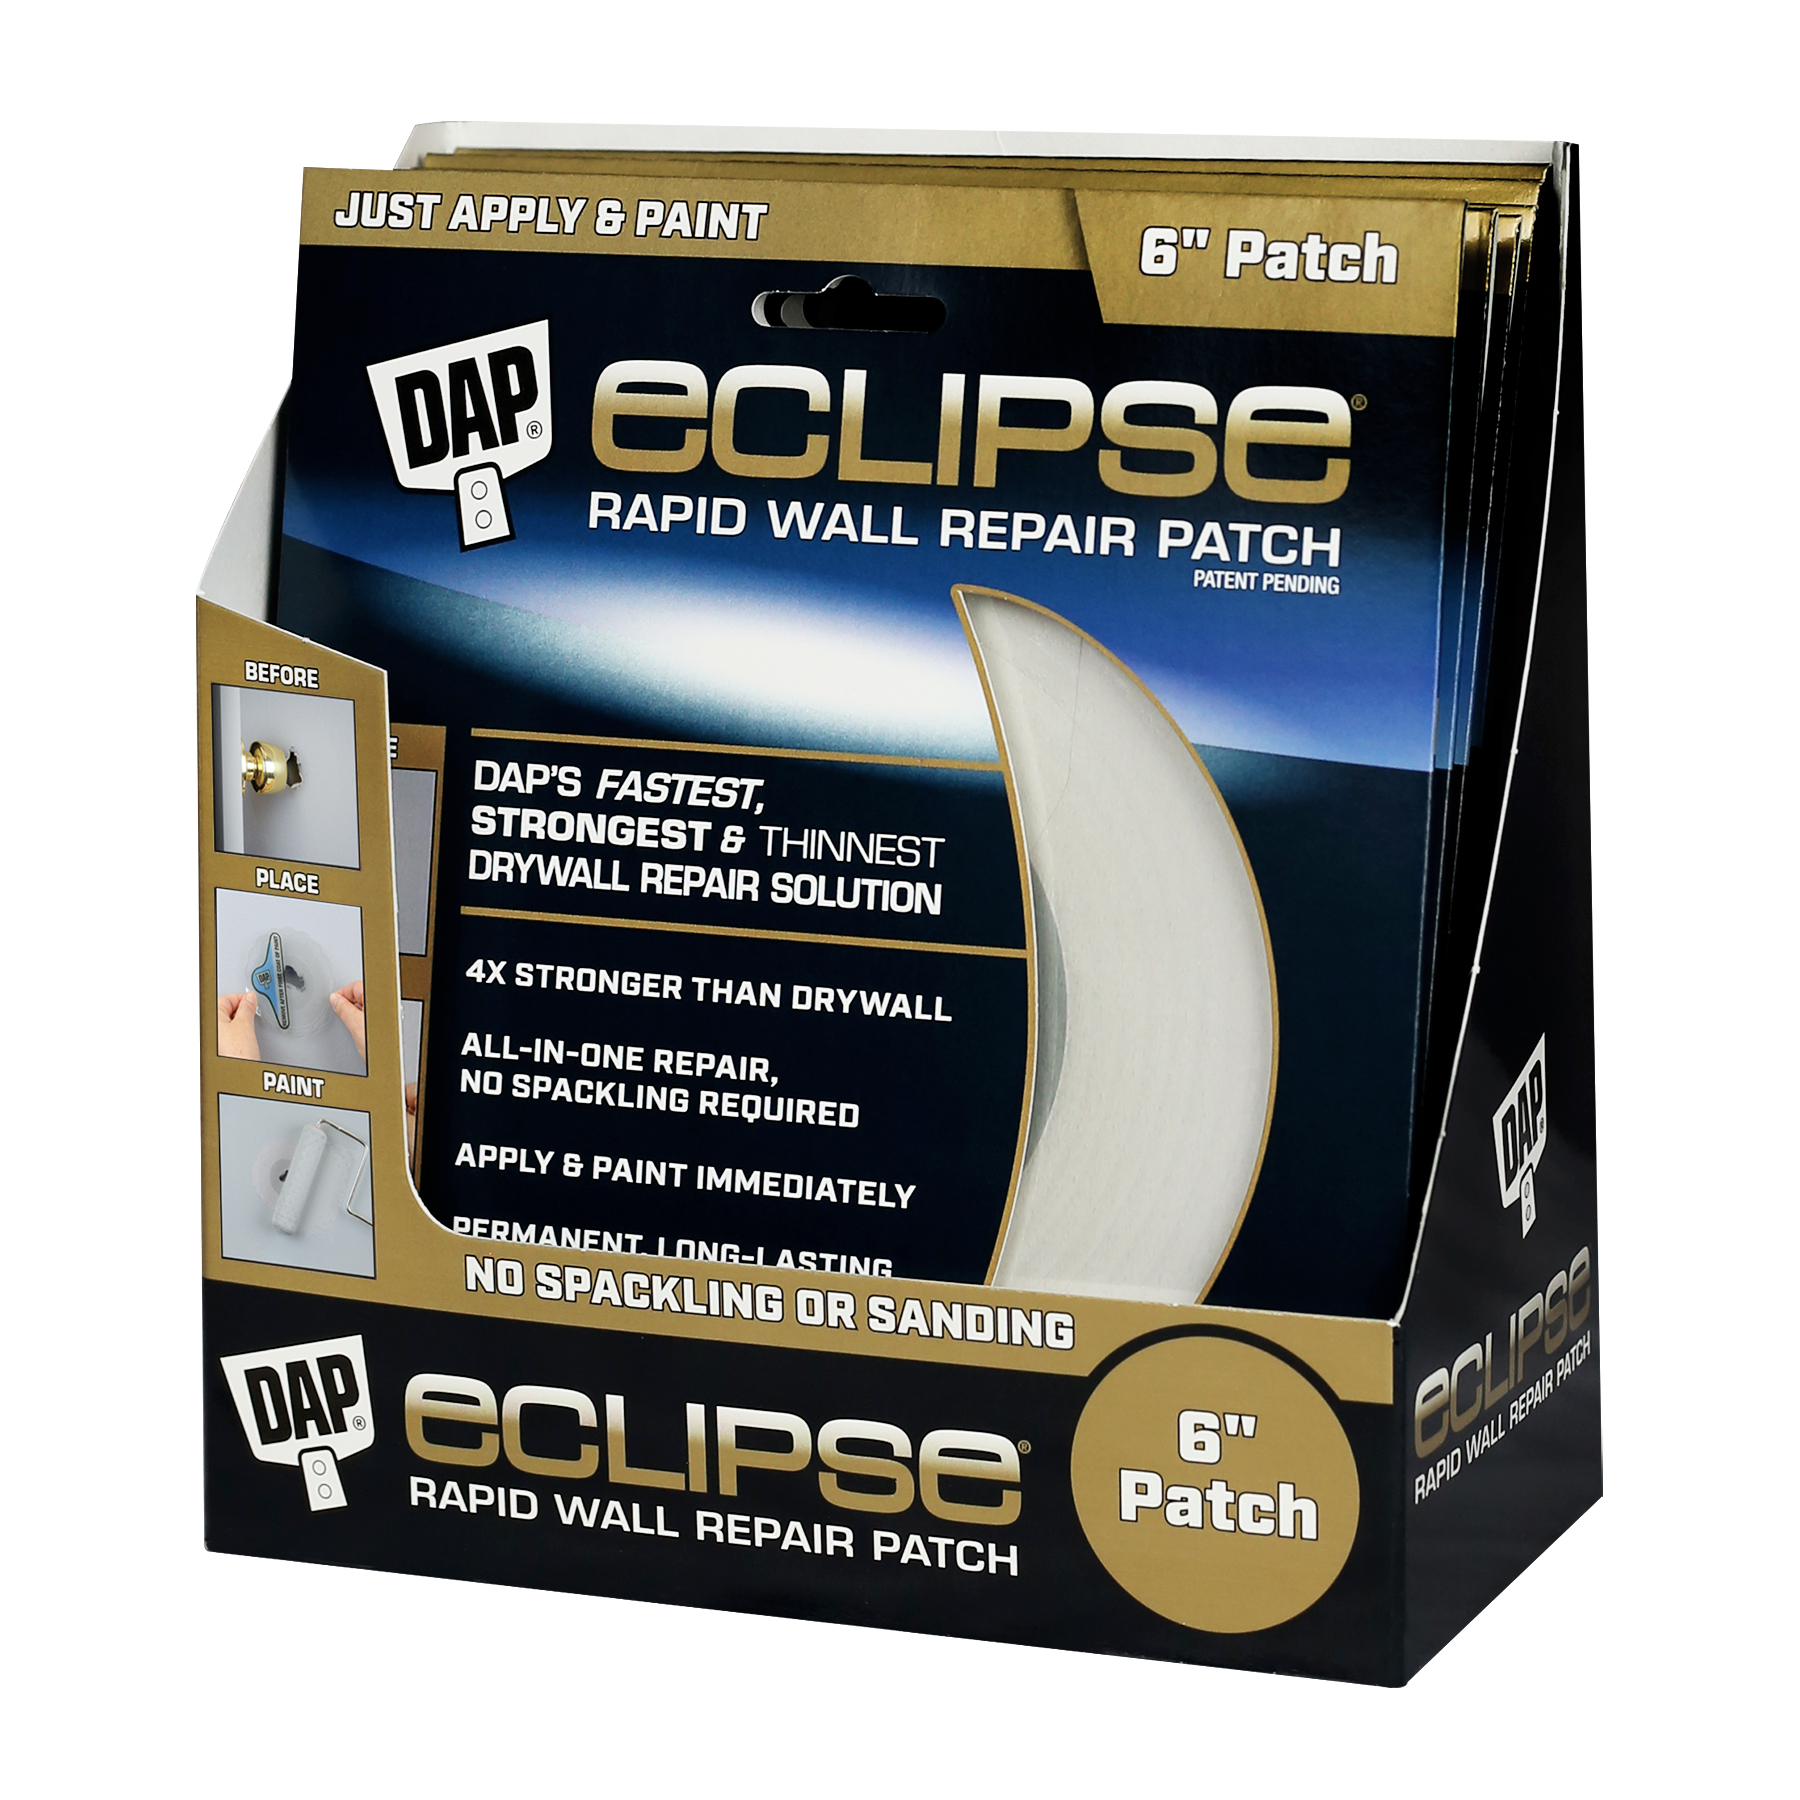
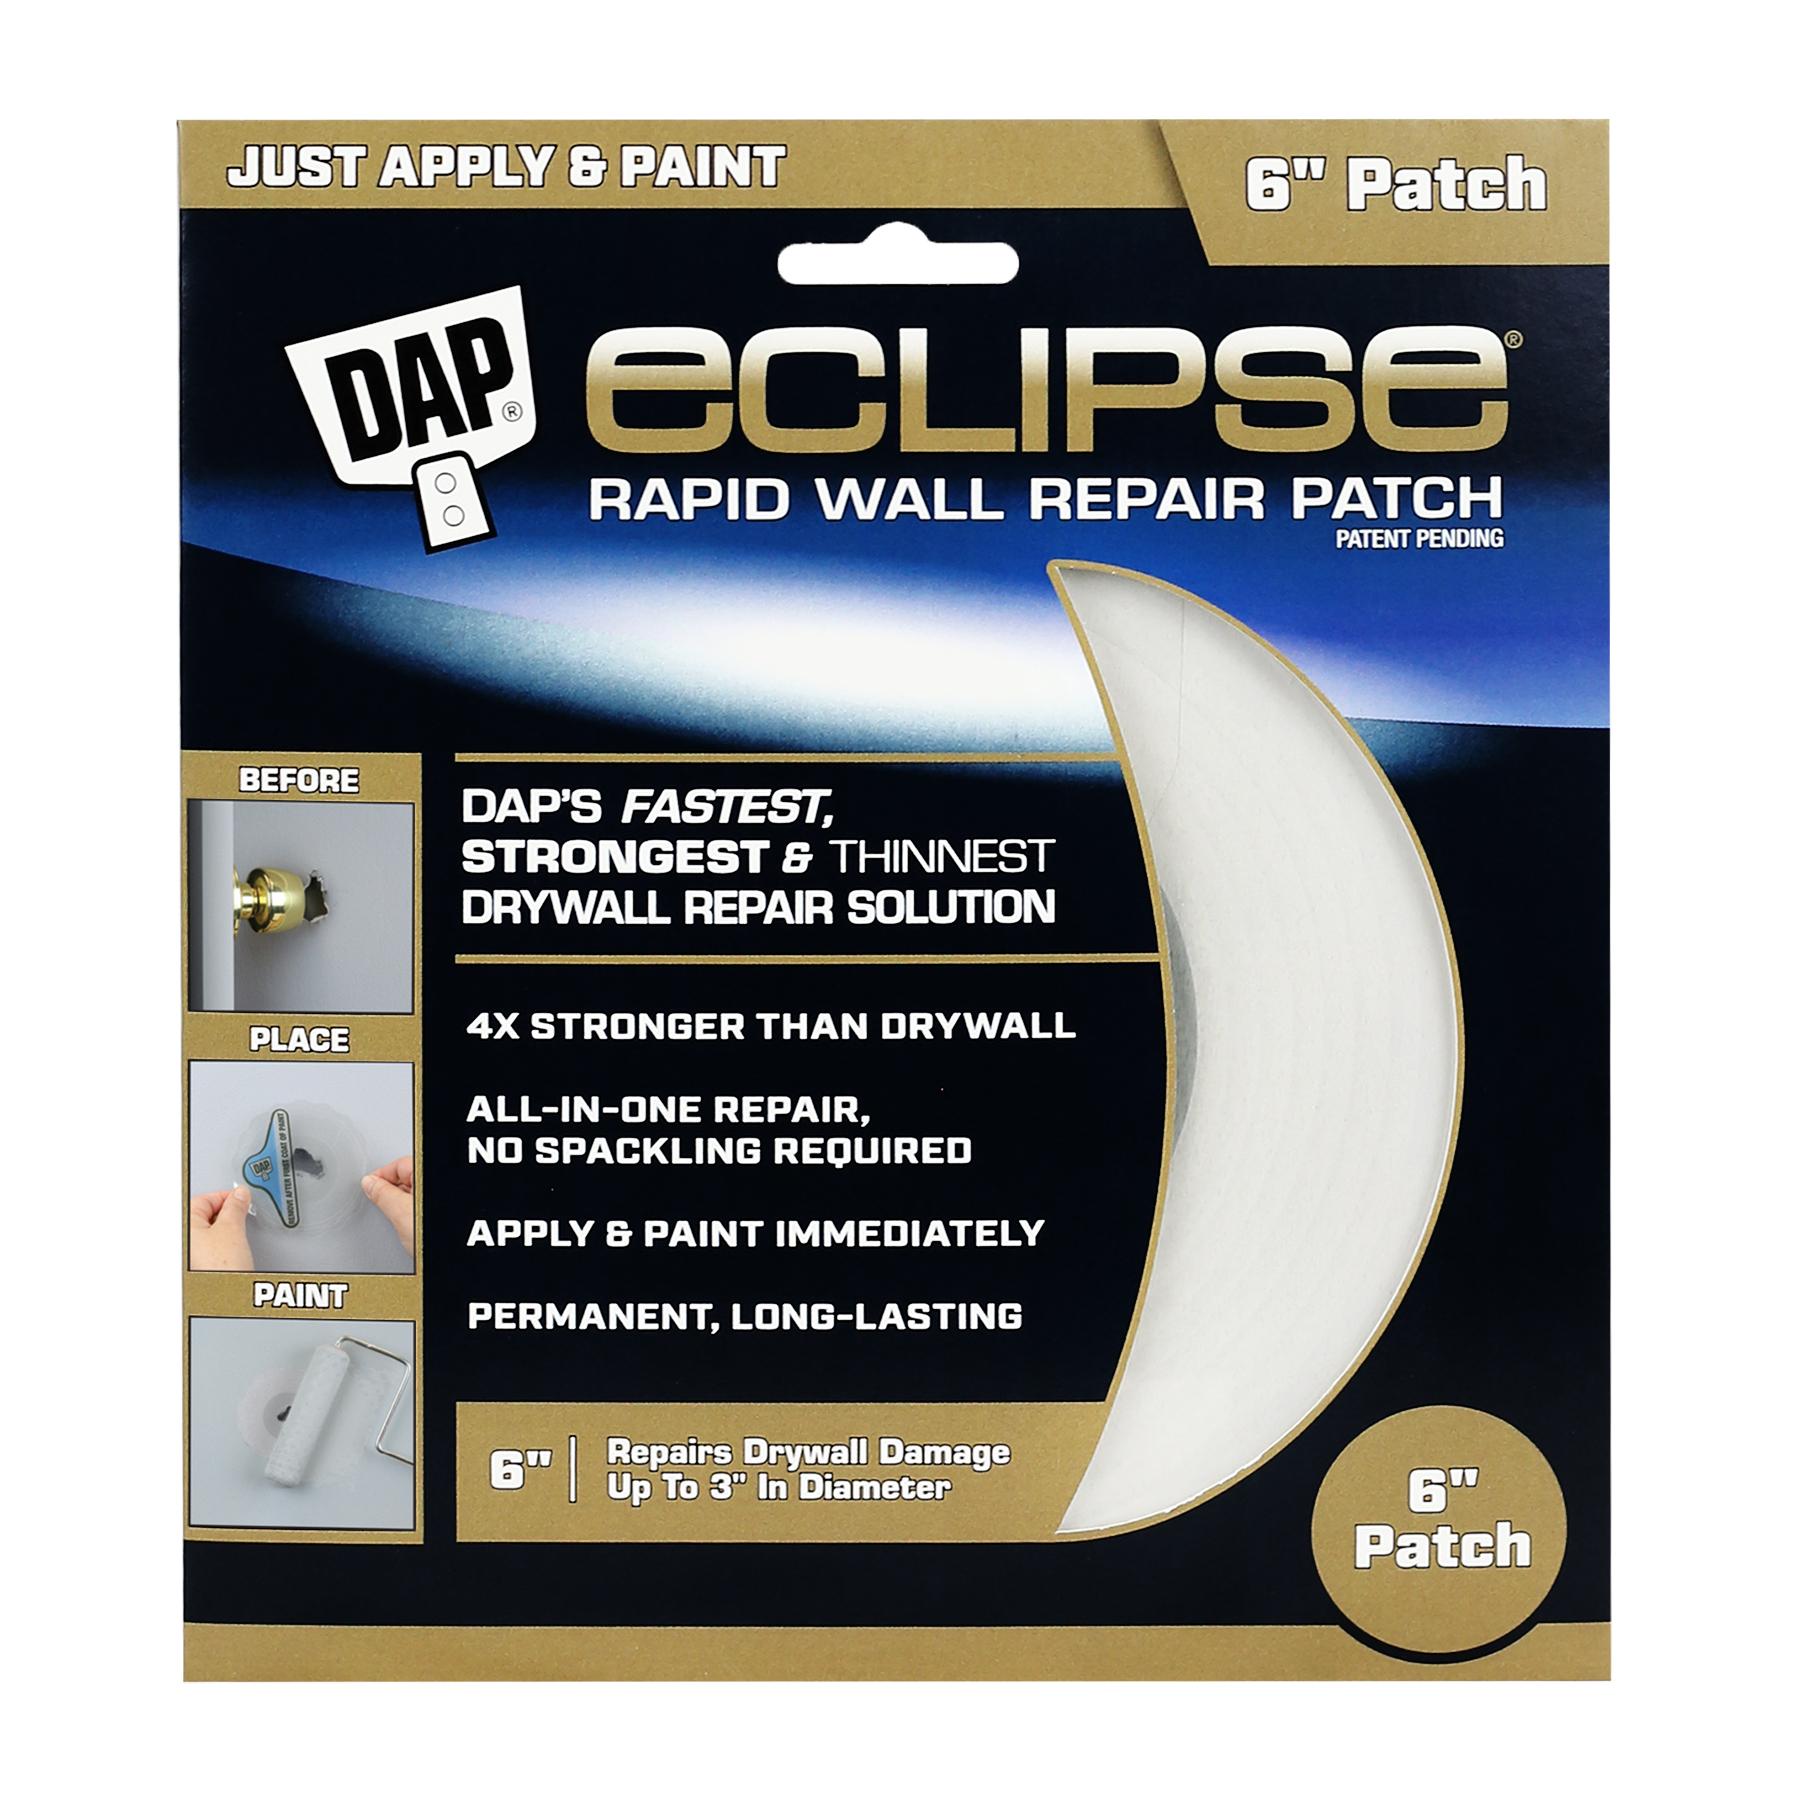
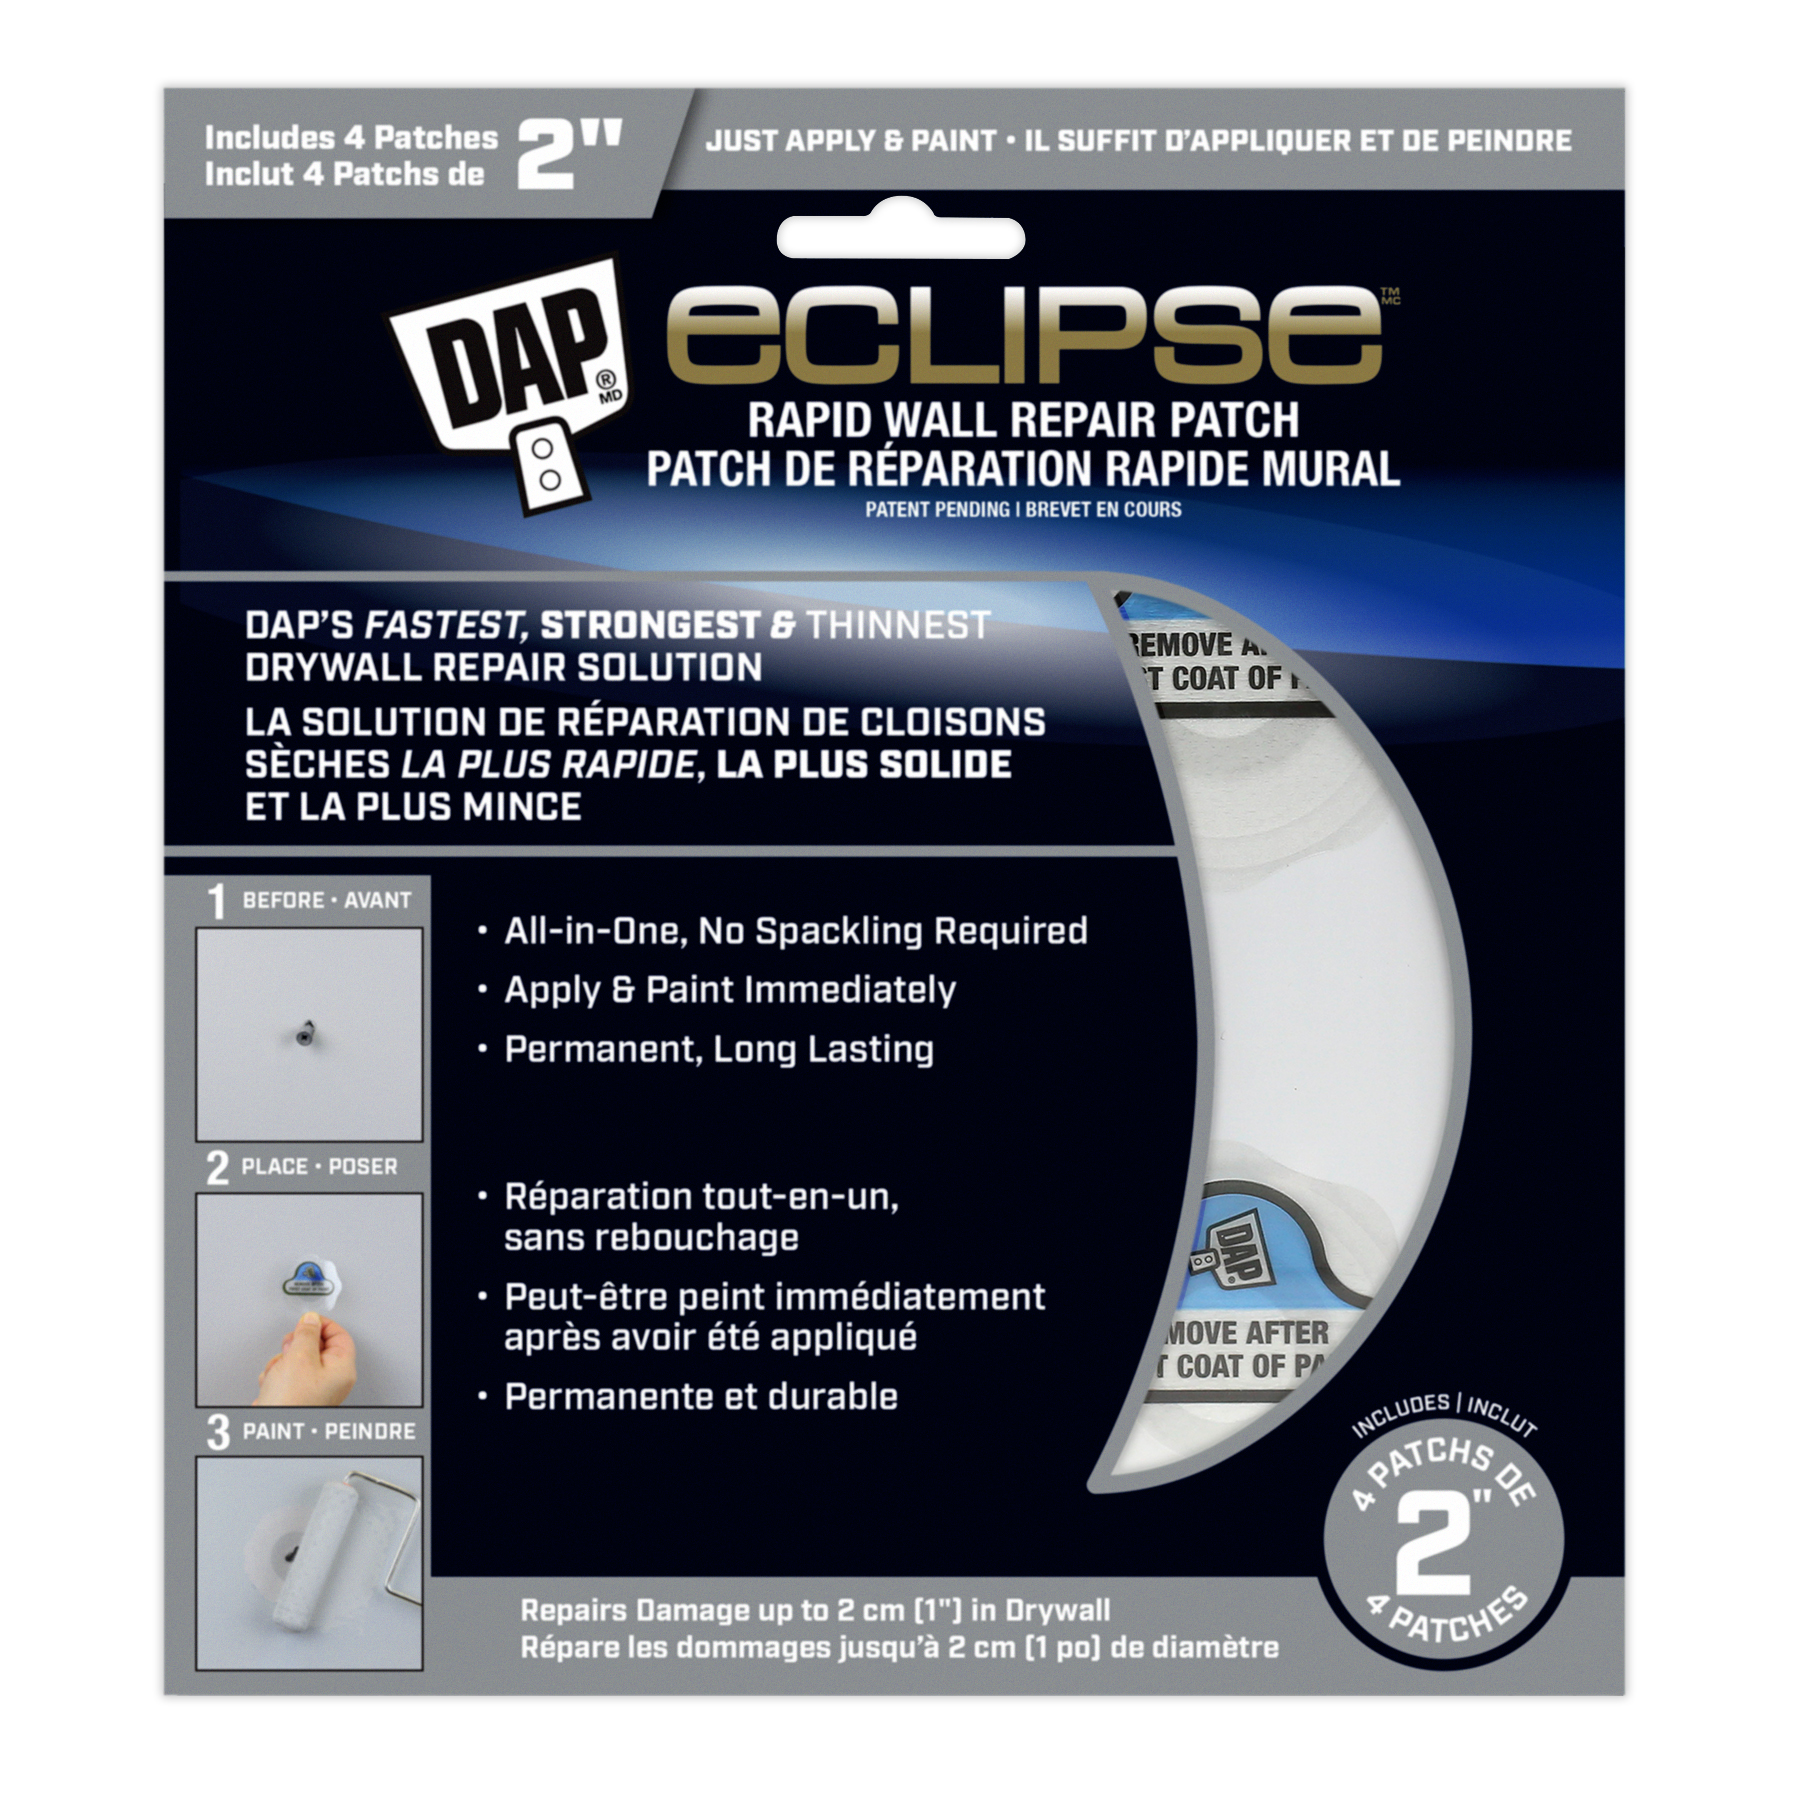
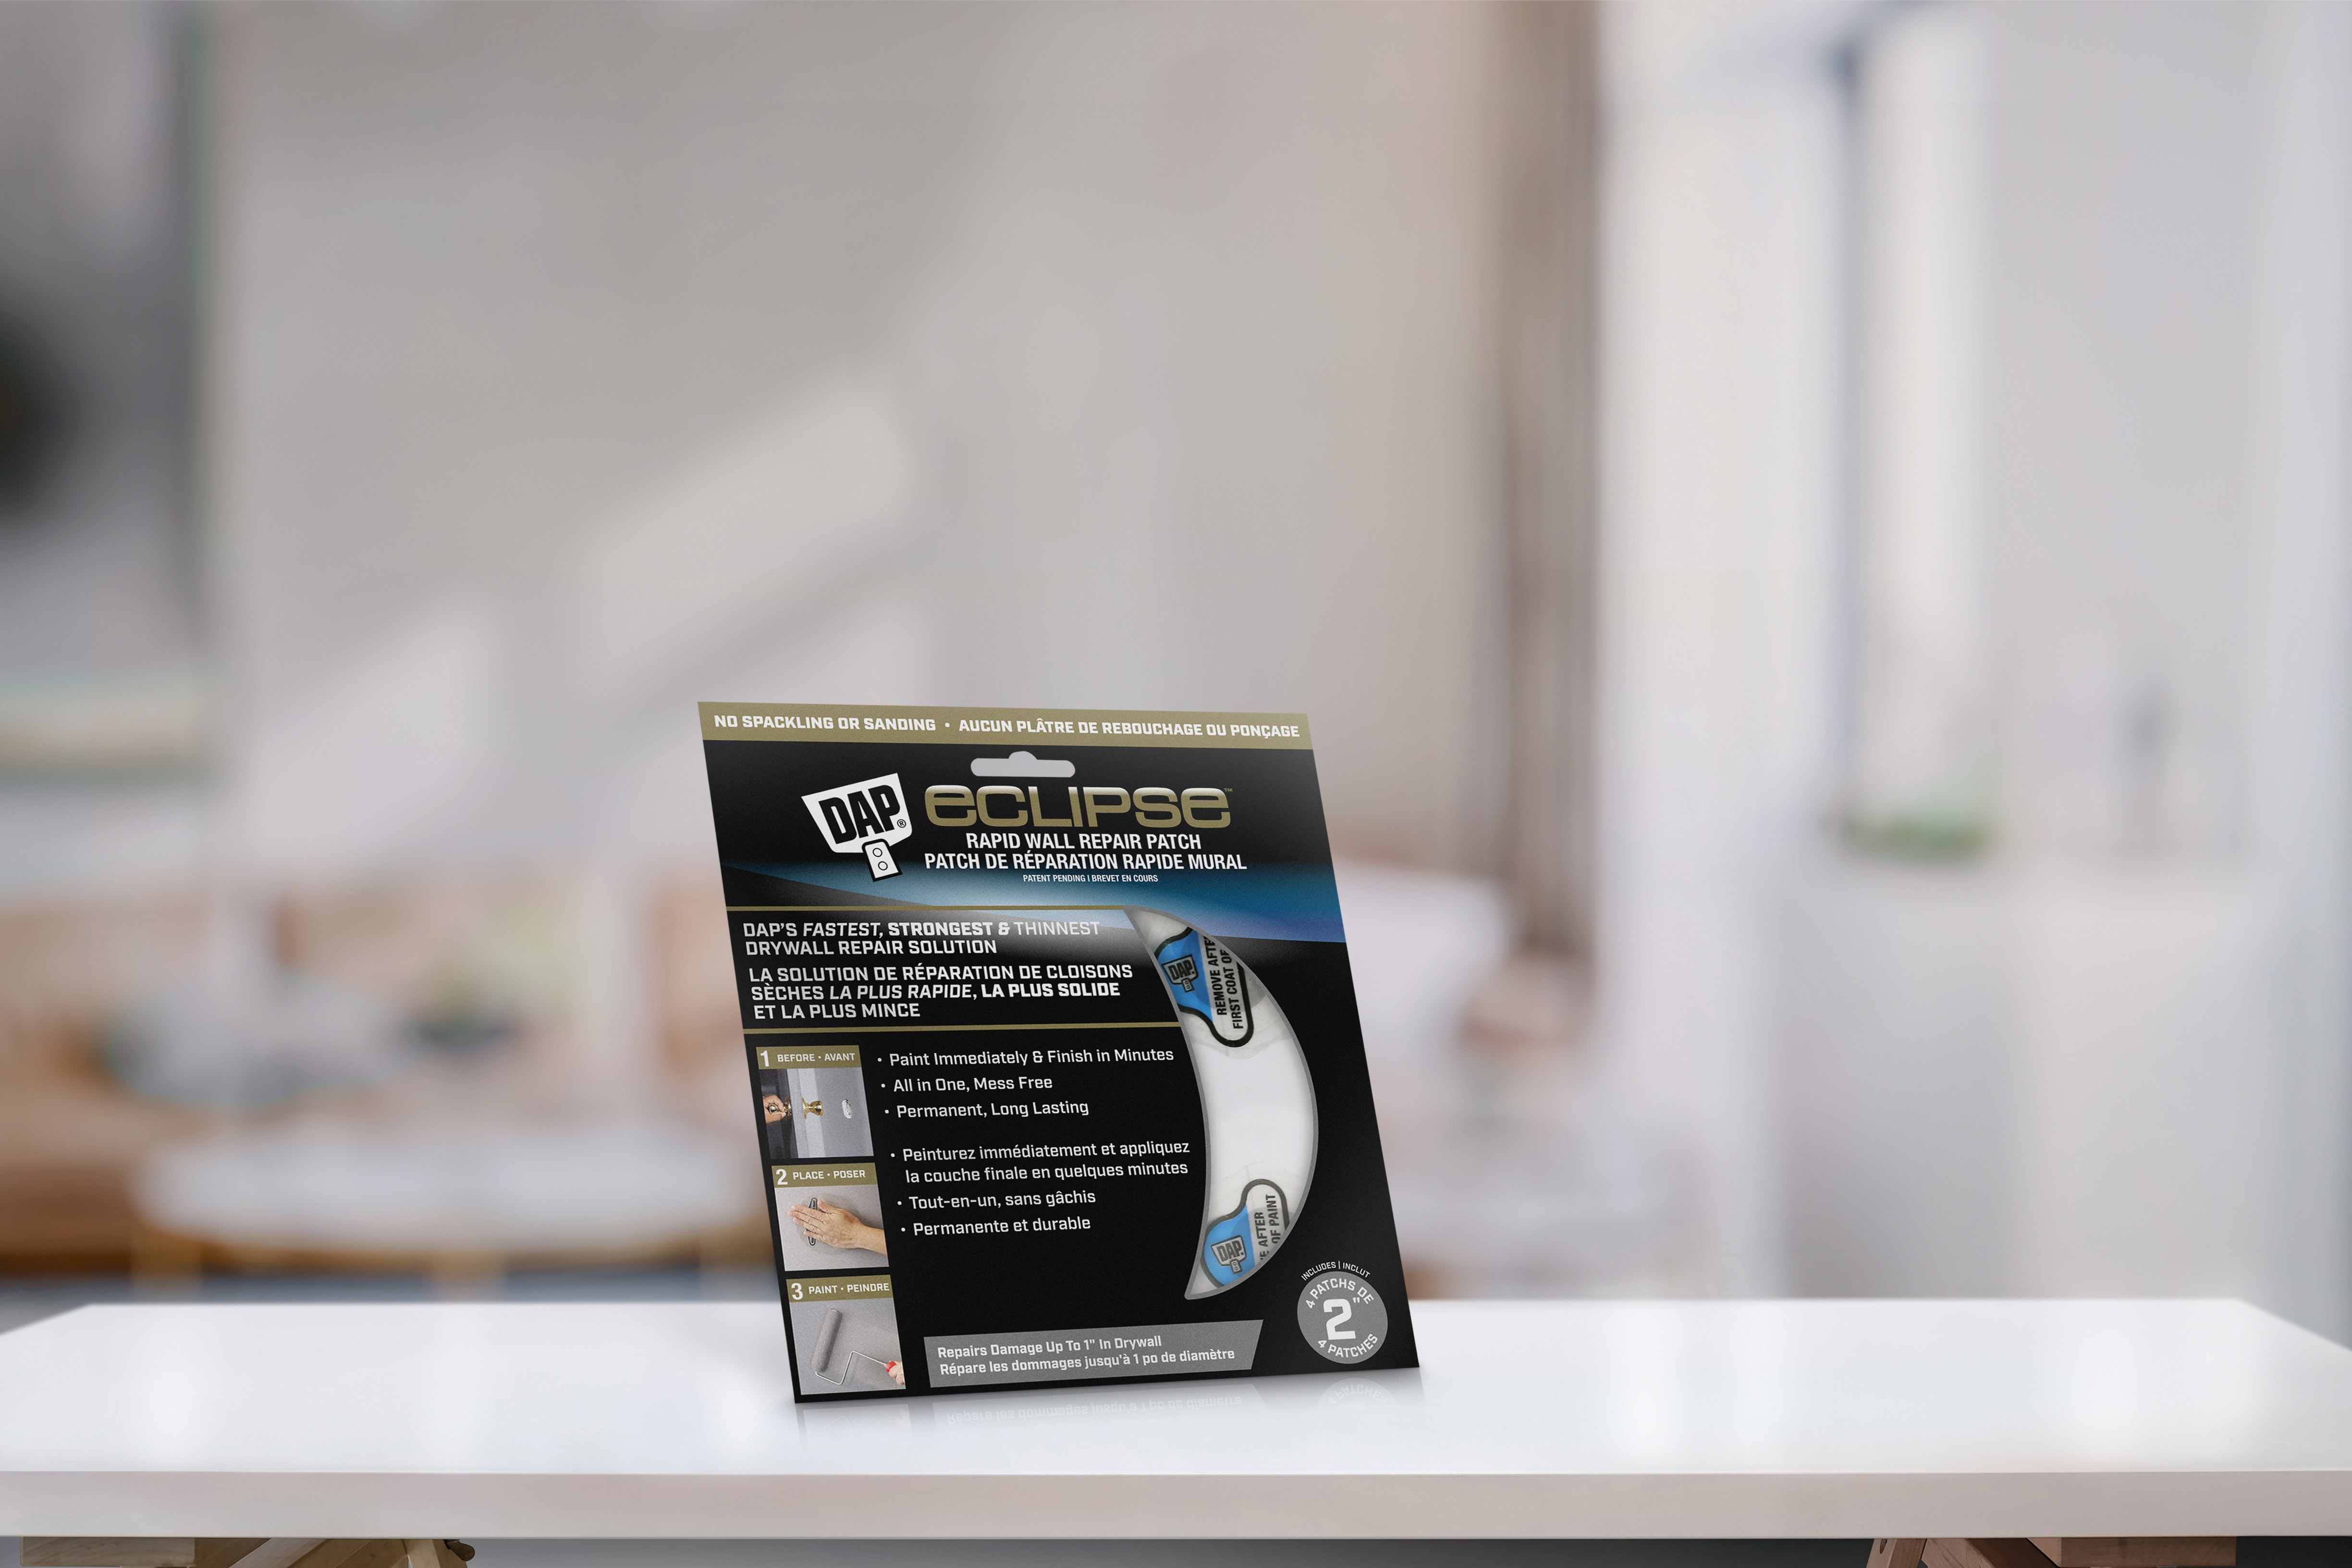
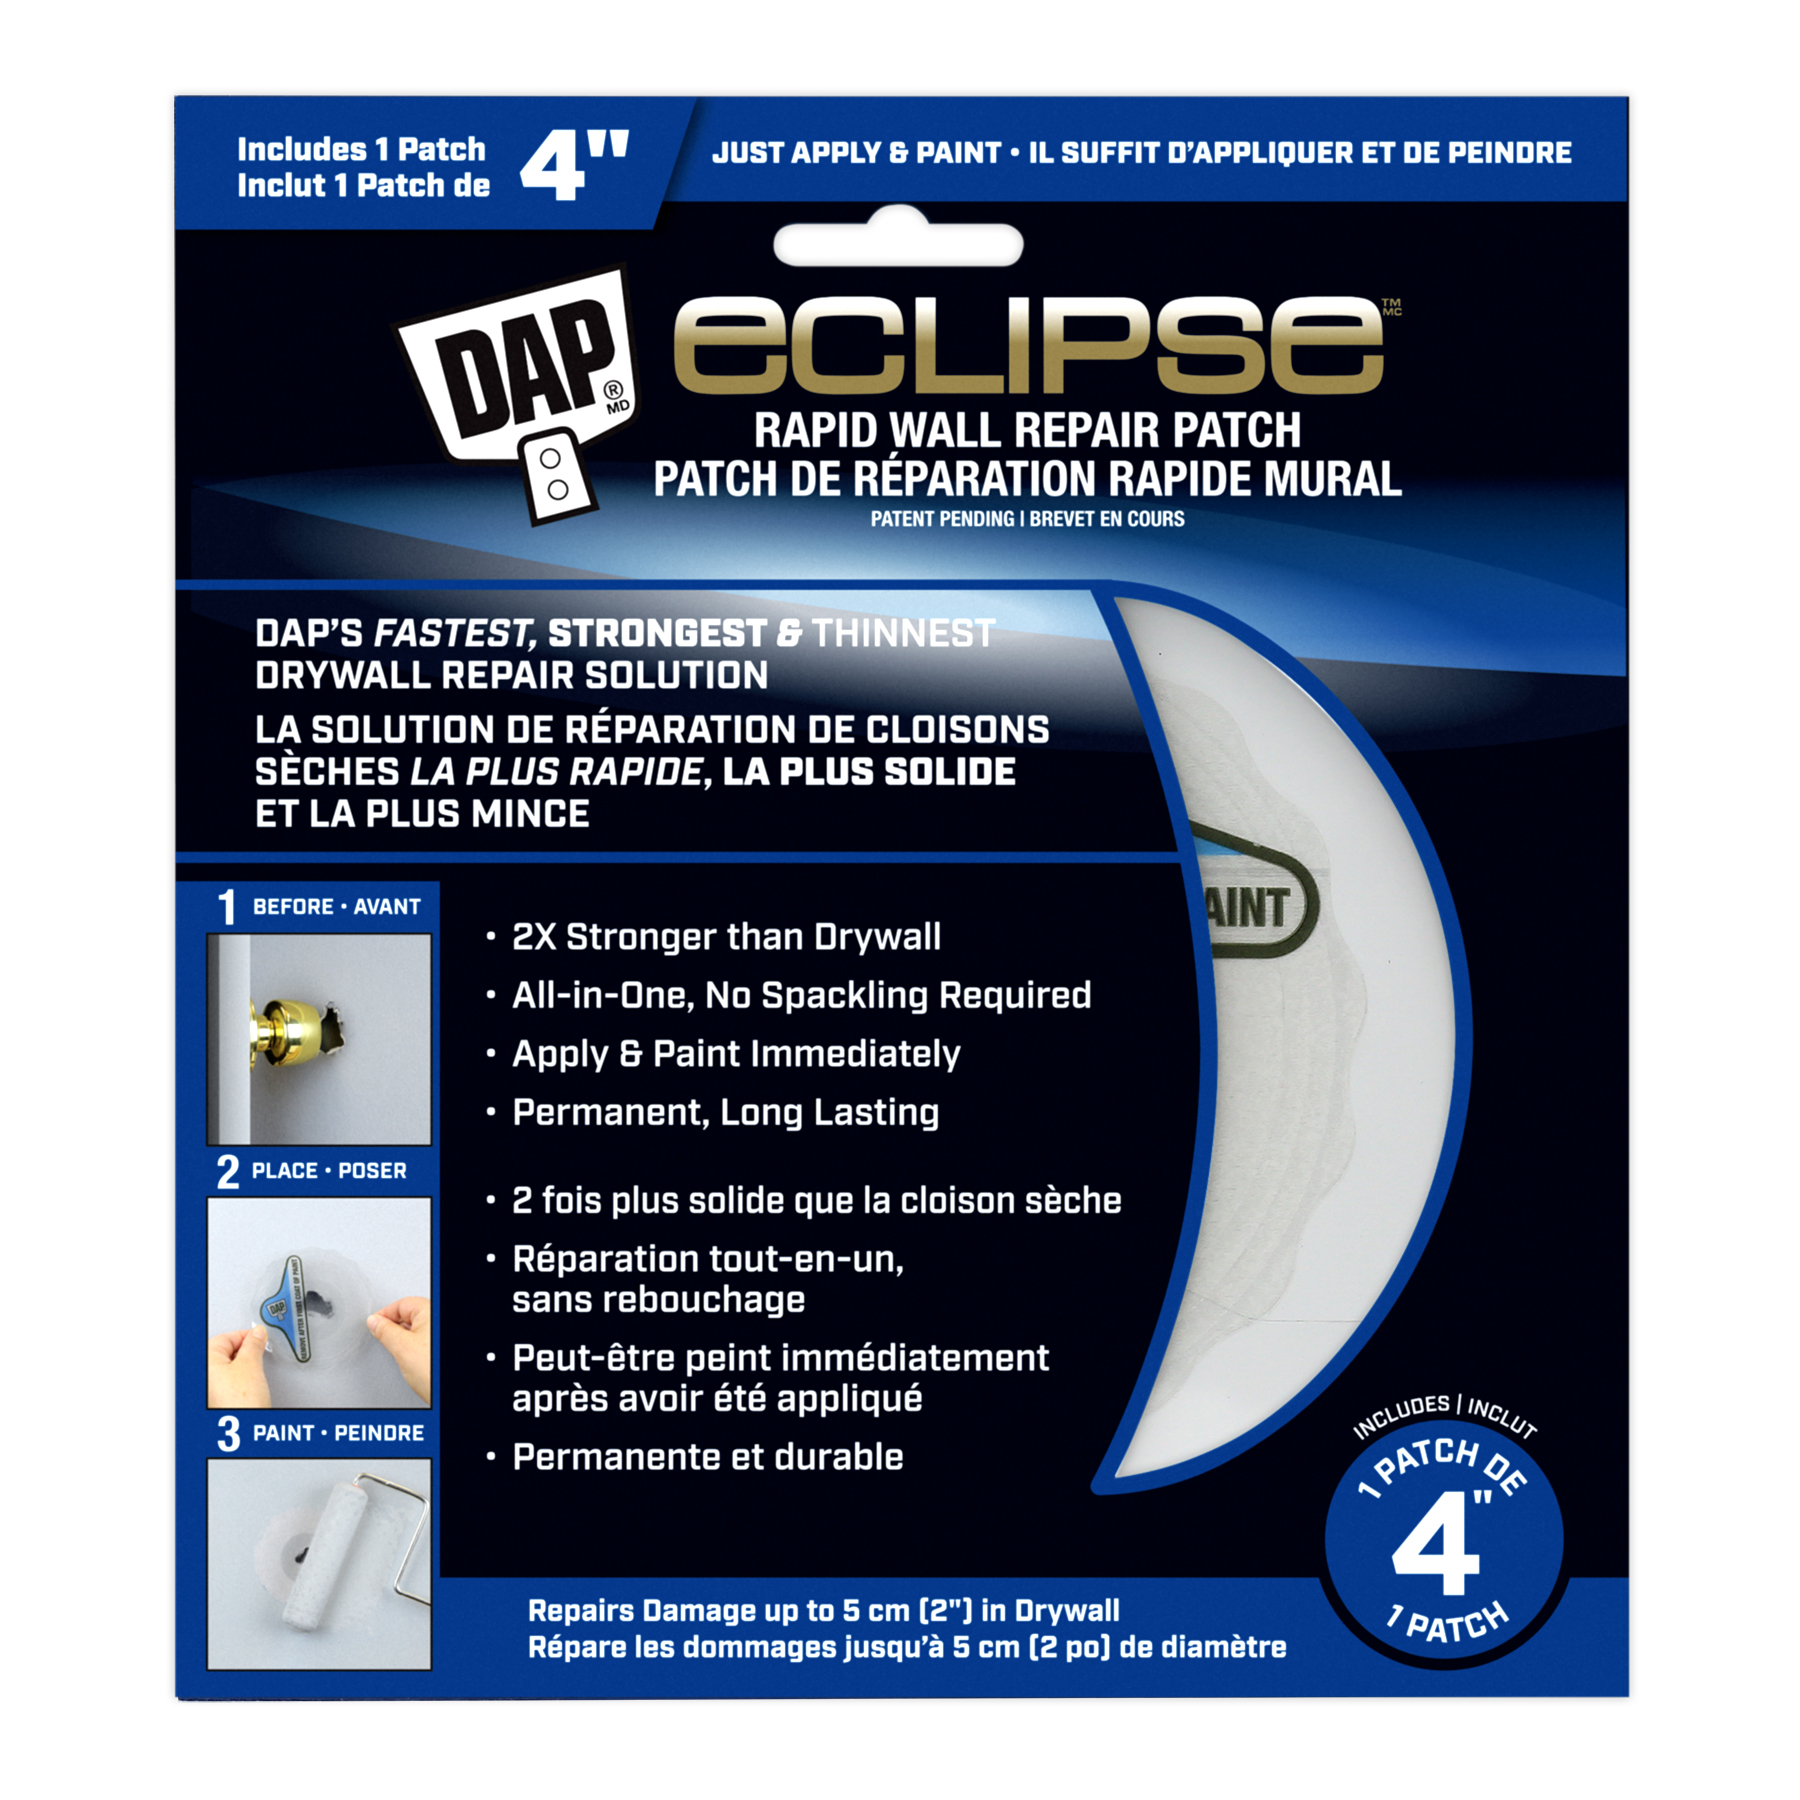
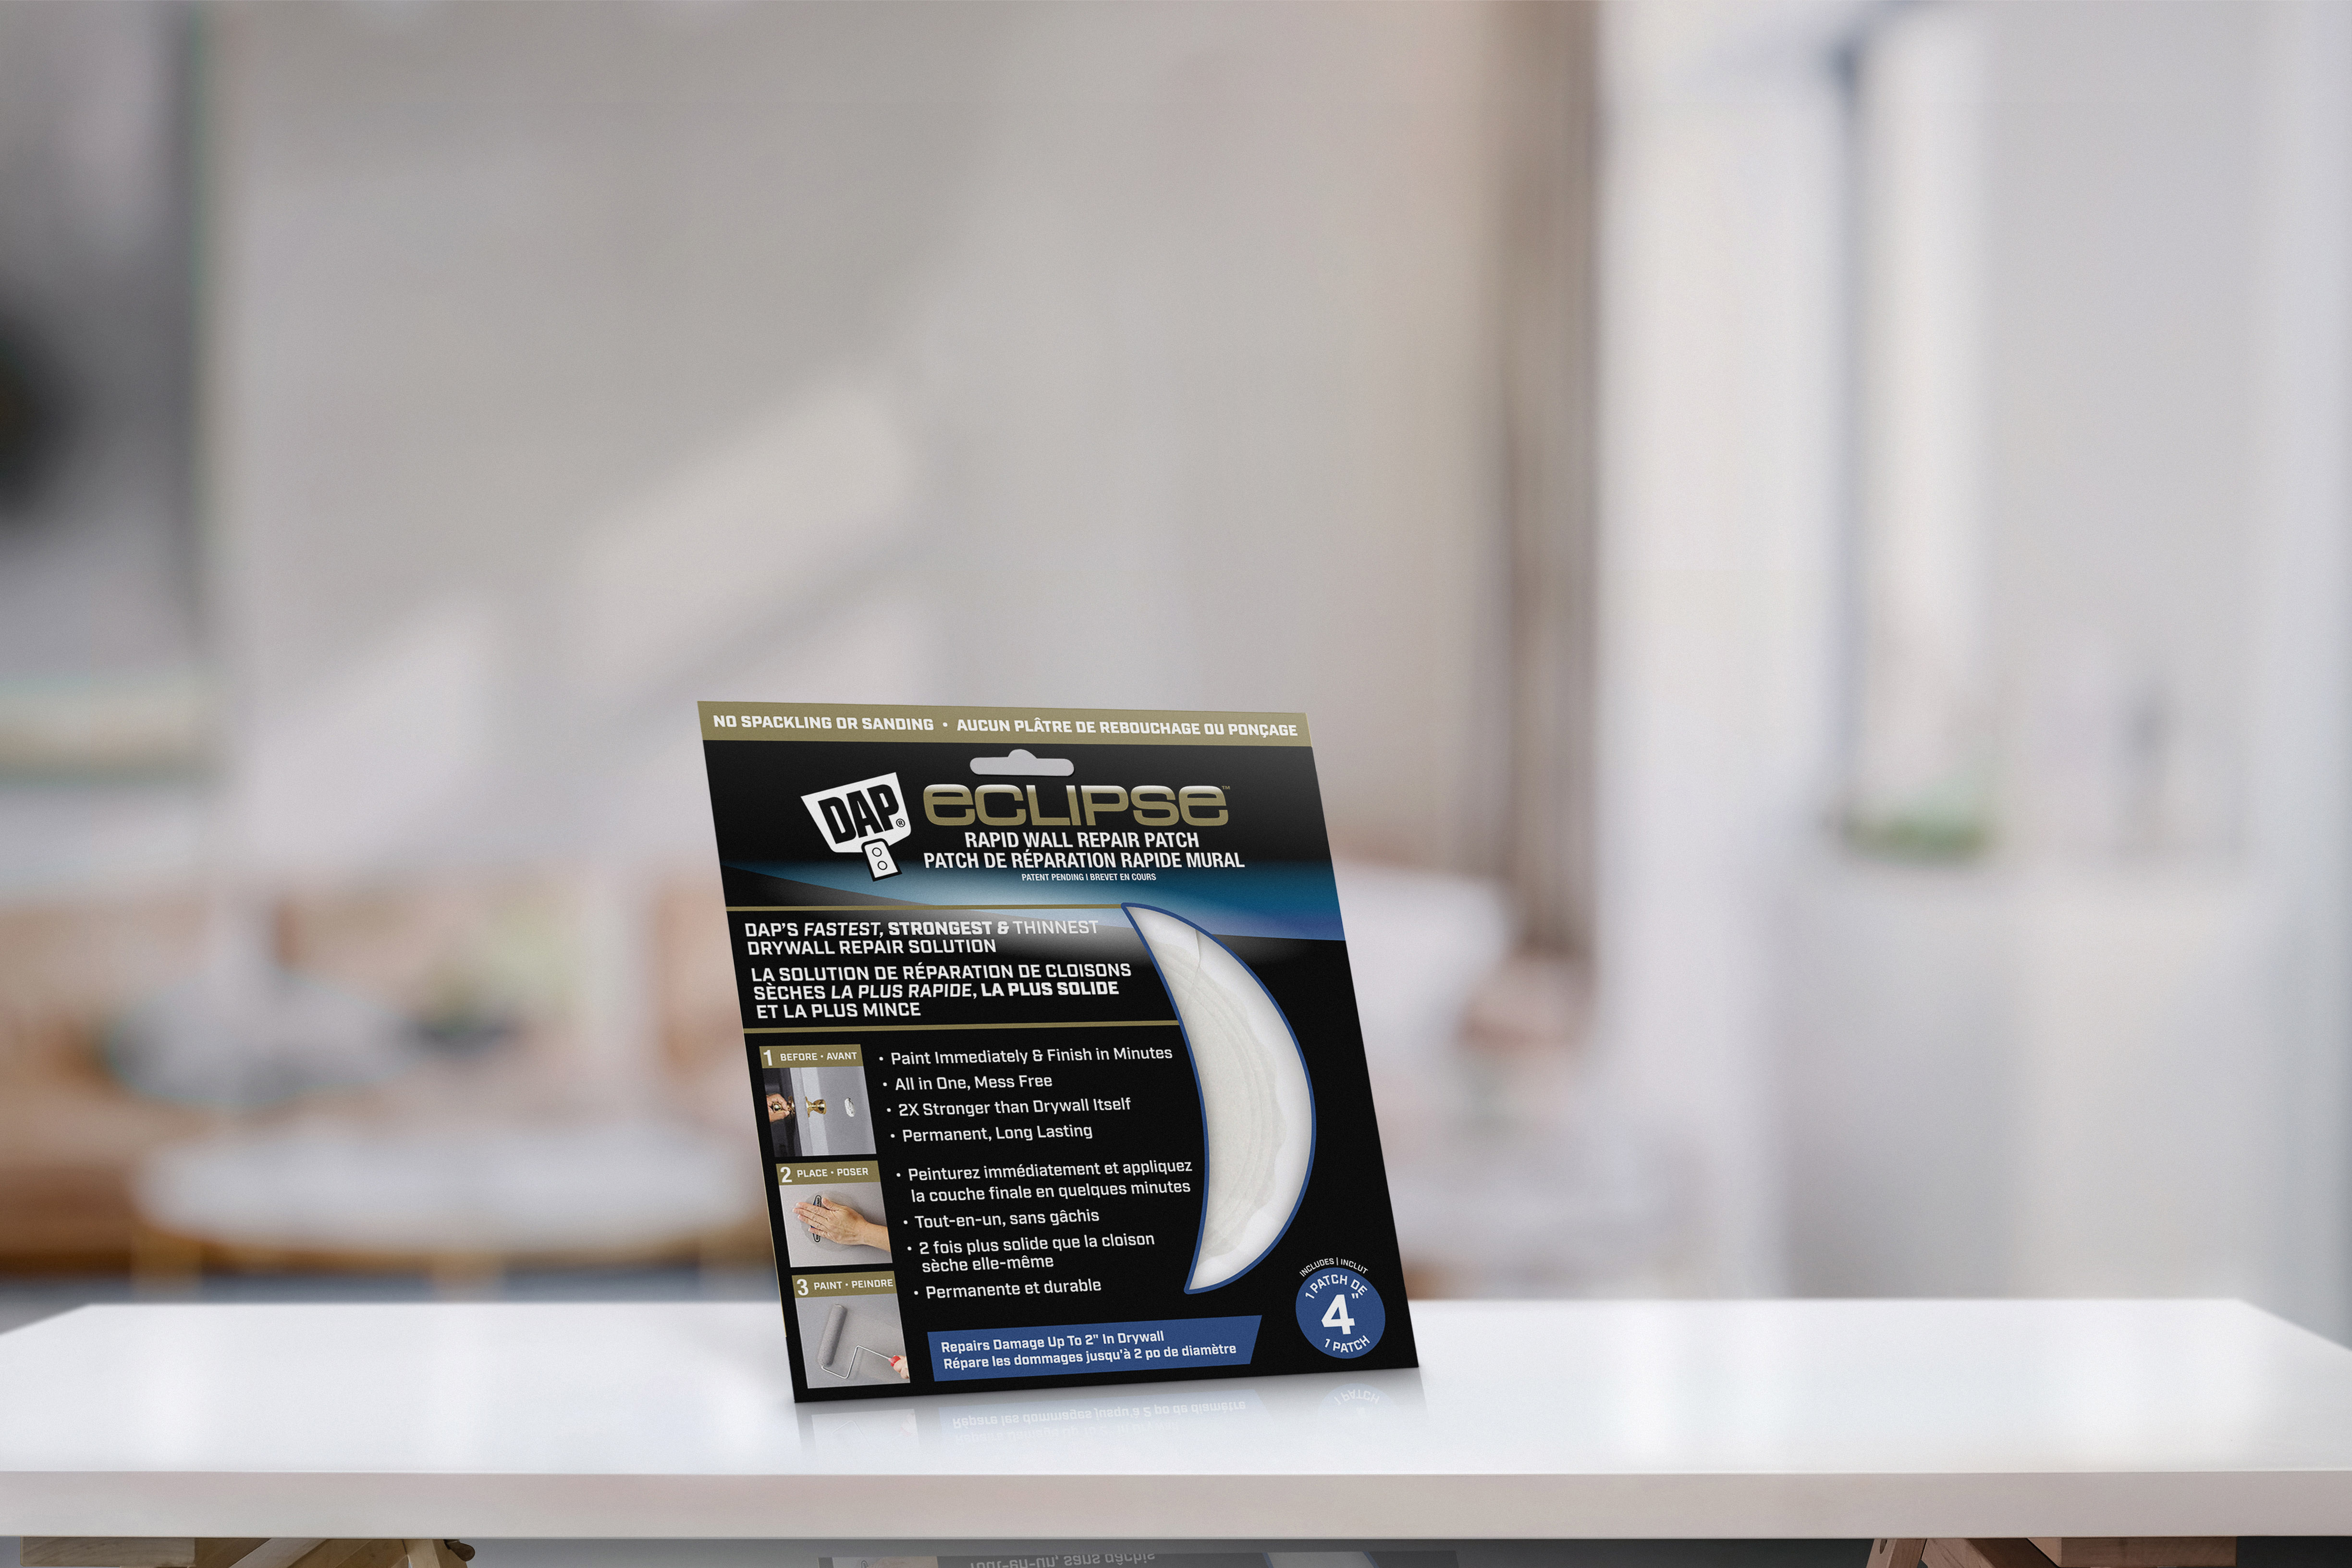
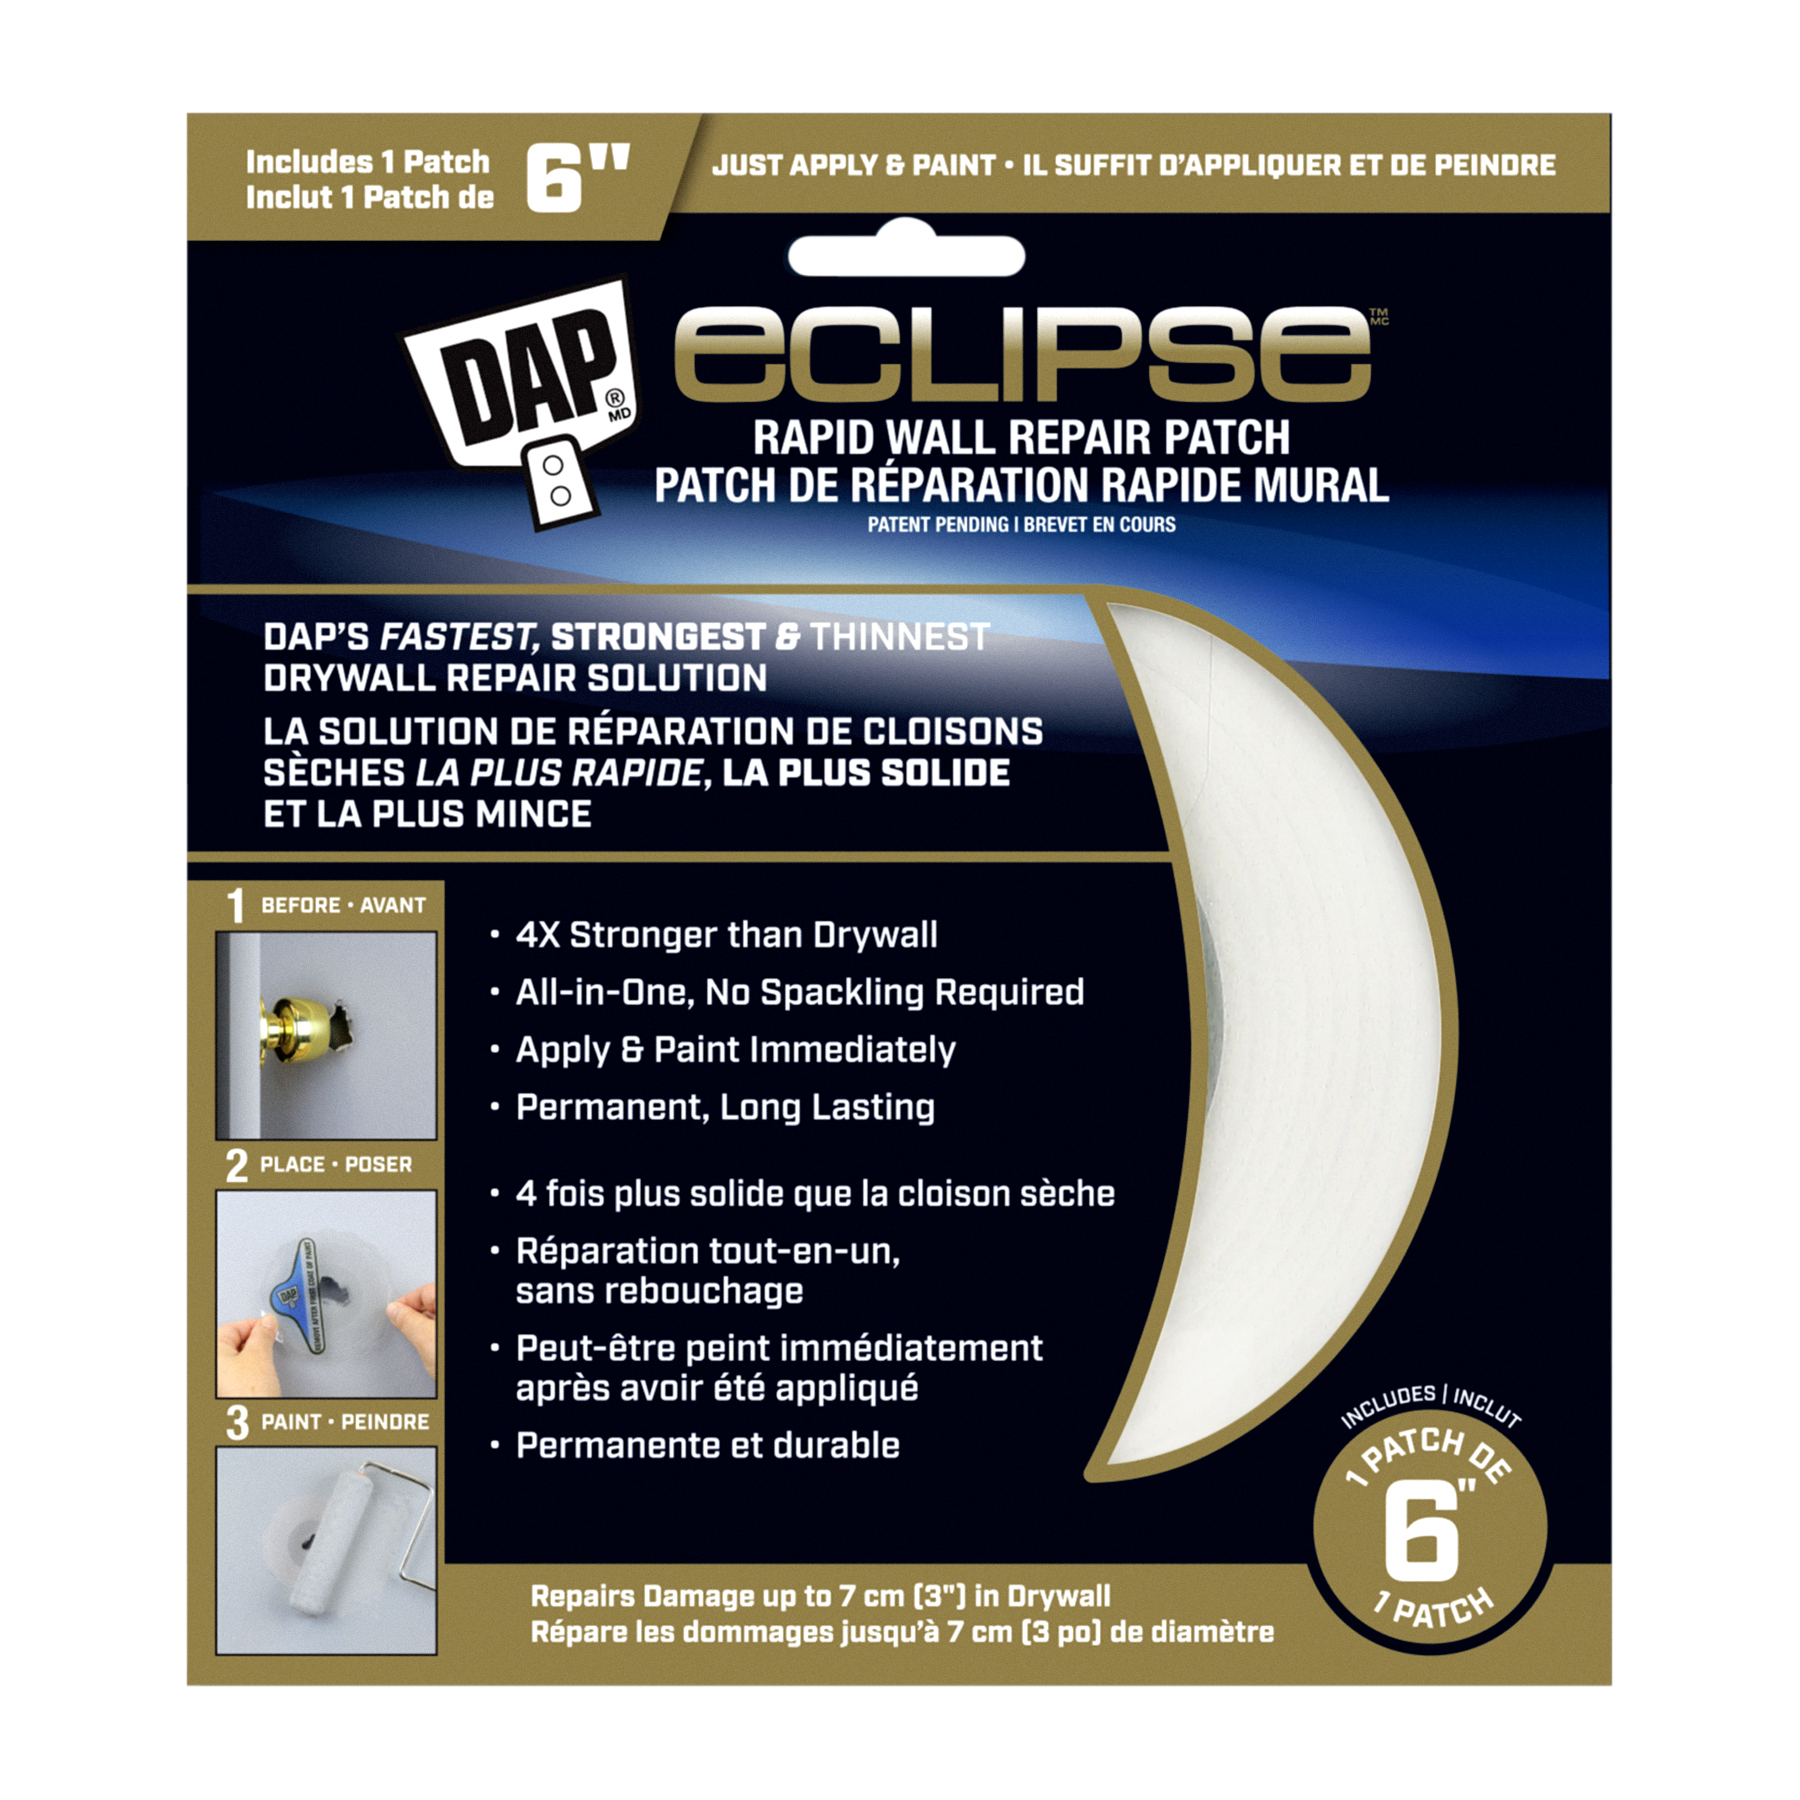
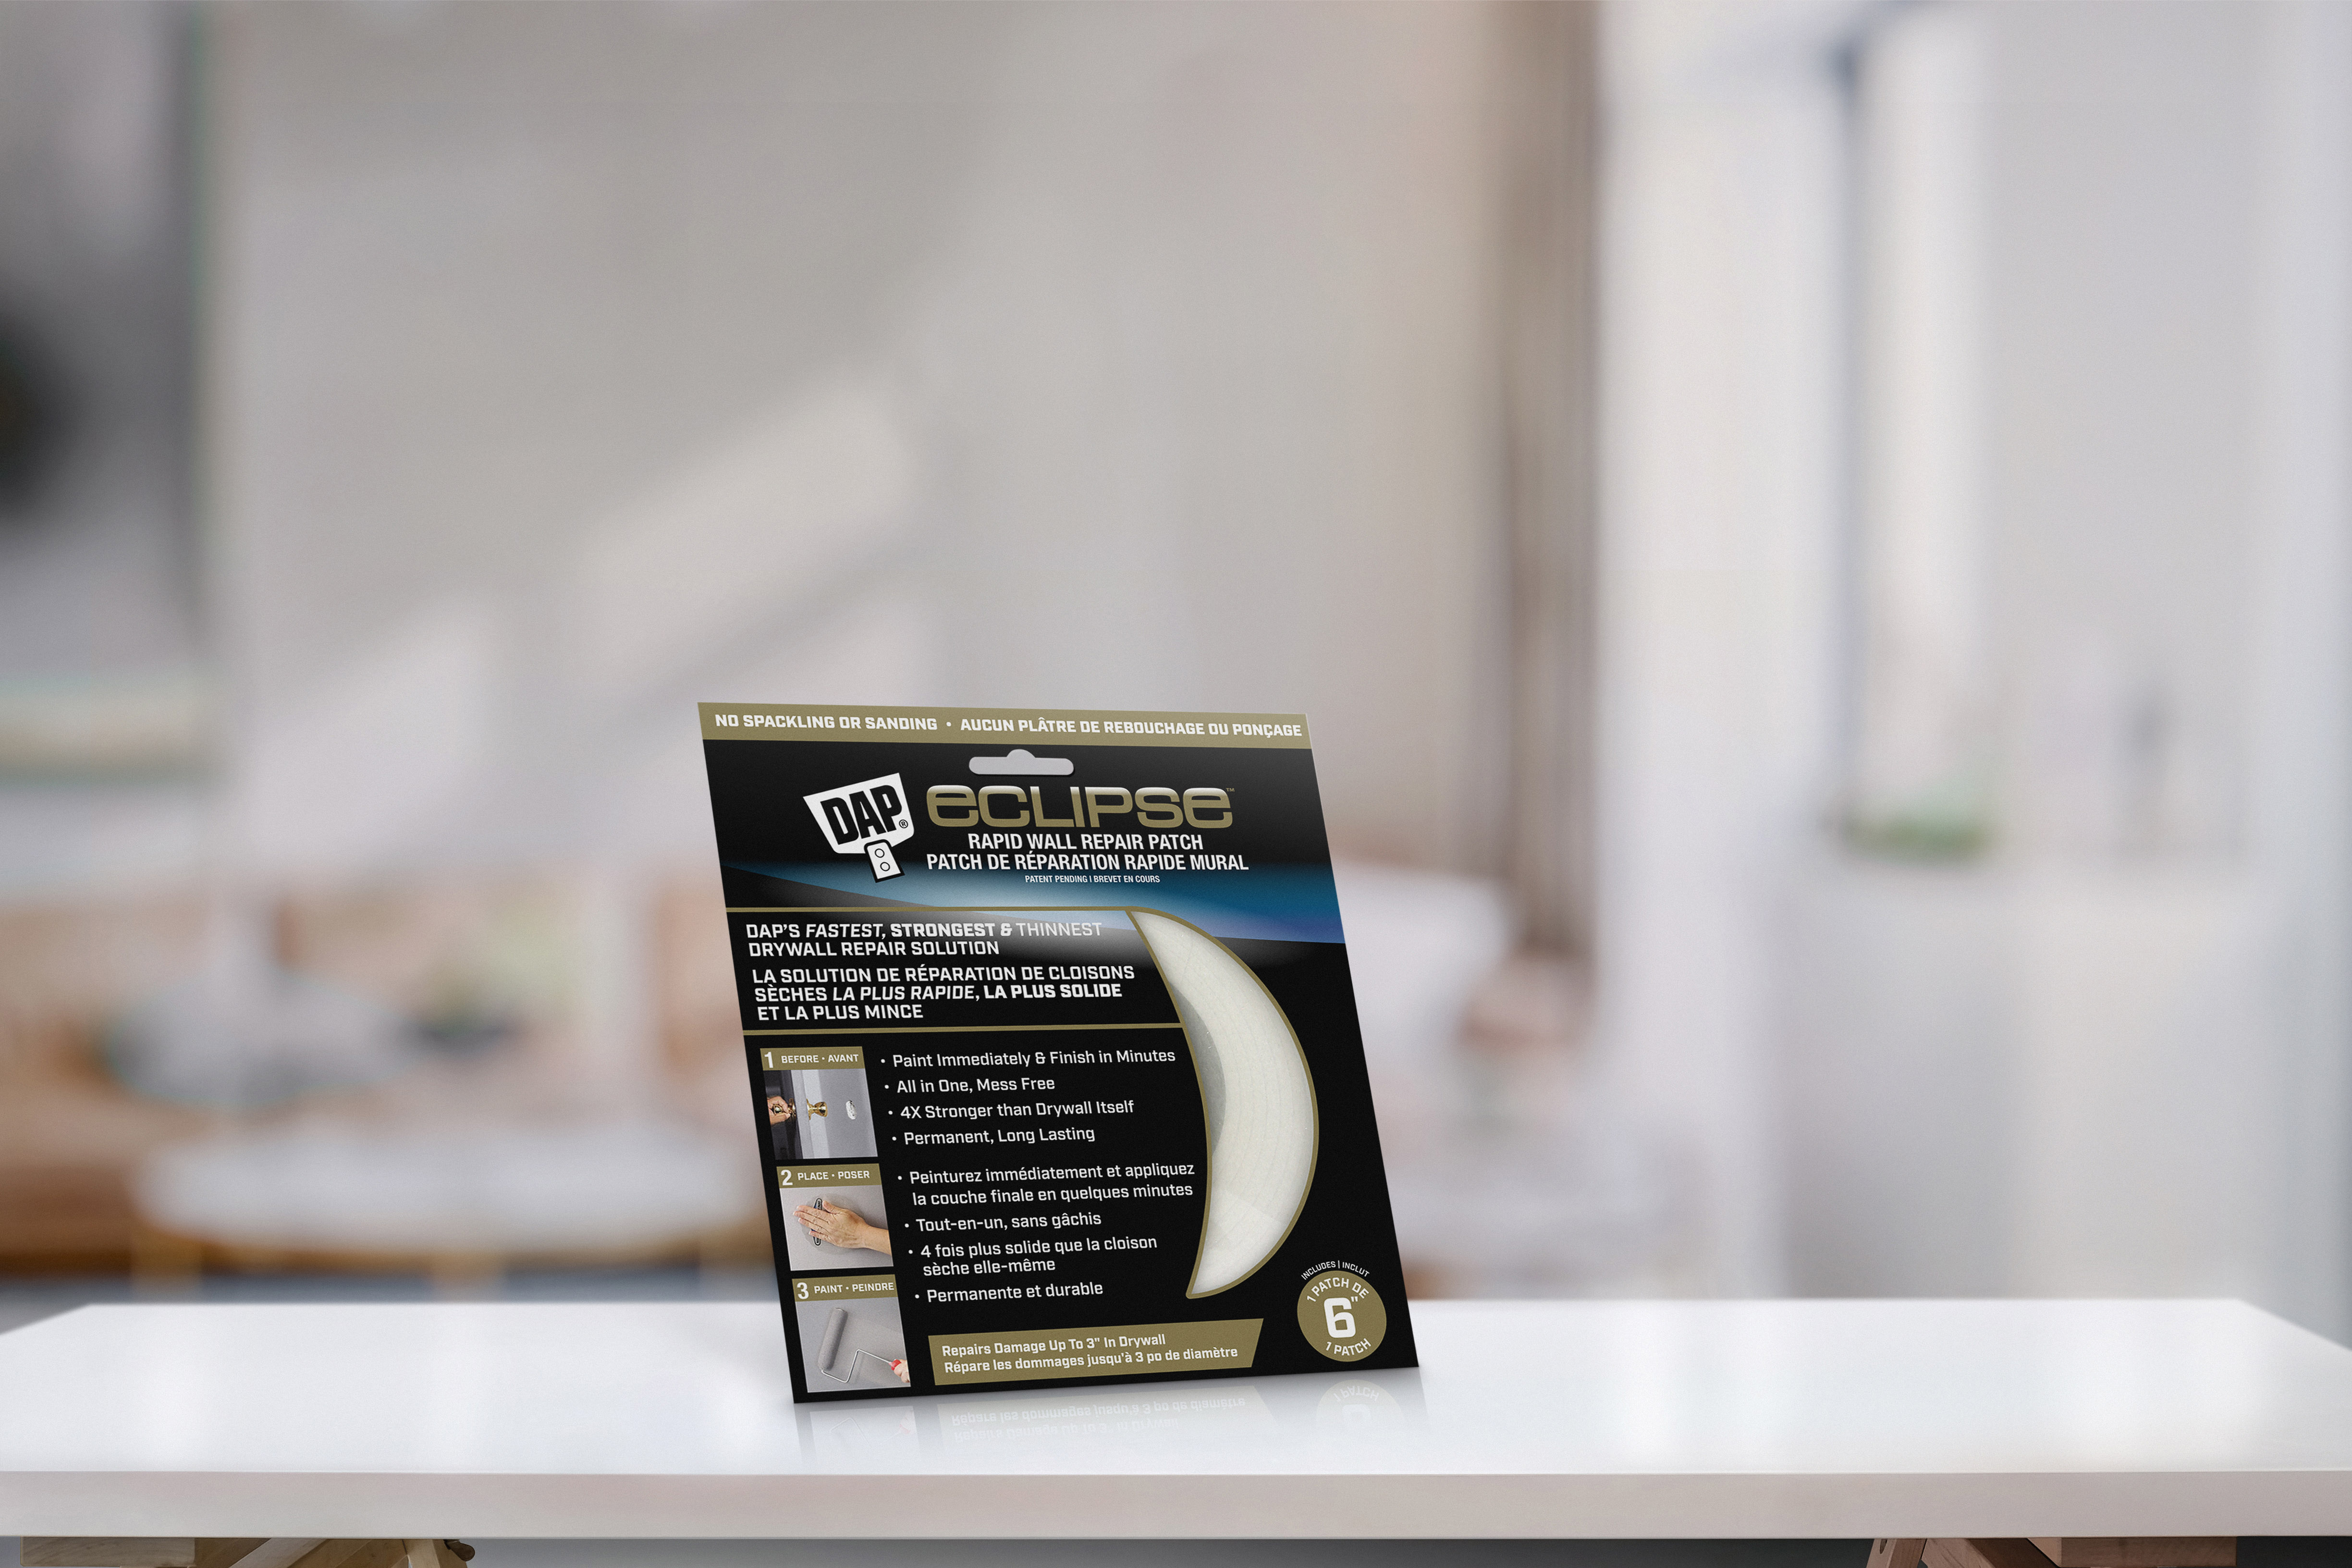
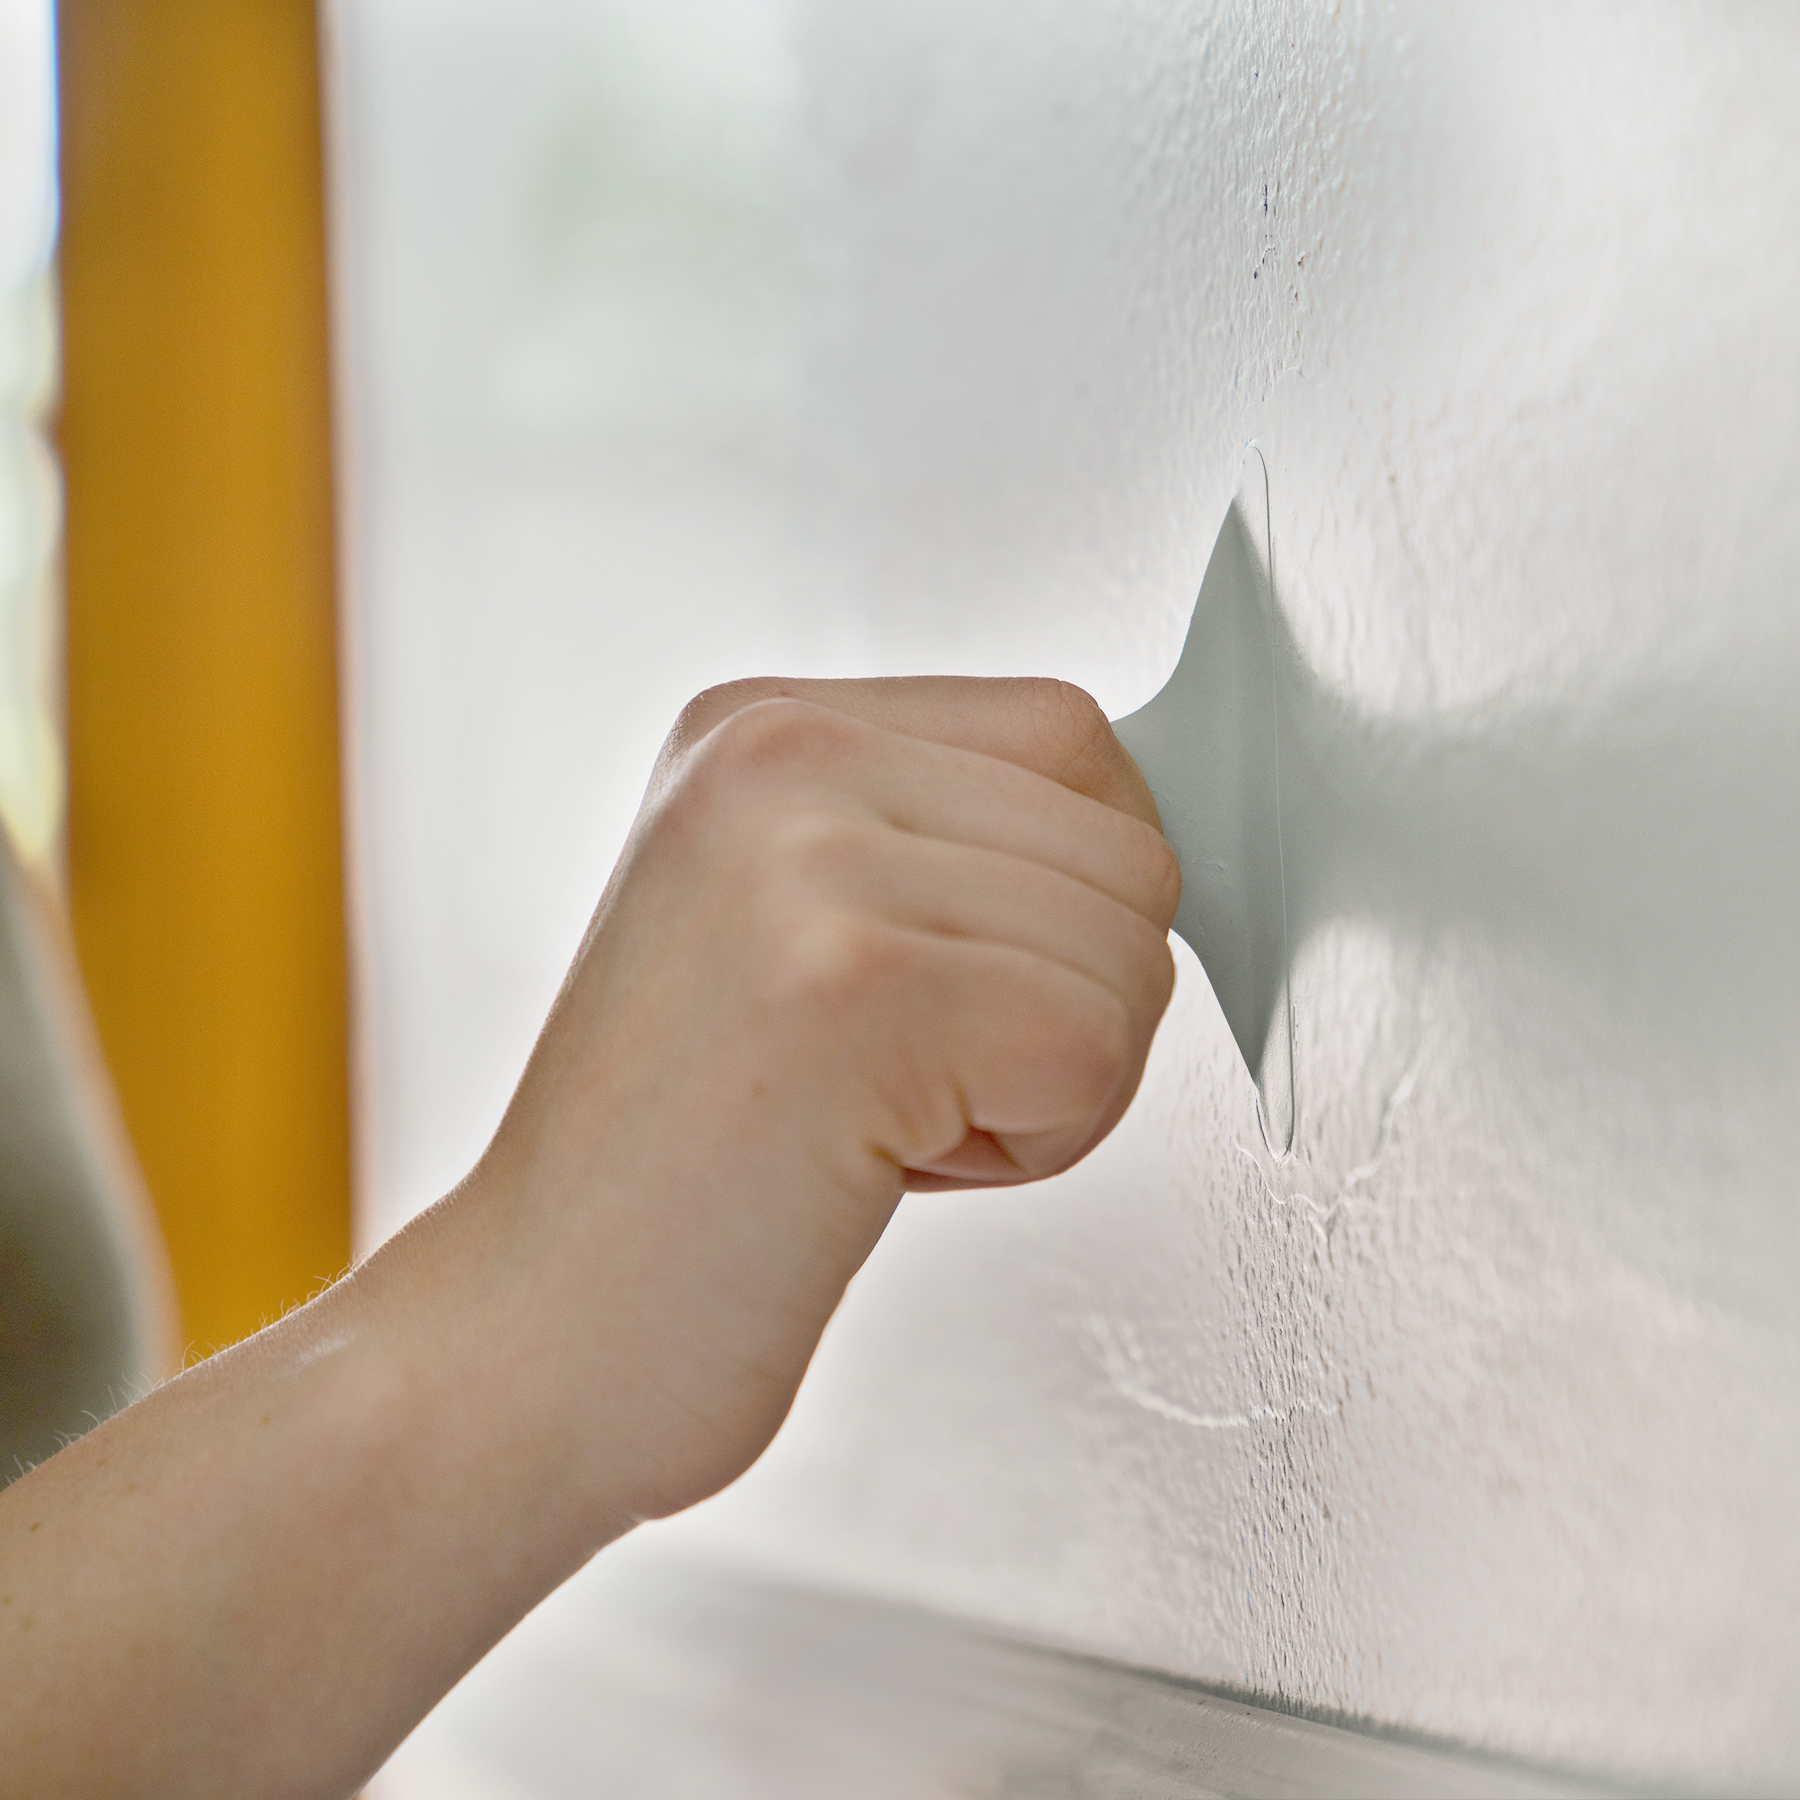
Eclipse Rapid Wall Repair Patches, the ultimate solution for instant drywall fixes. No waiting, no mess – patch and paint immediately for a durable, impact-resistant finish. Perfect for permanent repairs on damaged walls and ceilings, this innovative solution eliminates the need for drying time and messy sanding. With DAP Eclipse, complete your projects faster with a long-lasting, mess-free solution that offers superior impact resistance.
Key Features
-
 Impact Resistance
 -
 Paintable
 -
 No Dry Time
 -
Finish Project Faster
Product Awards
DETAILS + SPECIFICATIONS
- Details
-
Specifications
SKU Code Unit Size Color Dimensions (in.) Weight Case Pack Cases/Pallet 7079809162 09162 2 INCH WHITE 7.31x3.75x7.81 0.79 lbs. 12 300 7079809164 09164 4 INCH WHITE 7.31x3.75x7.81 0.89 lbs. 12 300 7079809166 09166 6 INCH WHITE 7.31x3.75x7.81 1.02 lbs. 12 300

RESOURCES + FAQs
- Technical Data
- How To's/Tips
-
FAQs
How long does it take to complete the entire repair?
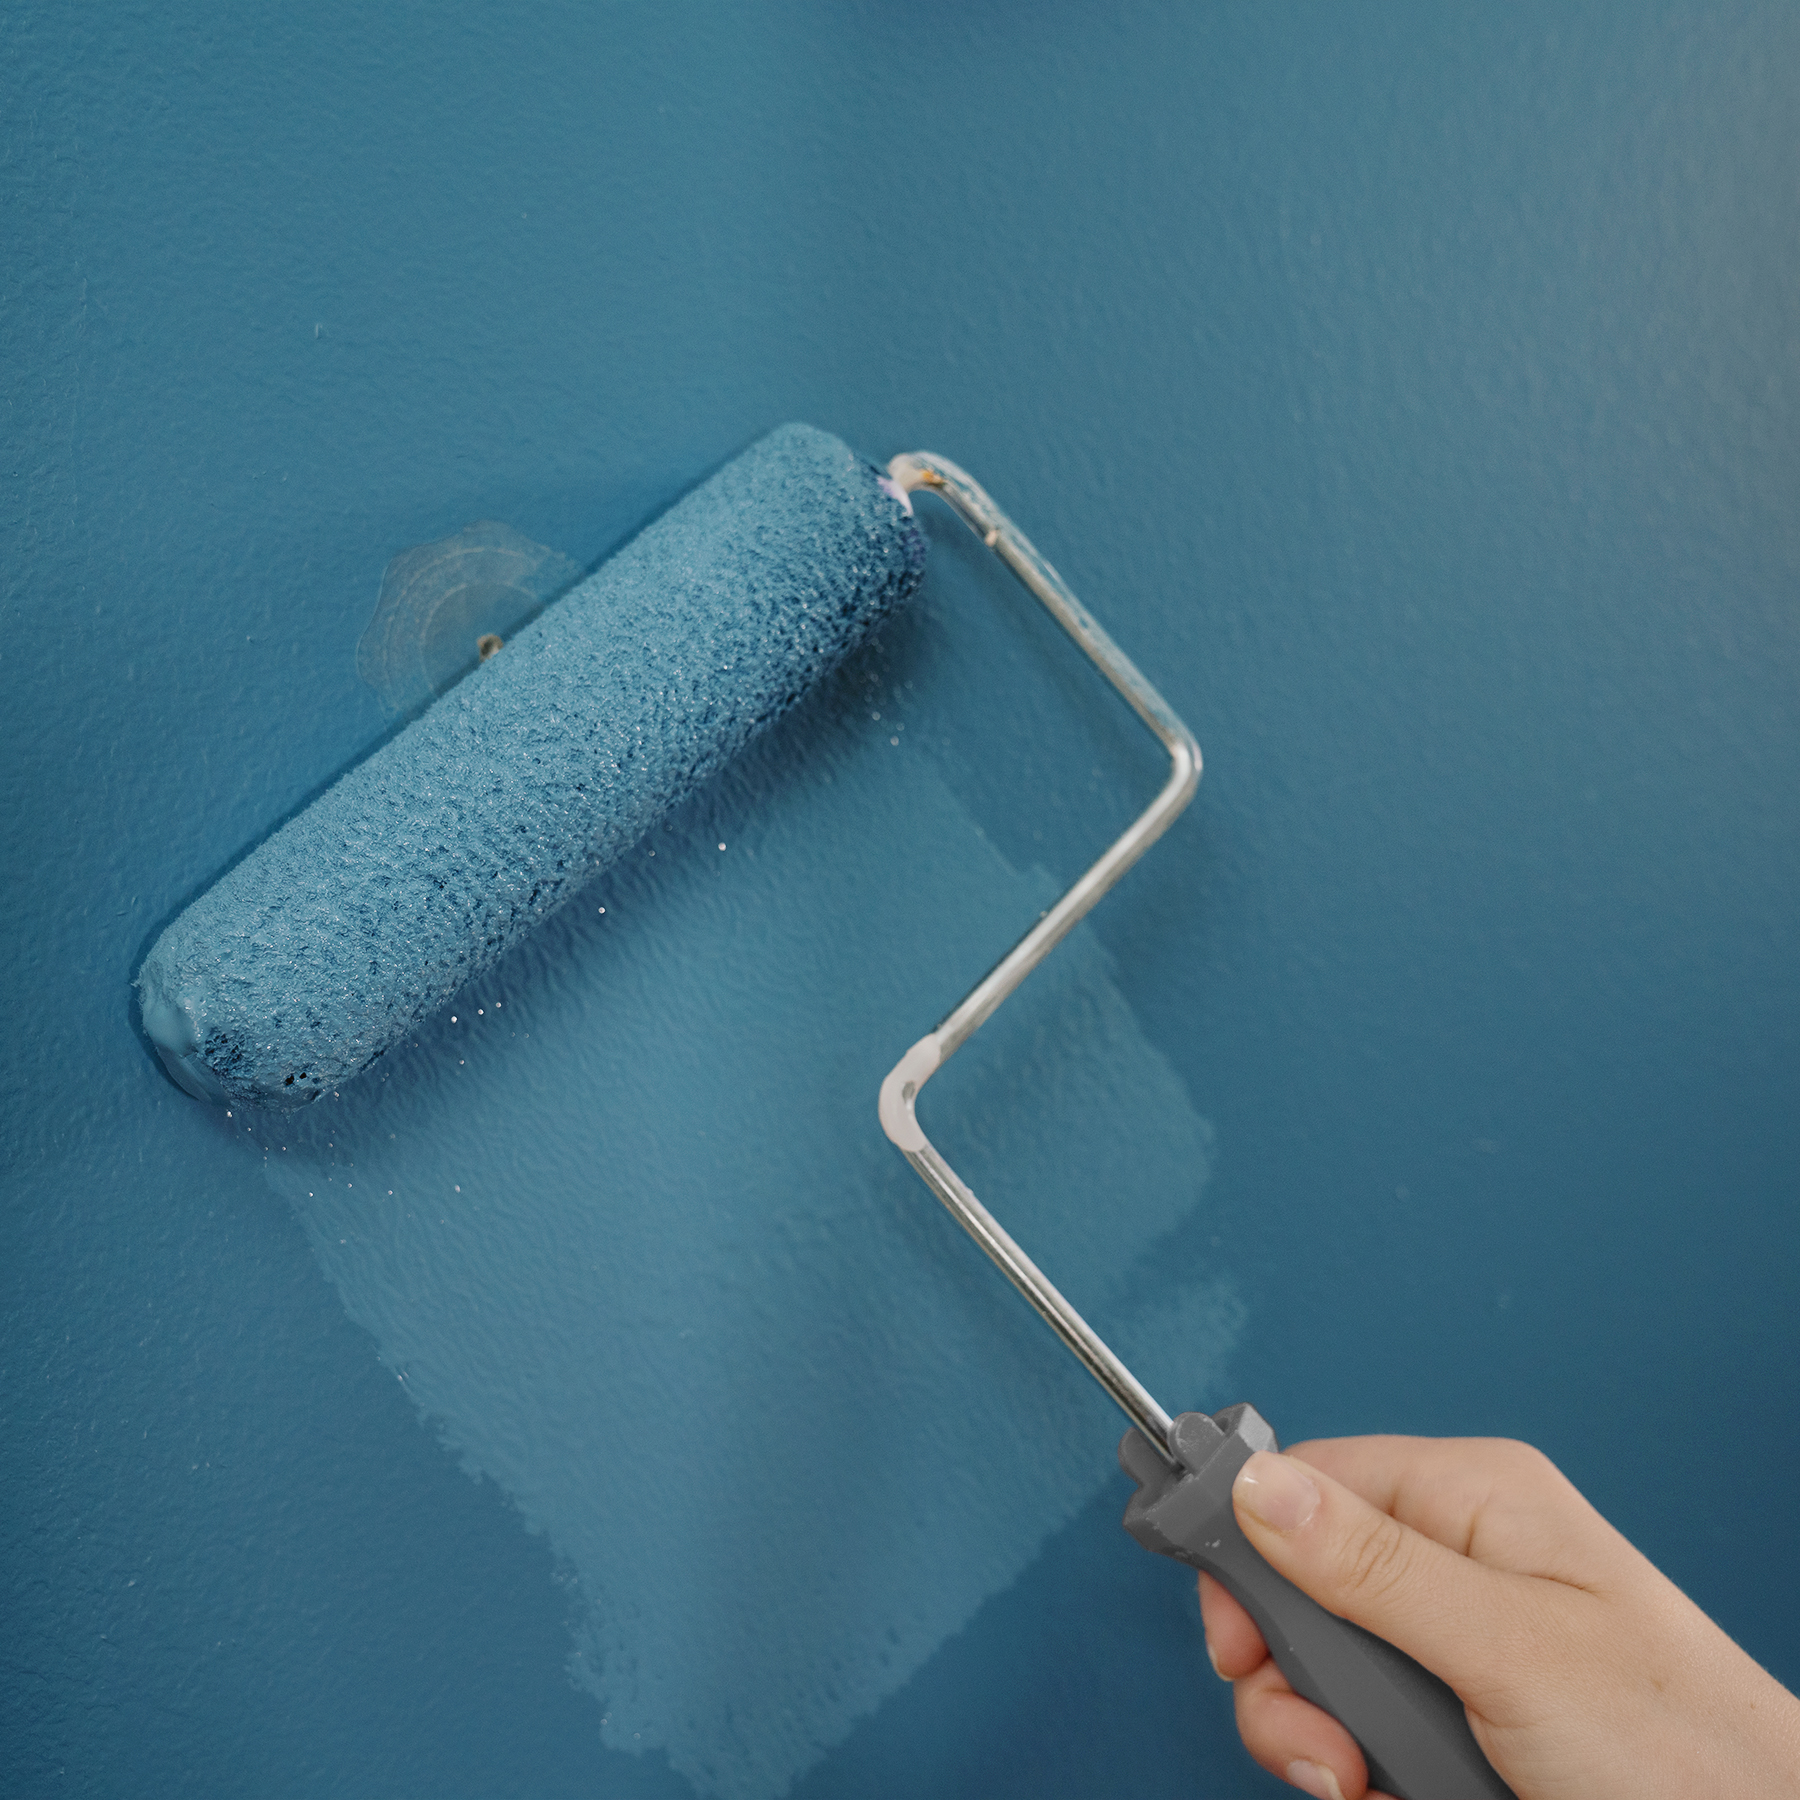
Time to complete the entire repair will vary based on the environment (temperature and humidity) as well as the paint brand being used for the repair. Time to complete the repair takes approximately 30 minutes with prepping the surface, applying the patch and painting the first coat while the protective layer is still on. Wait time is solely based on the time it takes for the paint to dry before applying another coat.
Can the patch be cut, trimmed and customized to different shapes or sizes?
Yes, the patch can be cut and customized to different shapes and sizes to fit certain applications such as corners, along trim and molding or for outlet applications. However, cutting the patches outer edges to fit a smaller size repair is not recommended as you will lose the feathered edge and gradient which will effect the overall appearance.
Can I accelerate the dry time of the paint by using a heat gun or hair dryer?
We do not recommend using a heat gun to accelerate the paint dry time as heat guns get too hot and may damage the paint or the patch itself. However, a hair dryer, on a cool, low setting at a safe distance from the wall could be used to accelerate the dry time of the paint without interfering with the completed repair.
Can I apply patches on top of one another to help cover a larger repair?
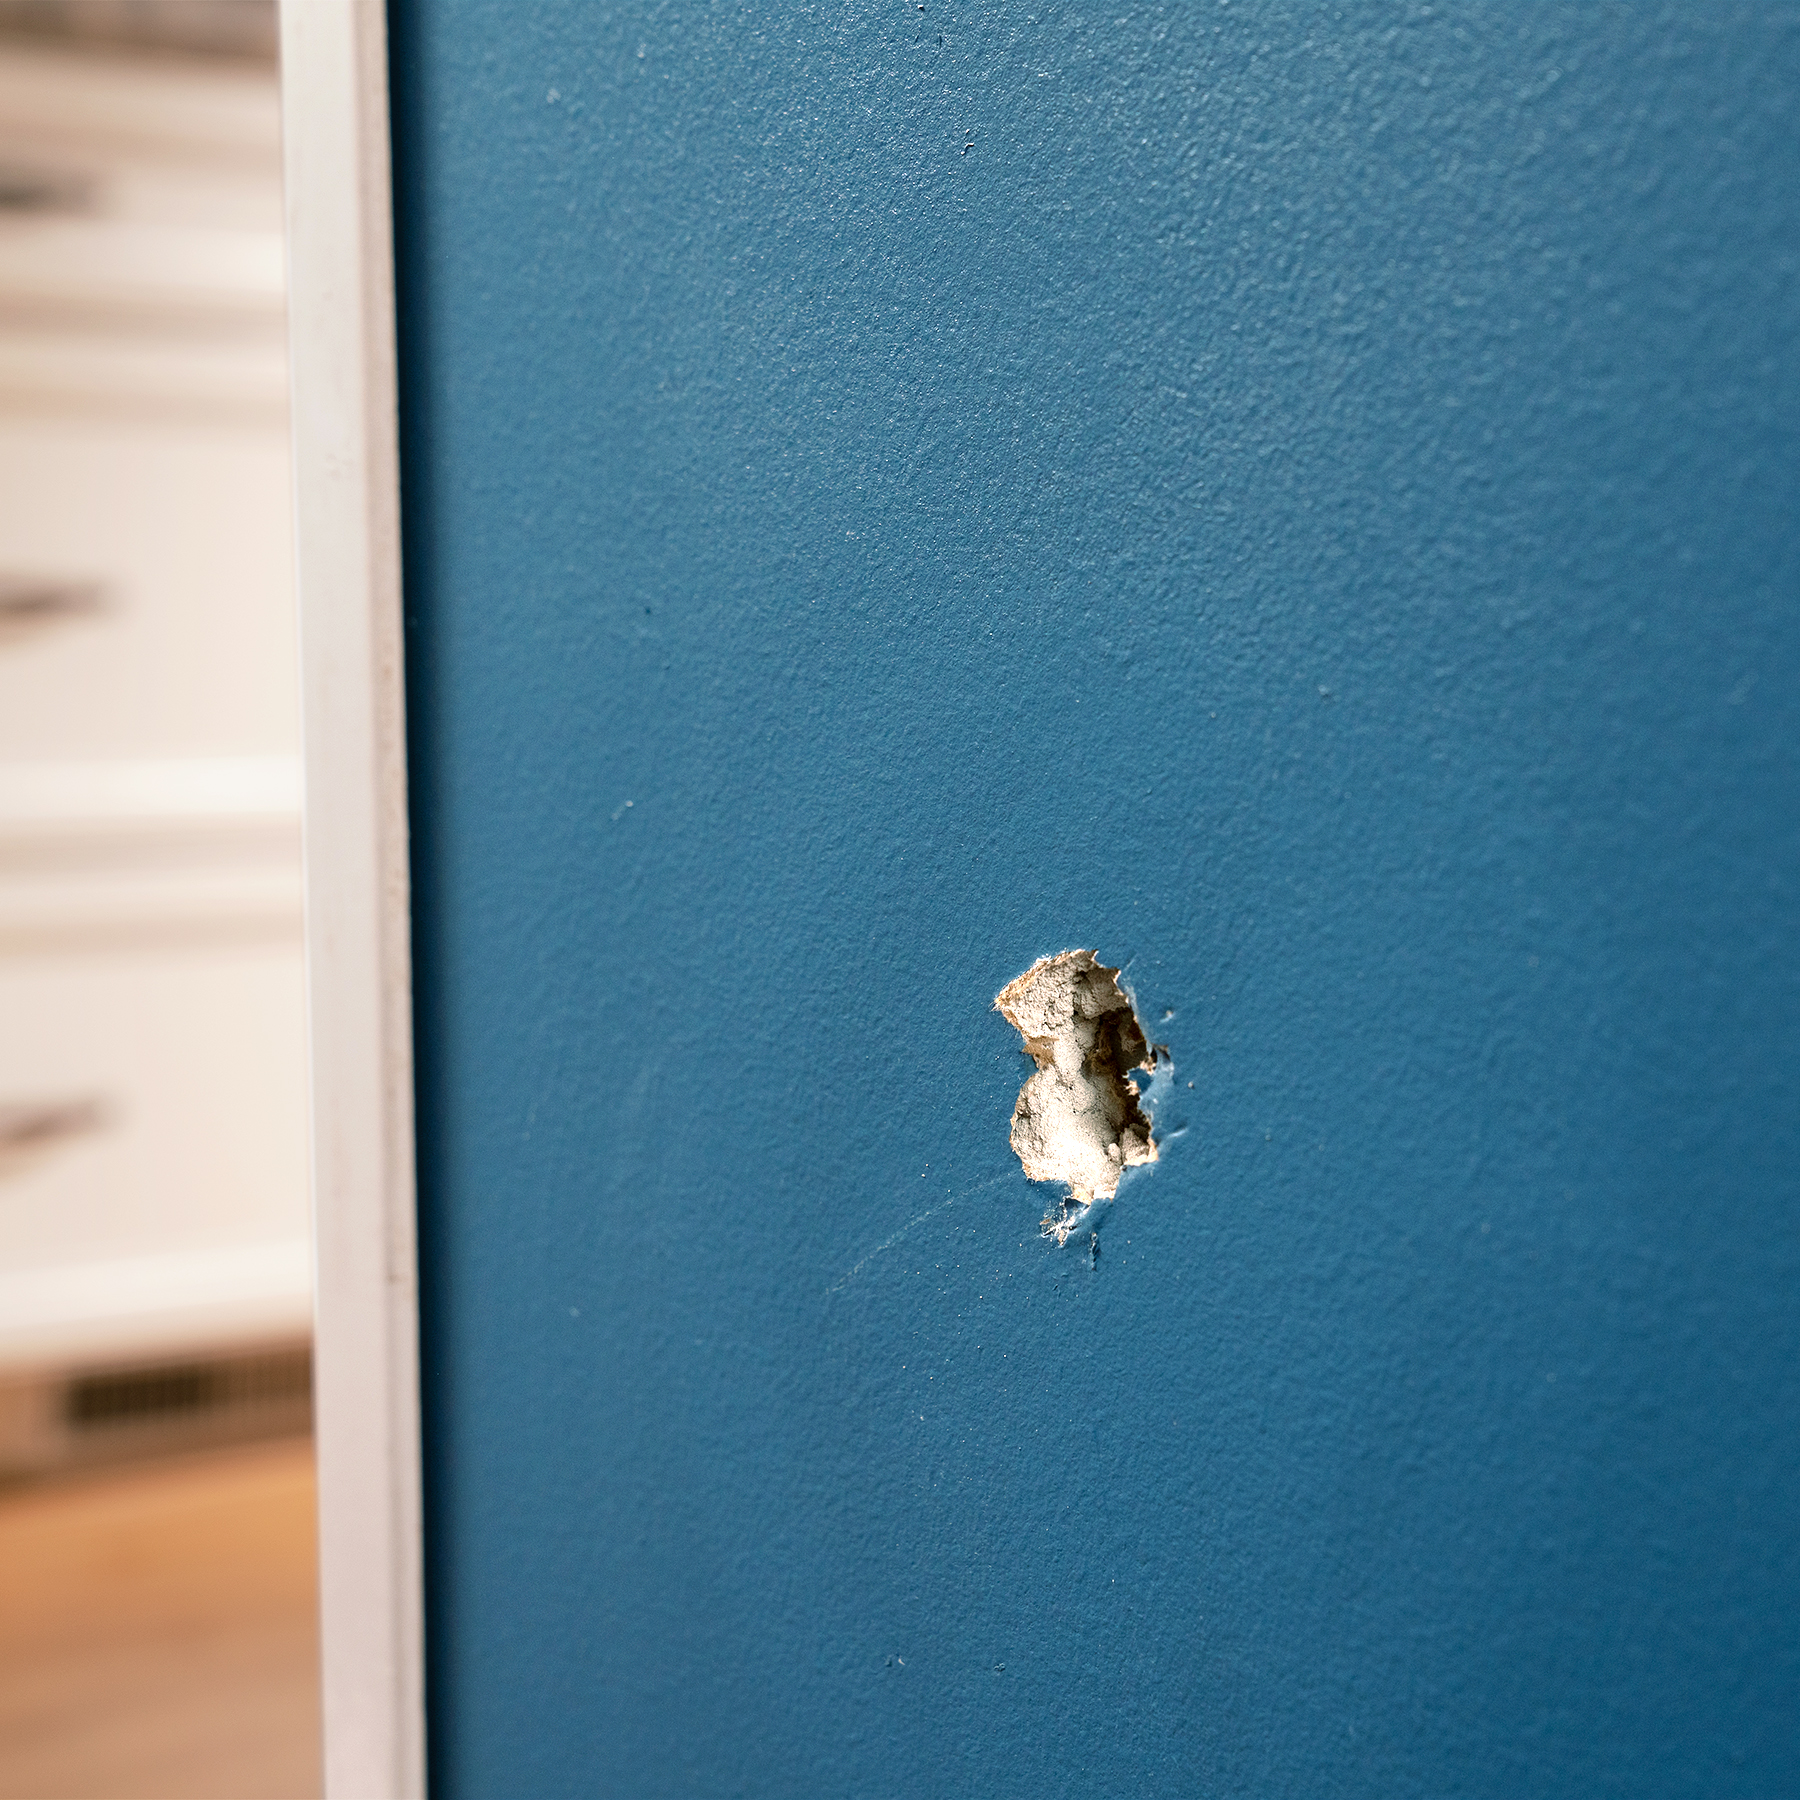
We do not recommend applying patches on top of one another to help cover a larger area of damage. For best results, use the recommended patch damage guidelines and choose the patch size that is sufficient for your repair. If your damage exceed 3” in diameter, you may want to utilize a different repair method.
Can I clean the repaired surface like I normally would clean my walls?
Yes, you can clean the repaired patched surface, however, we recommend waiting to clean the surface until after the paint has finished drying (up to 4 weeks based on paint manufacturer recommendations). We also recommend when cleaning the repaired surface that you use mild soap & water.
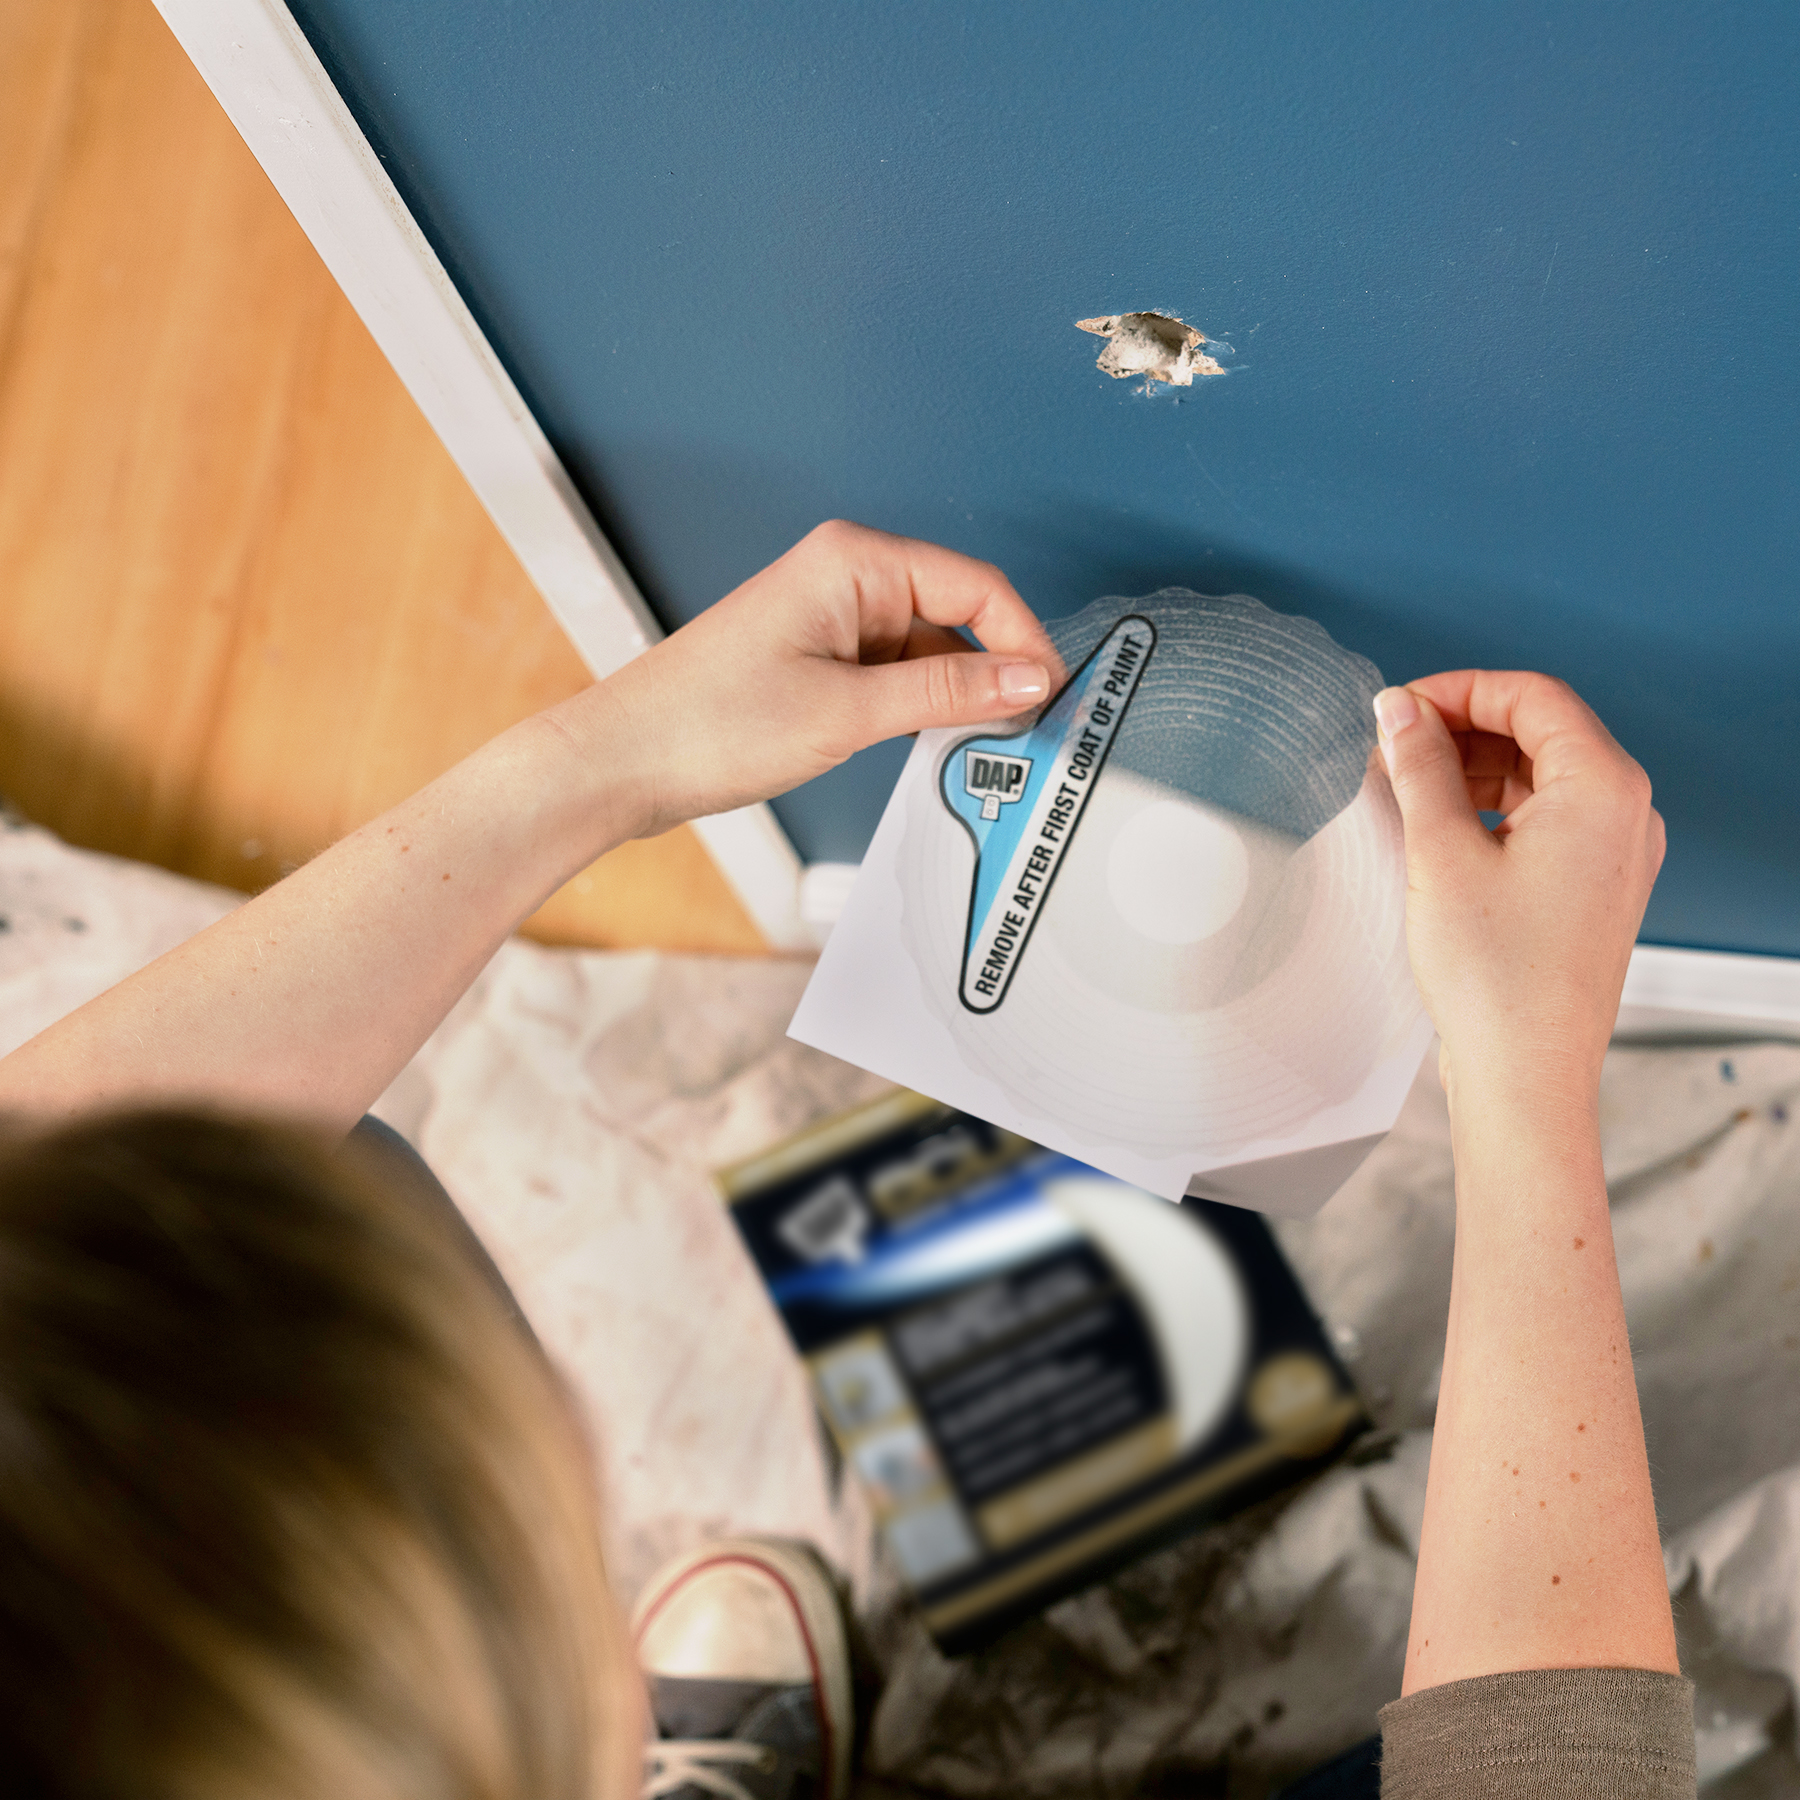
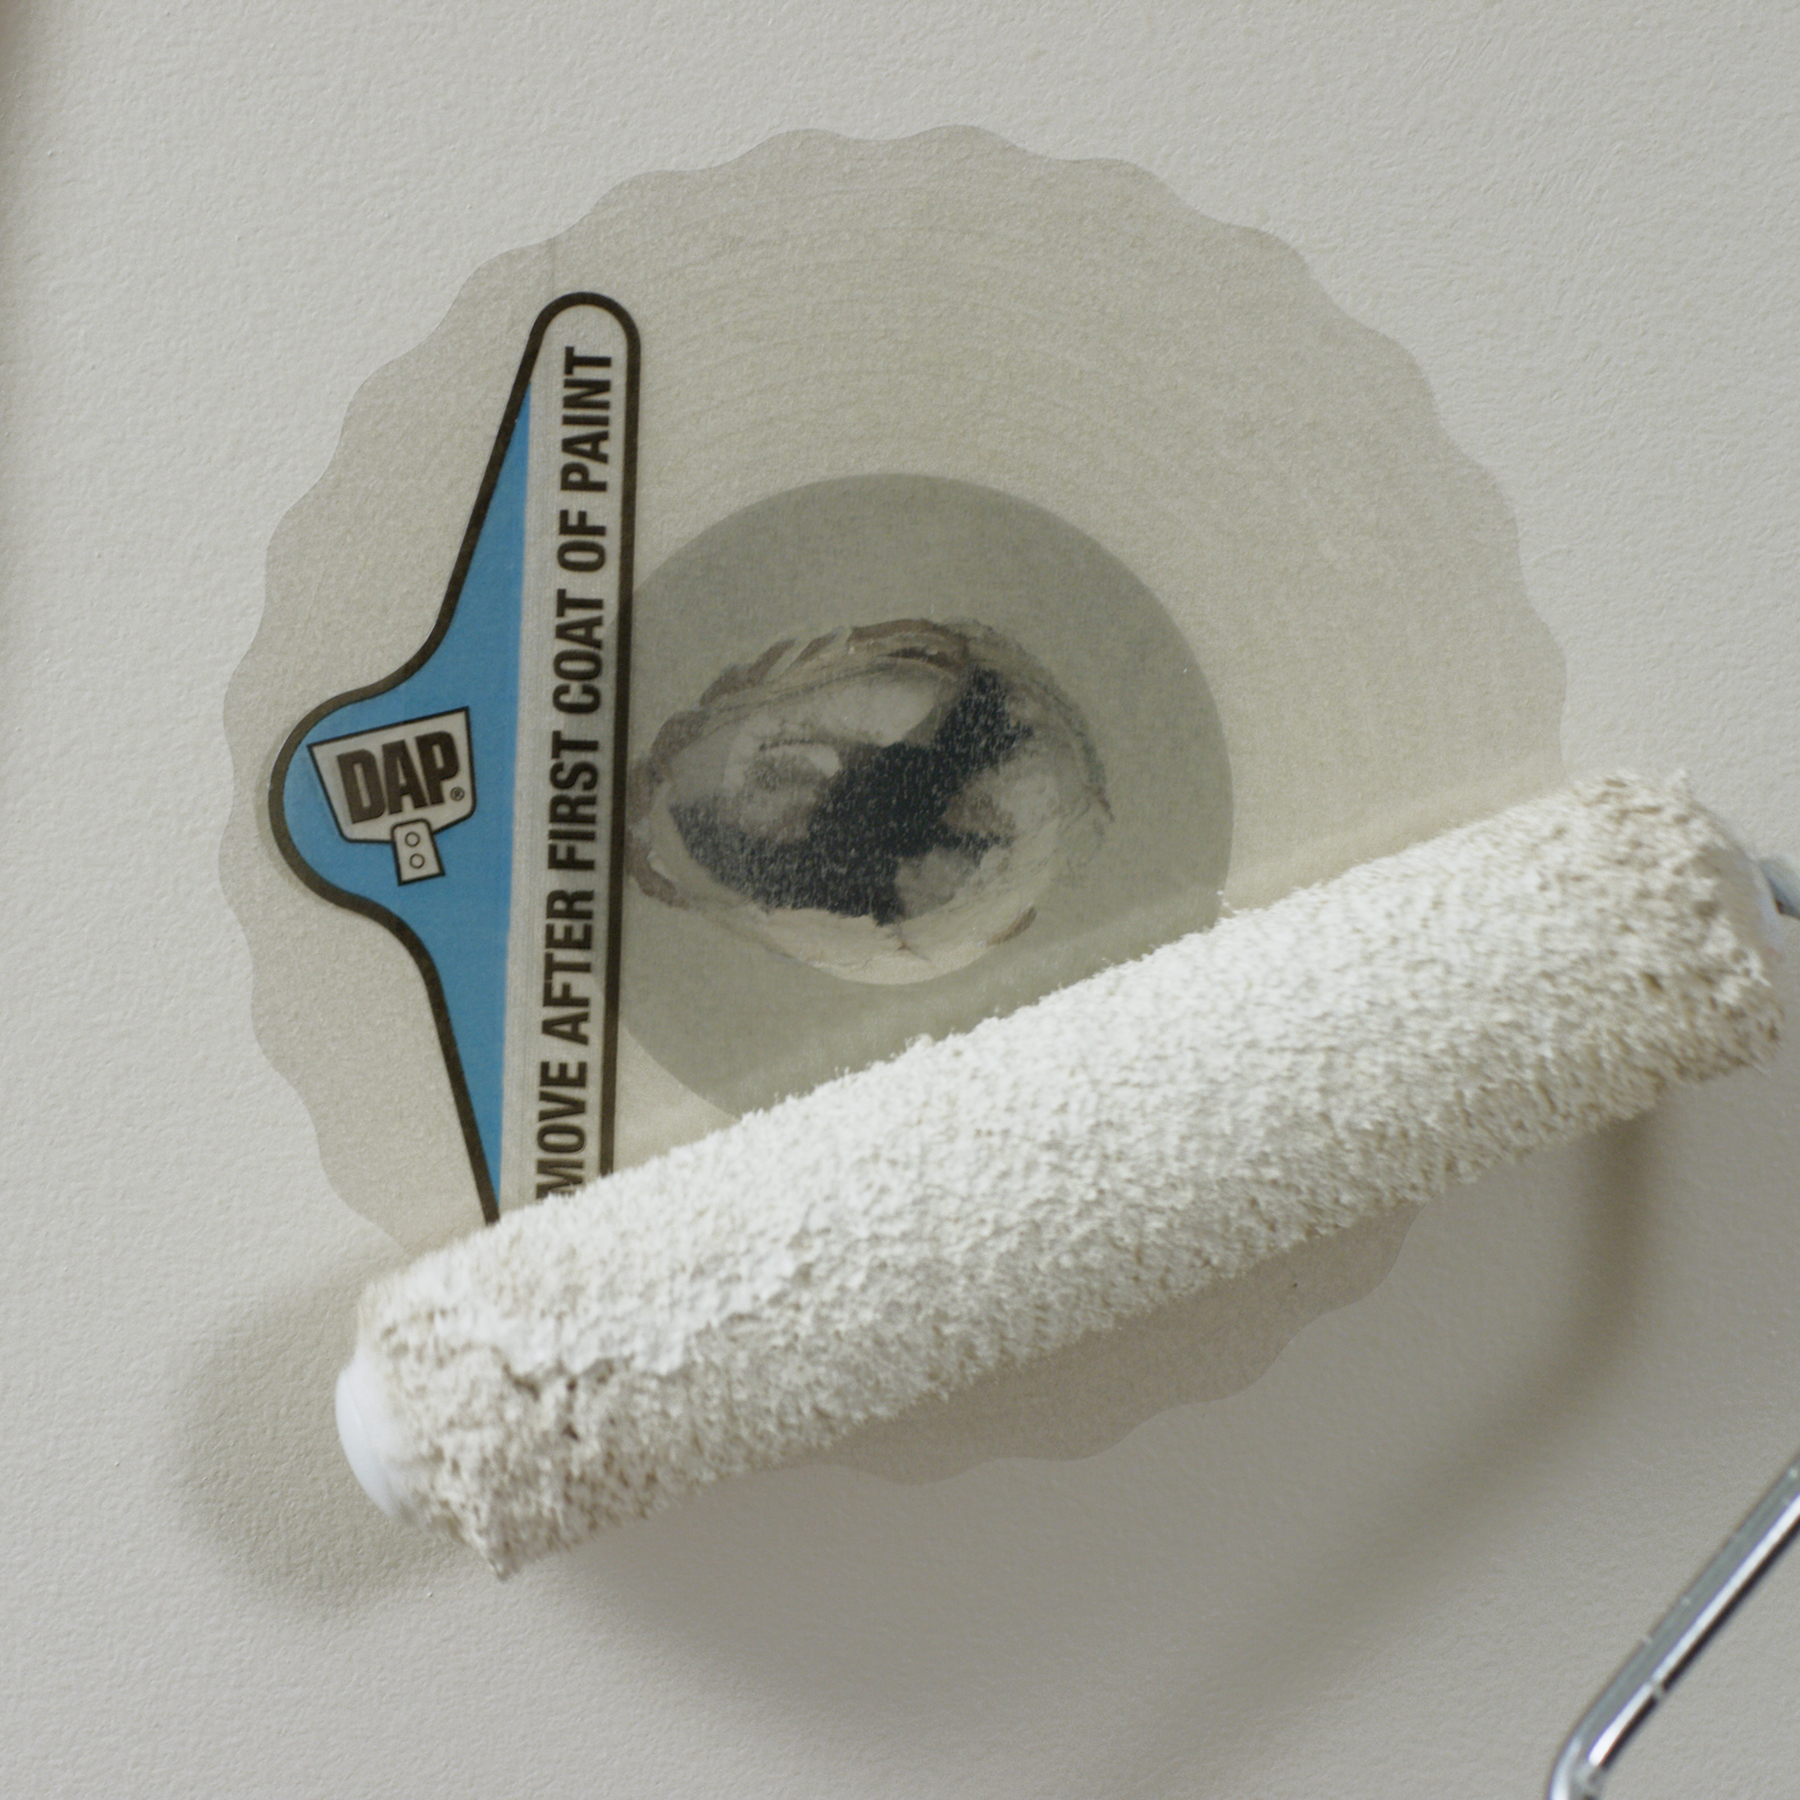
How long do I have to wait after applying the first coat of paint?
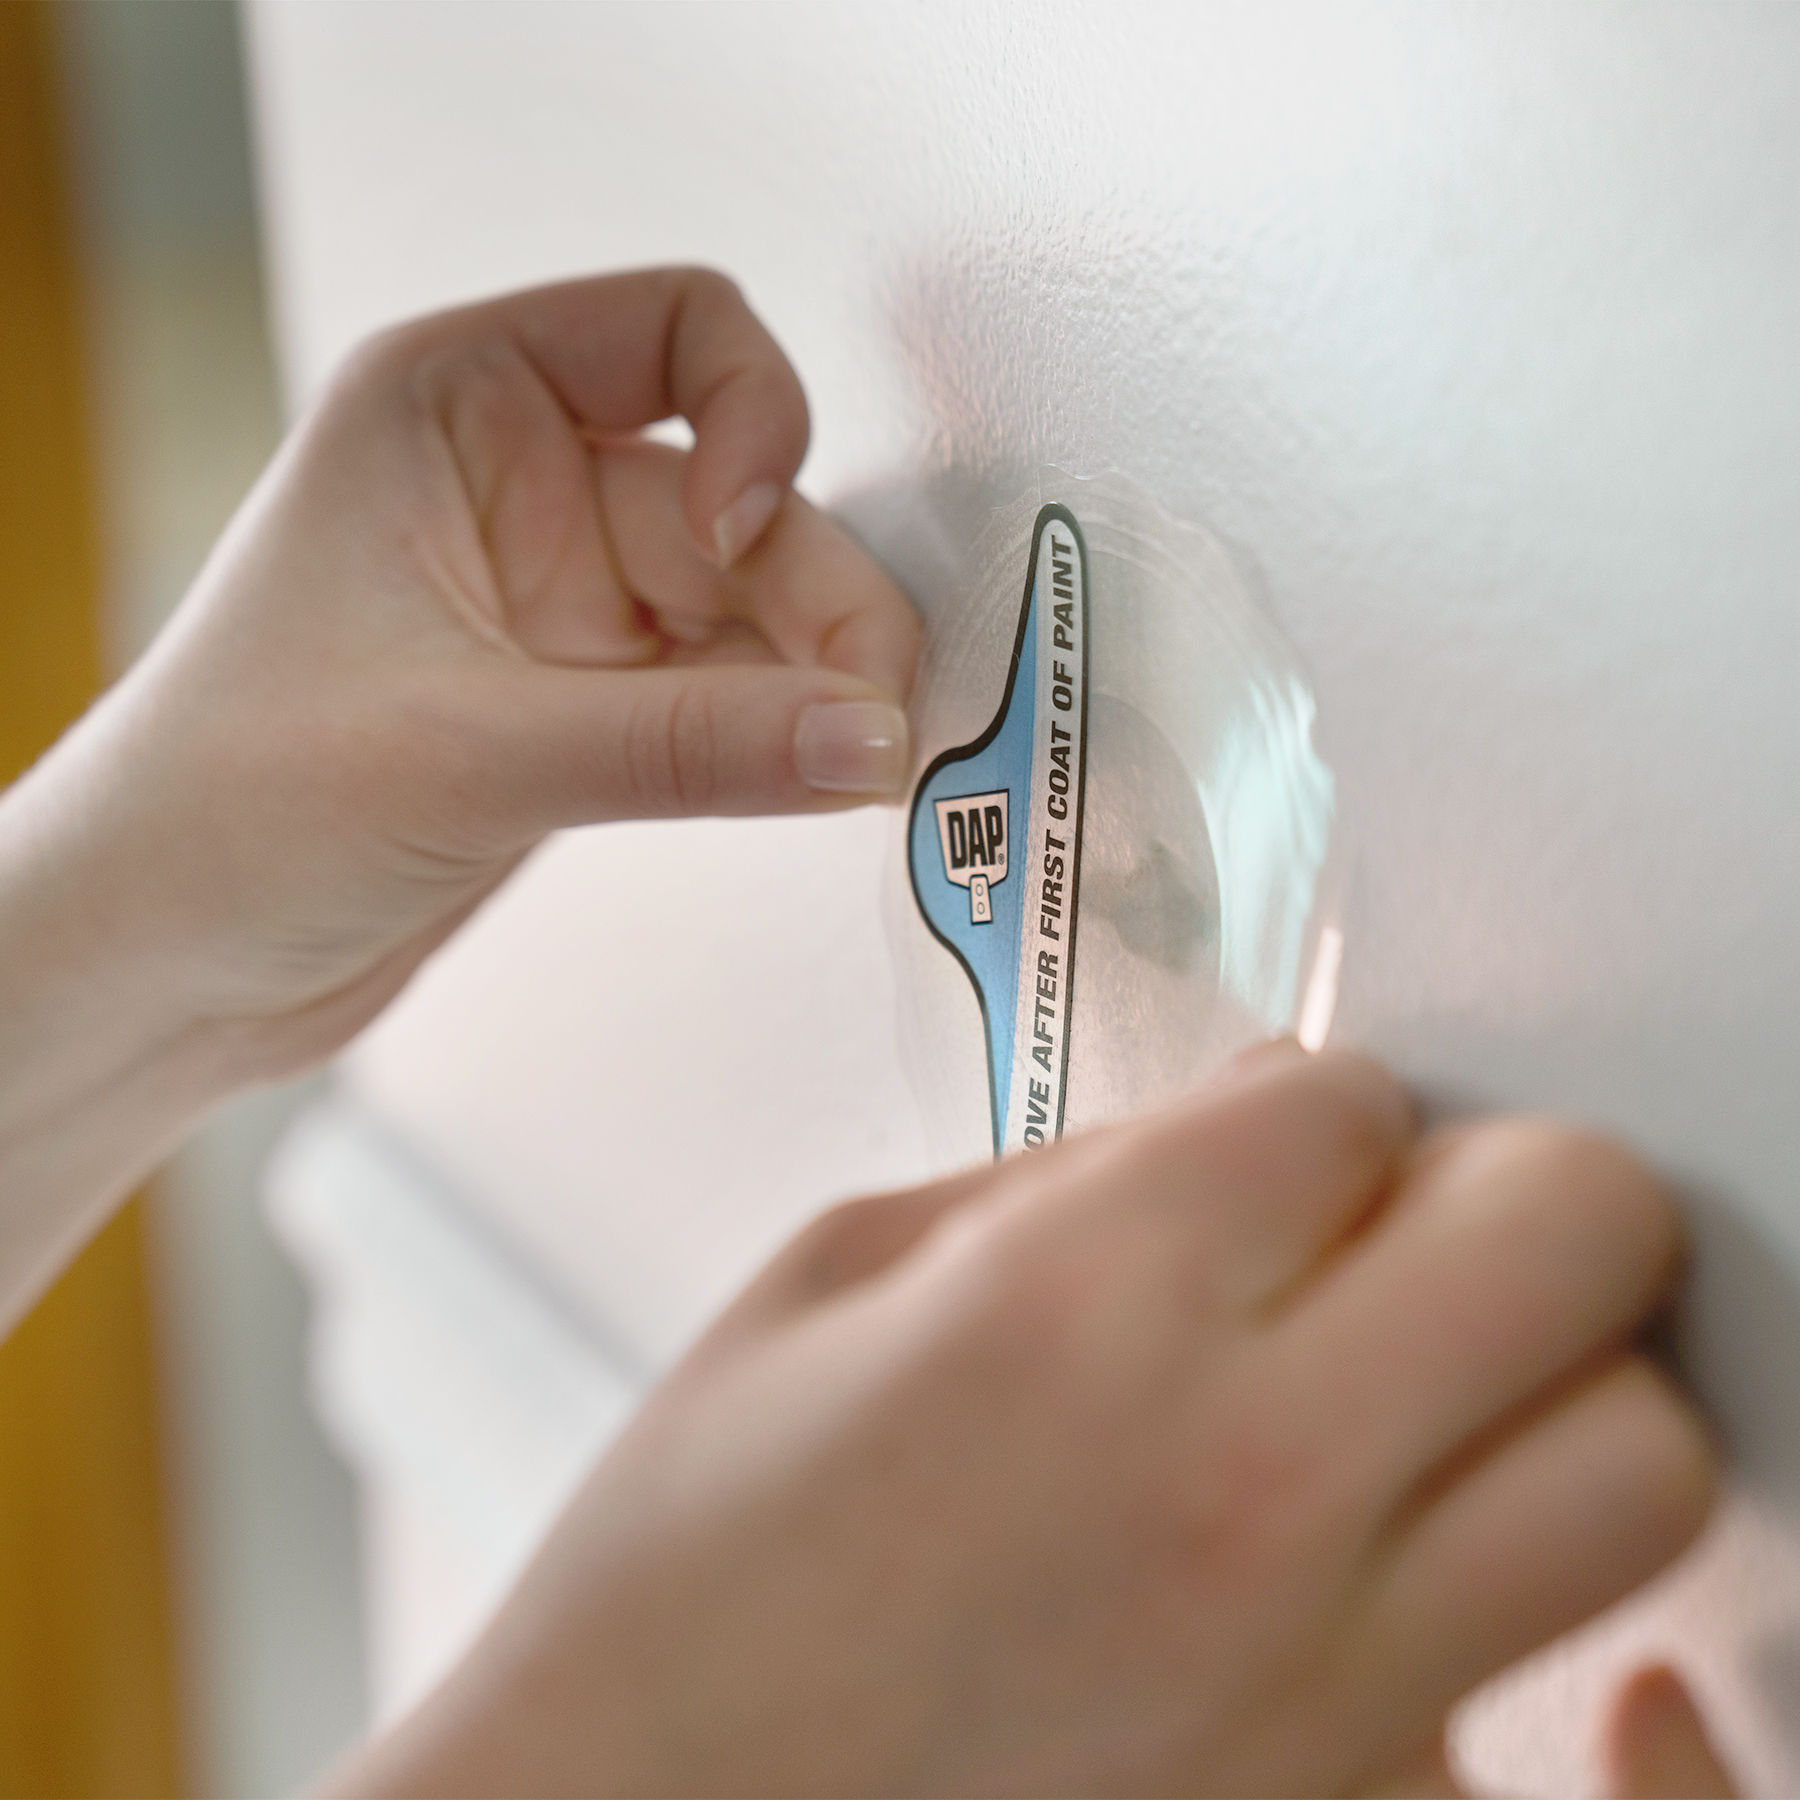
We recommend waiting until the drywall surrounding the patch is fully dry (approx. 15-30 minutes depending on temperature and humidity conditions) before removing the top protective layer. However, you can wait hours or even days to remove the protective layer if you are not going to apply the final two coats of paint immediately.
How long before the repair is ready for everyday contact (i.e. what is the final cure time)?
Based on paint manufacturer recommendations, paint may not be fully cure up to 4 weeks after application. Waiting the full 4 weeks, although may not be necessary, may be ideal prior to exposing to impact or cleaning to confirm the patch and paint adhesion is fully dry. User will also notice an increase in the invisibility and blending of the repair into the surrounding drywall as the paint completely dries.
Can I apply drywall mud or spackling over top of the patch?
The unique benefit of DAP Eclipse patches is that you do not need to use drywall mud or spackling to complete the repair. We do not recommend using joint compound or spackling over top of the patch as it may not provide acceptable finished results. However, DAP Eclipse is compatible with aerosol spray textures and textured rollers to complete a texture wall repair.
Does the outline of the patch show through once it’s painted?
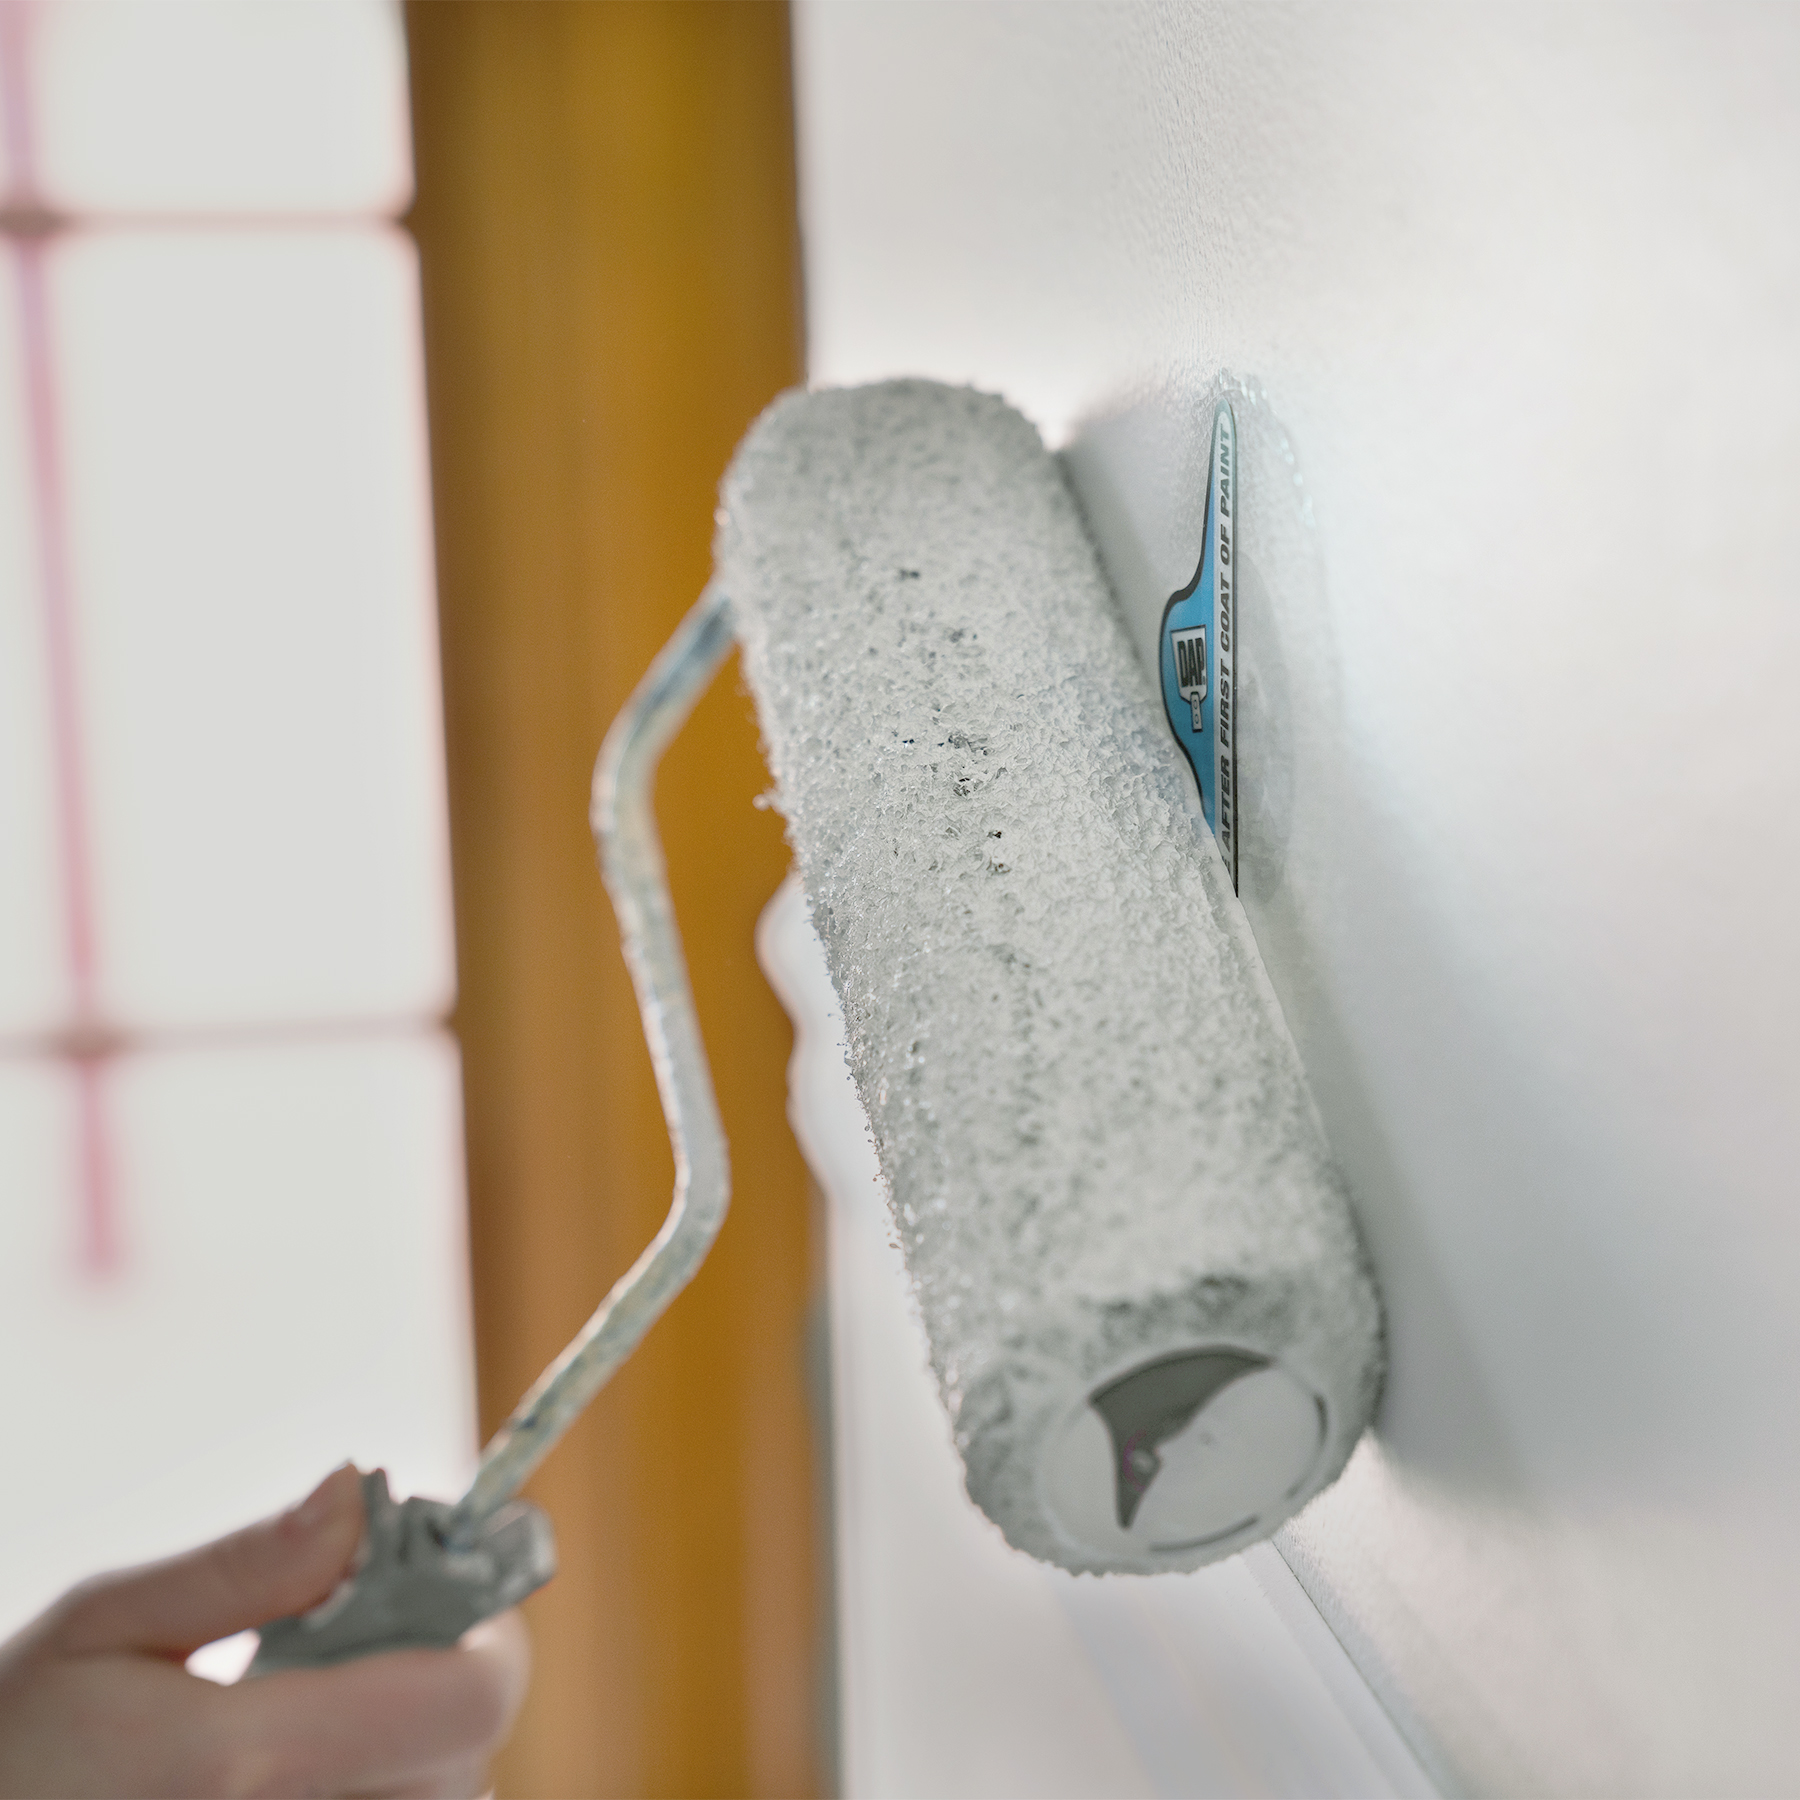
The Eclipse patches help you achieve an exponentially better repair than other products on the market. Once damage is caused, your walls will never be the same no matter what product your using to repair the damage. The design of the patch does an excellent job of hiding the outline of the patch and providing a superior finished appearance. The first coat of paint prior to removing the protective layer with the pop-up tab allows the paint to fill in around the outer edges of the patch so that after your additional finishing coats are applied, it’s smooth and even with the surrounding drywall.
I can still see the patch and tab after the first coat of paint was applied.
Until the first coat of paint is applied, dried and you remove the protective layer, the patch will be highly visible. Once the protective layer is removed and your additional coats of paint are applied, you will notice a significant difference in the visibility of the patched area as it will blend in smoothly and evenly with the surrounding drywall making a highly invisible repair. You’ll also notice improved finished appearance as the paint continues to fully cure (up to 4 weeks based on paint manufacturer cure times).
Does it accept both oil and latex-based paints?
Yes, the patch accepts both latex and oil-based paints.
How important is prepping the wall surface prior to applying the patch?
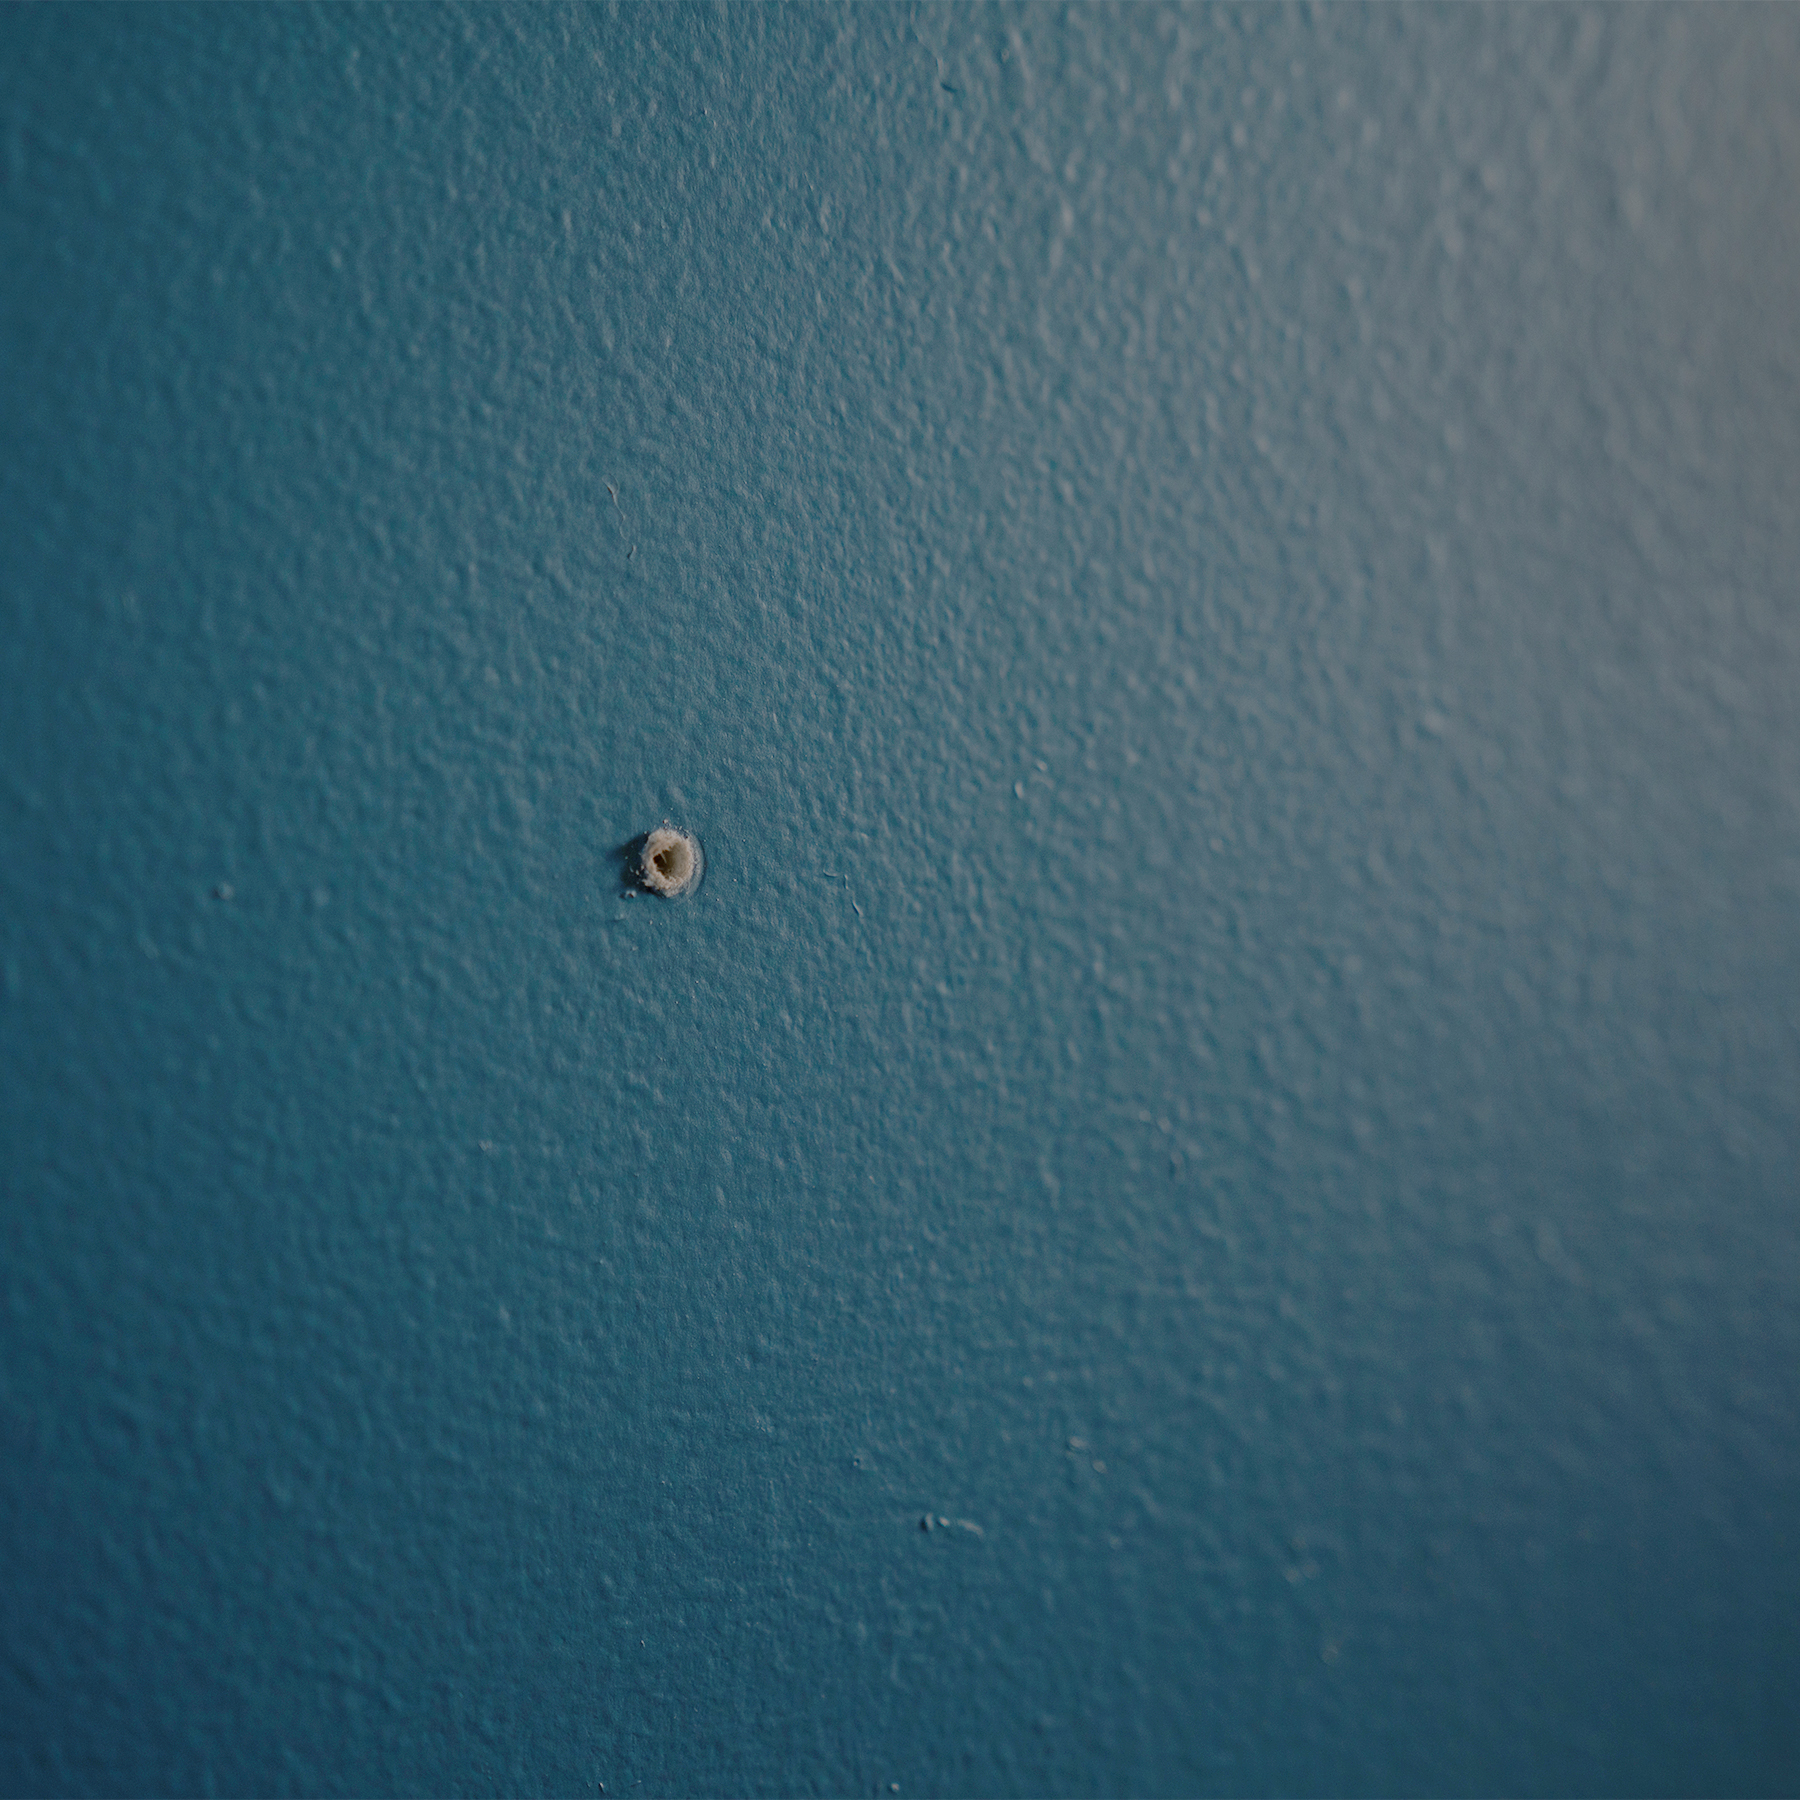
Prepping the surface is a crucial step in the application process. Since you won’t be applying spackling to help hid imperfections, you need to make sure those imperfections are taken care of prior to applying the patch. The surface should be as smooth, dry and free of any blemishes or debris as possible. We also recommend sanding the drywall surface prior to applying the patch to de-gloss the surface and increase adhesion.
Can I sand the patch down using sandpaper?
Sanding the patch down using sandpaper is not recommended and may not provide acceptable finished results. We do recommend sanding the drywall prior to applying the patch to de-gloss the surface to promote and increase adhesion.
Can I nail or screw back into the patch to rehang a picture of other object on the wall?
Yes, you can nail or screw back into the patch as long as there is drywall directly behind the patch where the nail or screw is placed.
Is the patch waterproof? Can I use it on wet or damp drywall such as leaks?
For best results, we recommend using DAP Eclipse on dry drywall. If you happen to have damp or wet drywall, we recommend completing a full drywall replacement to ensure no mold or mildew starts to grow.
Can this product be used on other types of damages or substrates besides drywall?
DAP Eclipse is specifically designed to repair drywall damage. At this time, we only recommend using this product for drywall applications.
Can you apply spackling behind the patch to help improve strength/structural integrity?
Yes, you can apply spackling or drywall mud behind the patch prior to adhering the patch to provide additional support to your repair. You do not need to wait for the compound to dry prior to applying the patch, however, ensure the surrounding drywall is clean and free of material prior to applying the patch to ensure proper adhesion.
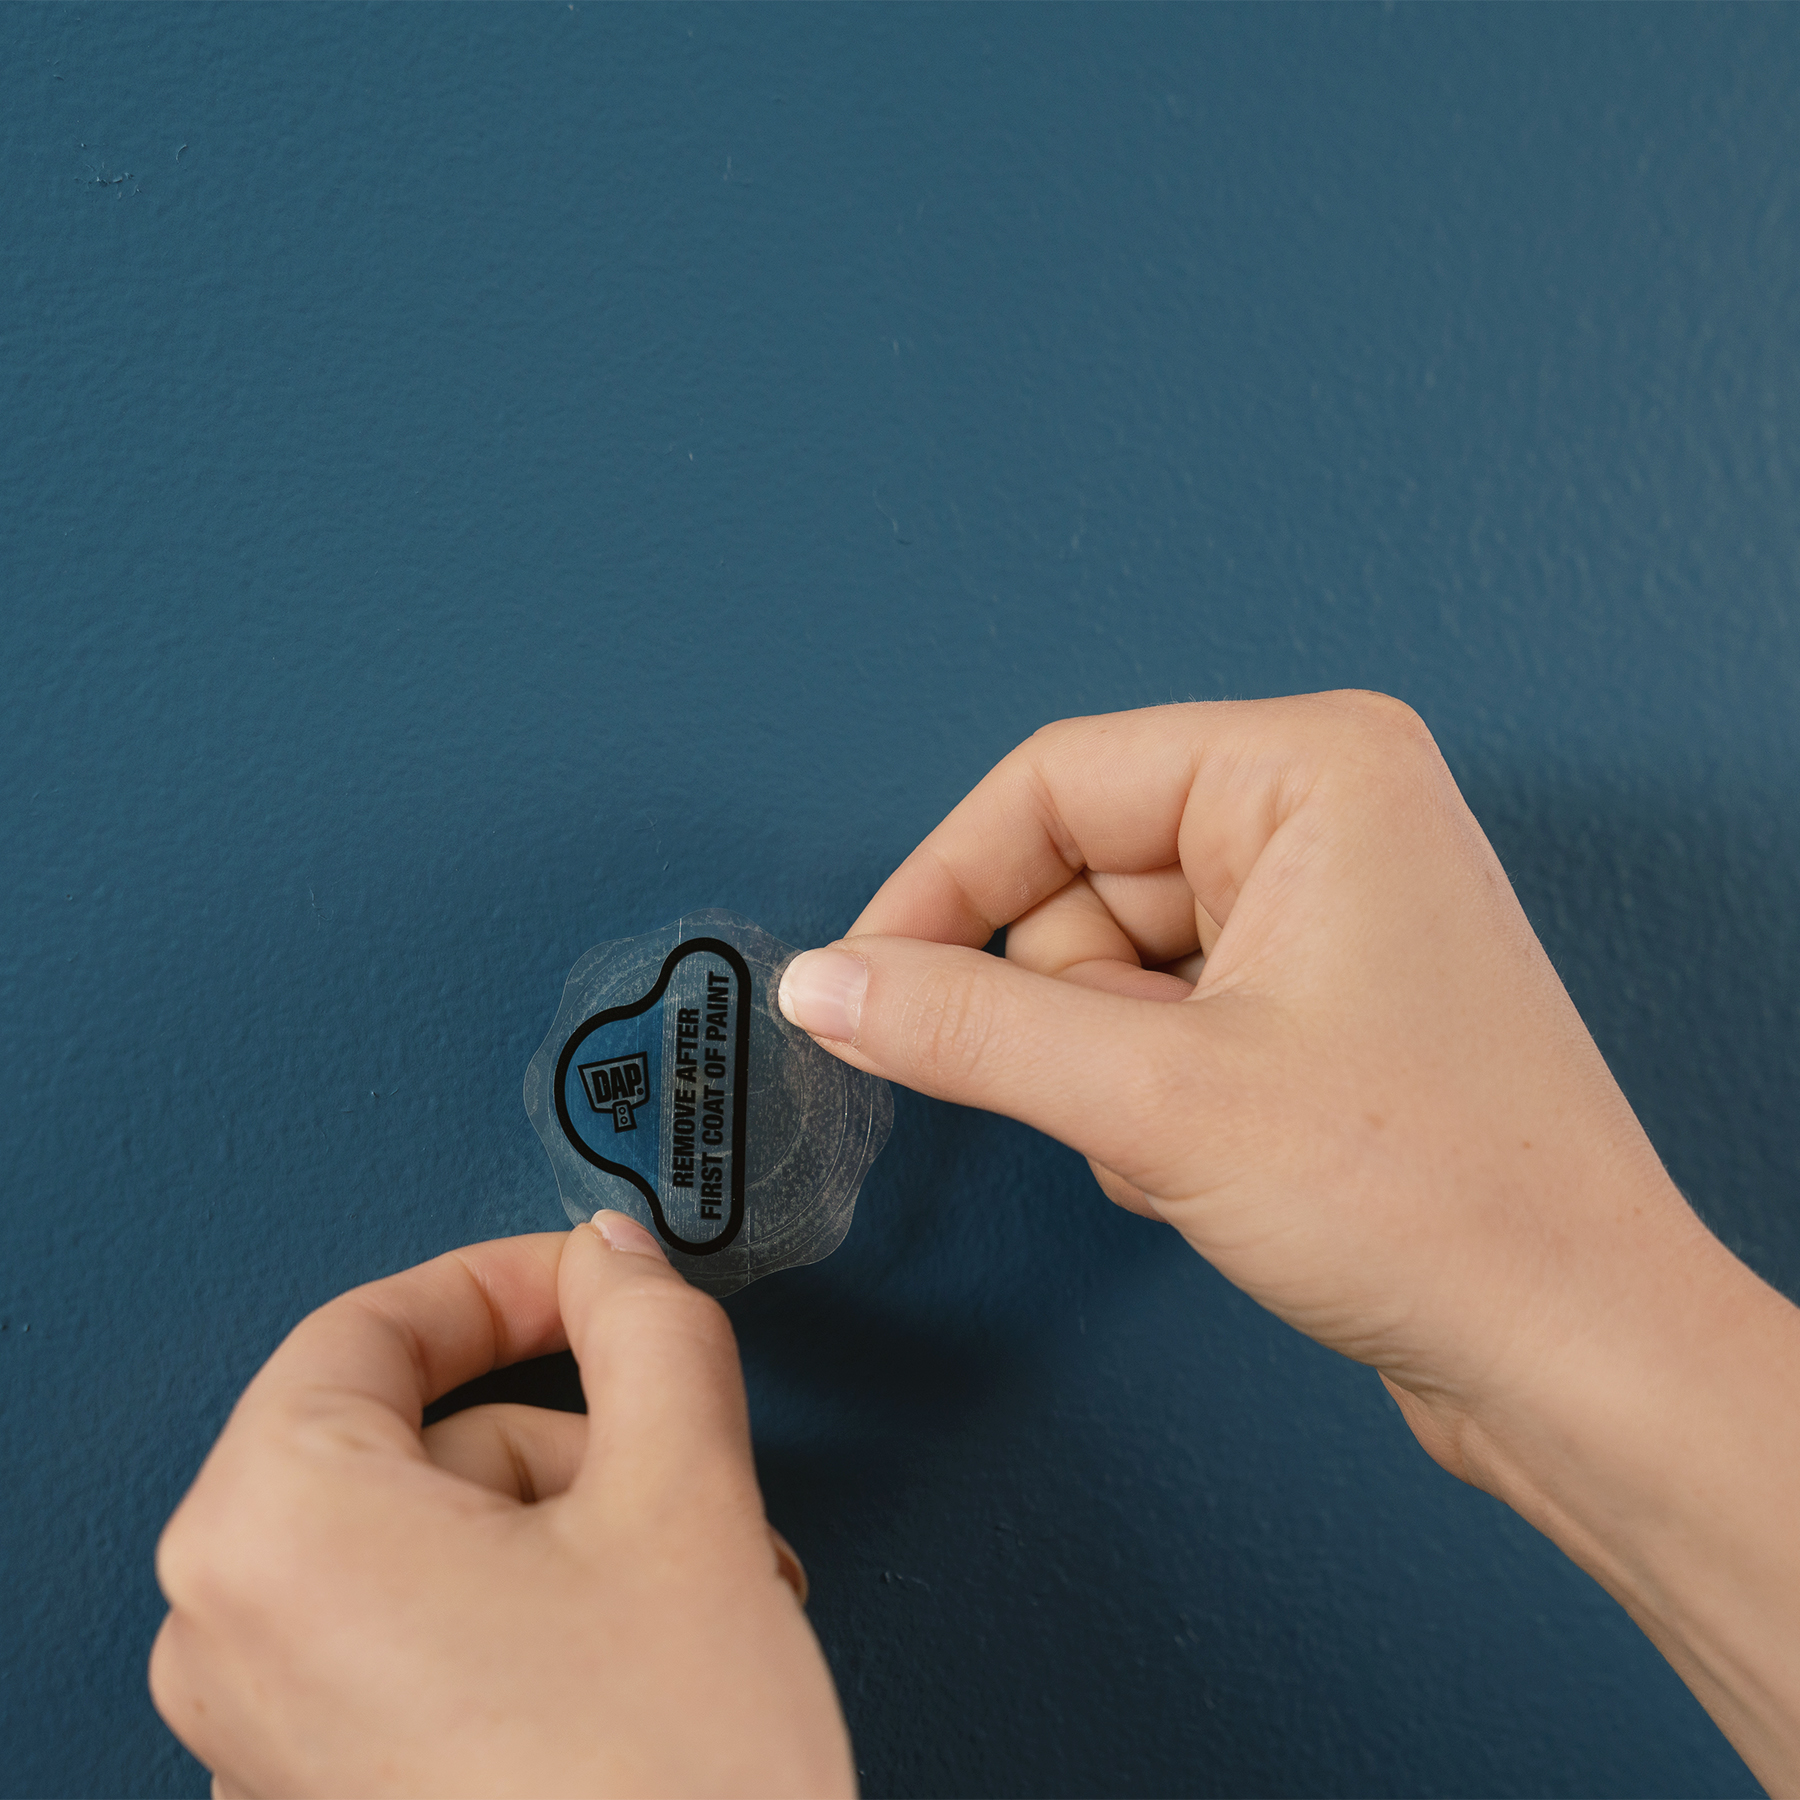
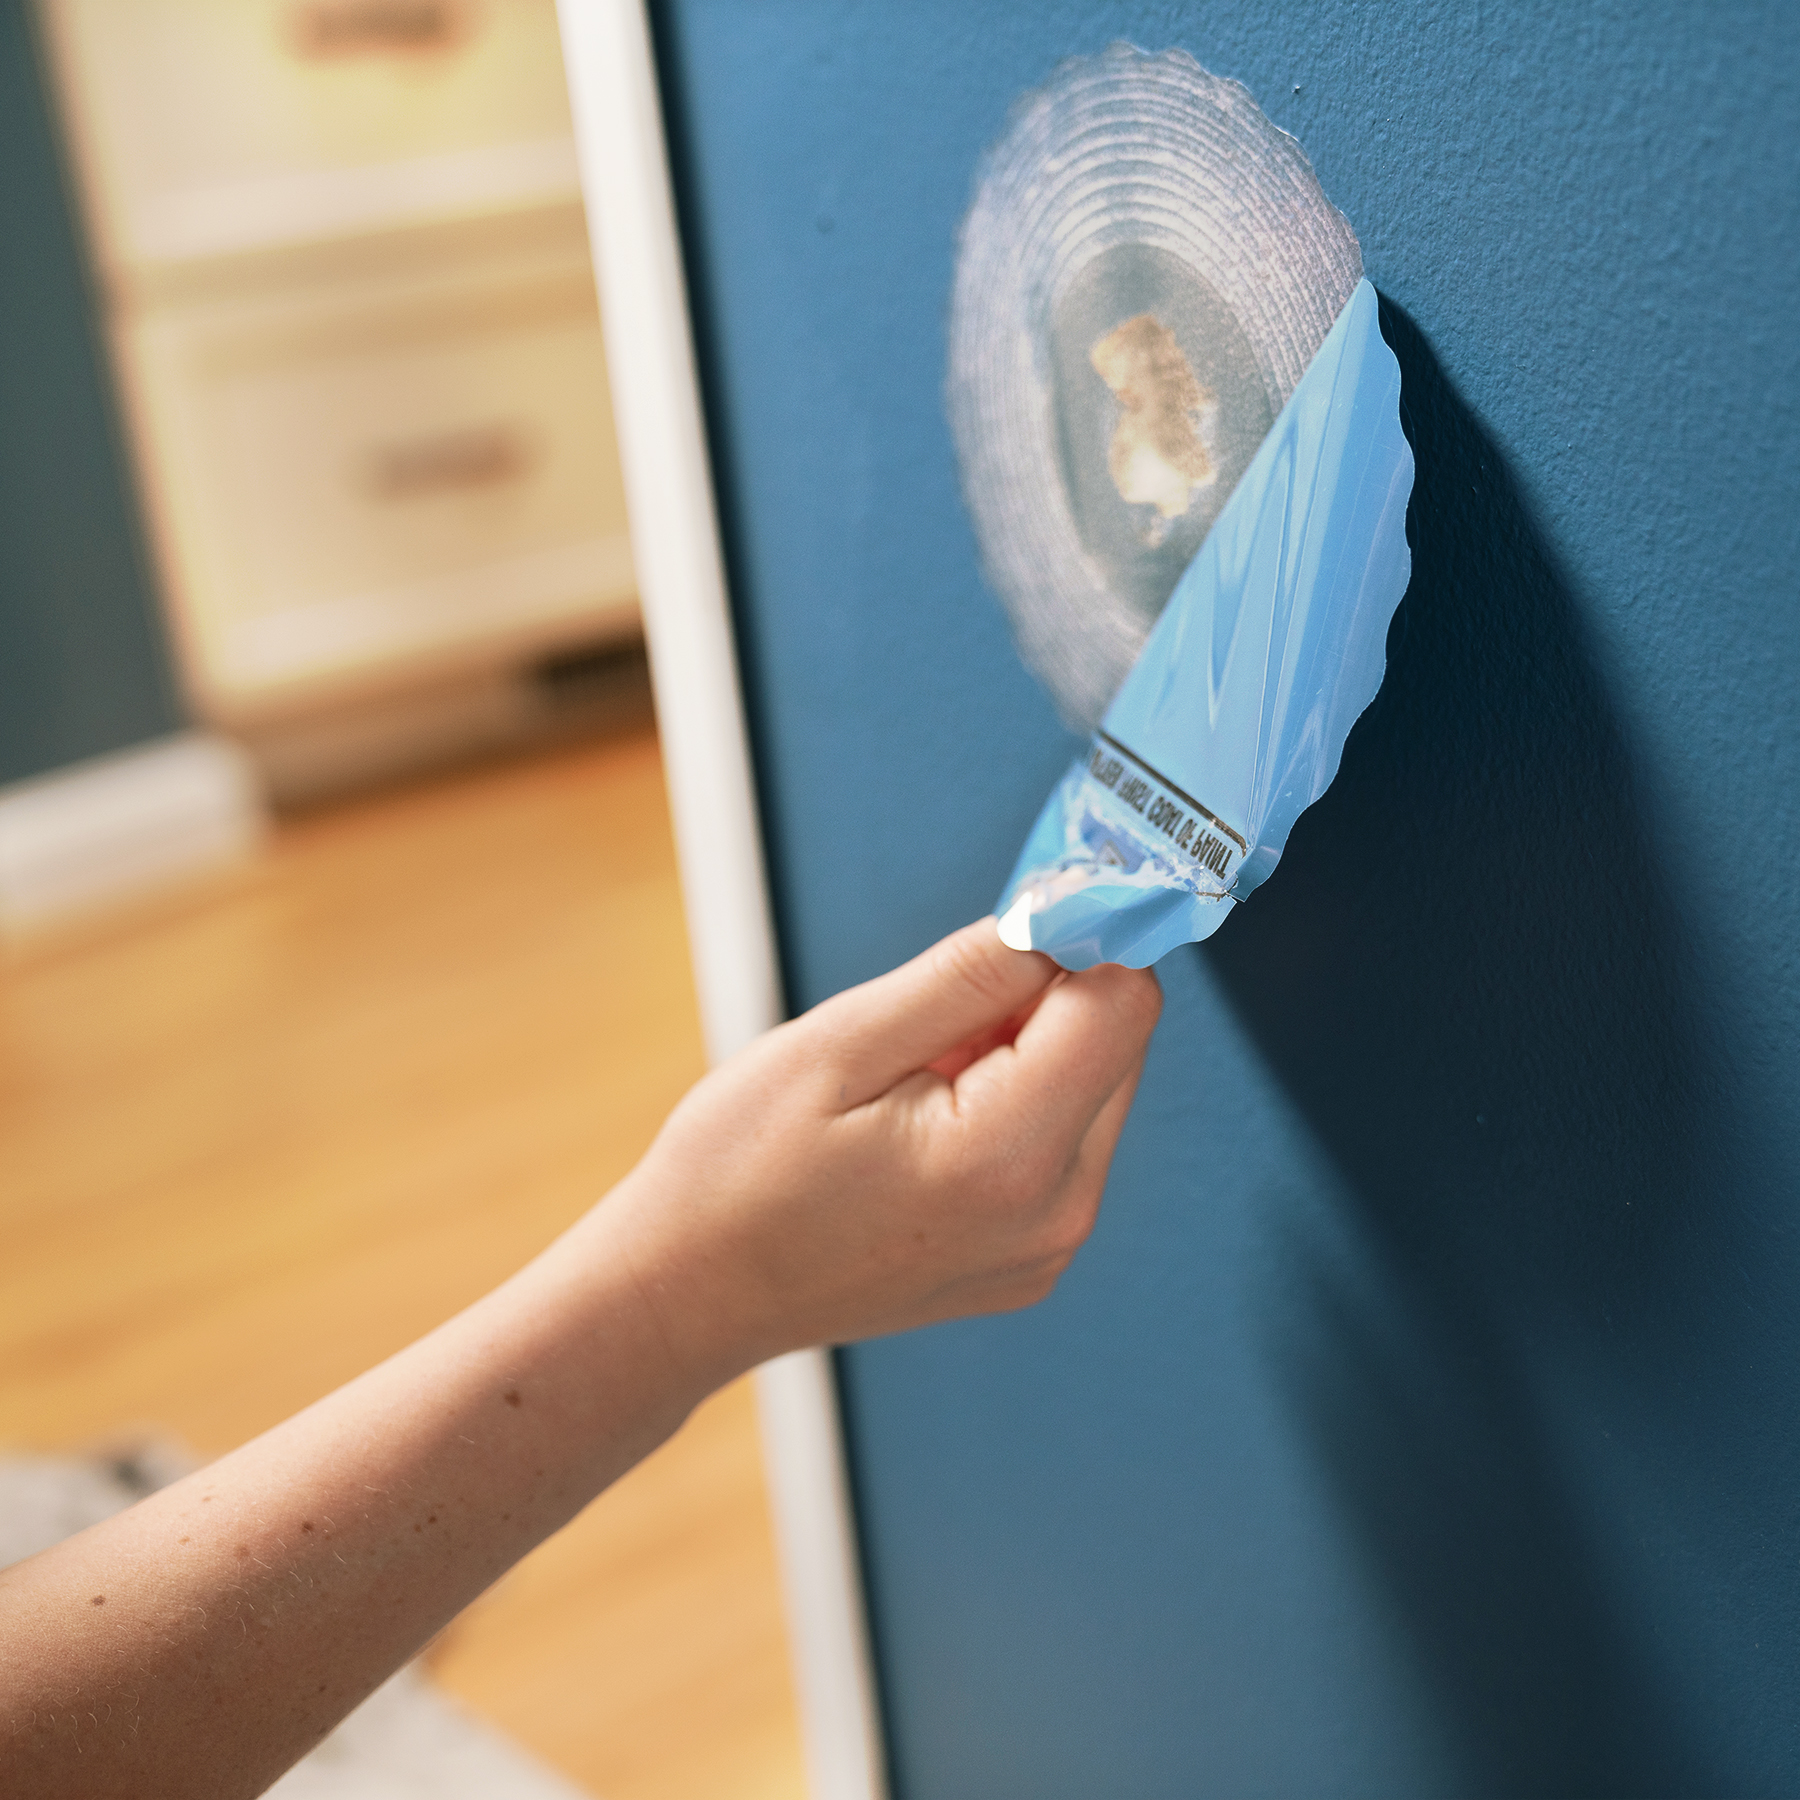
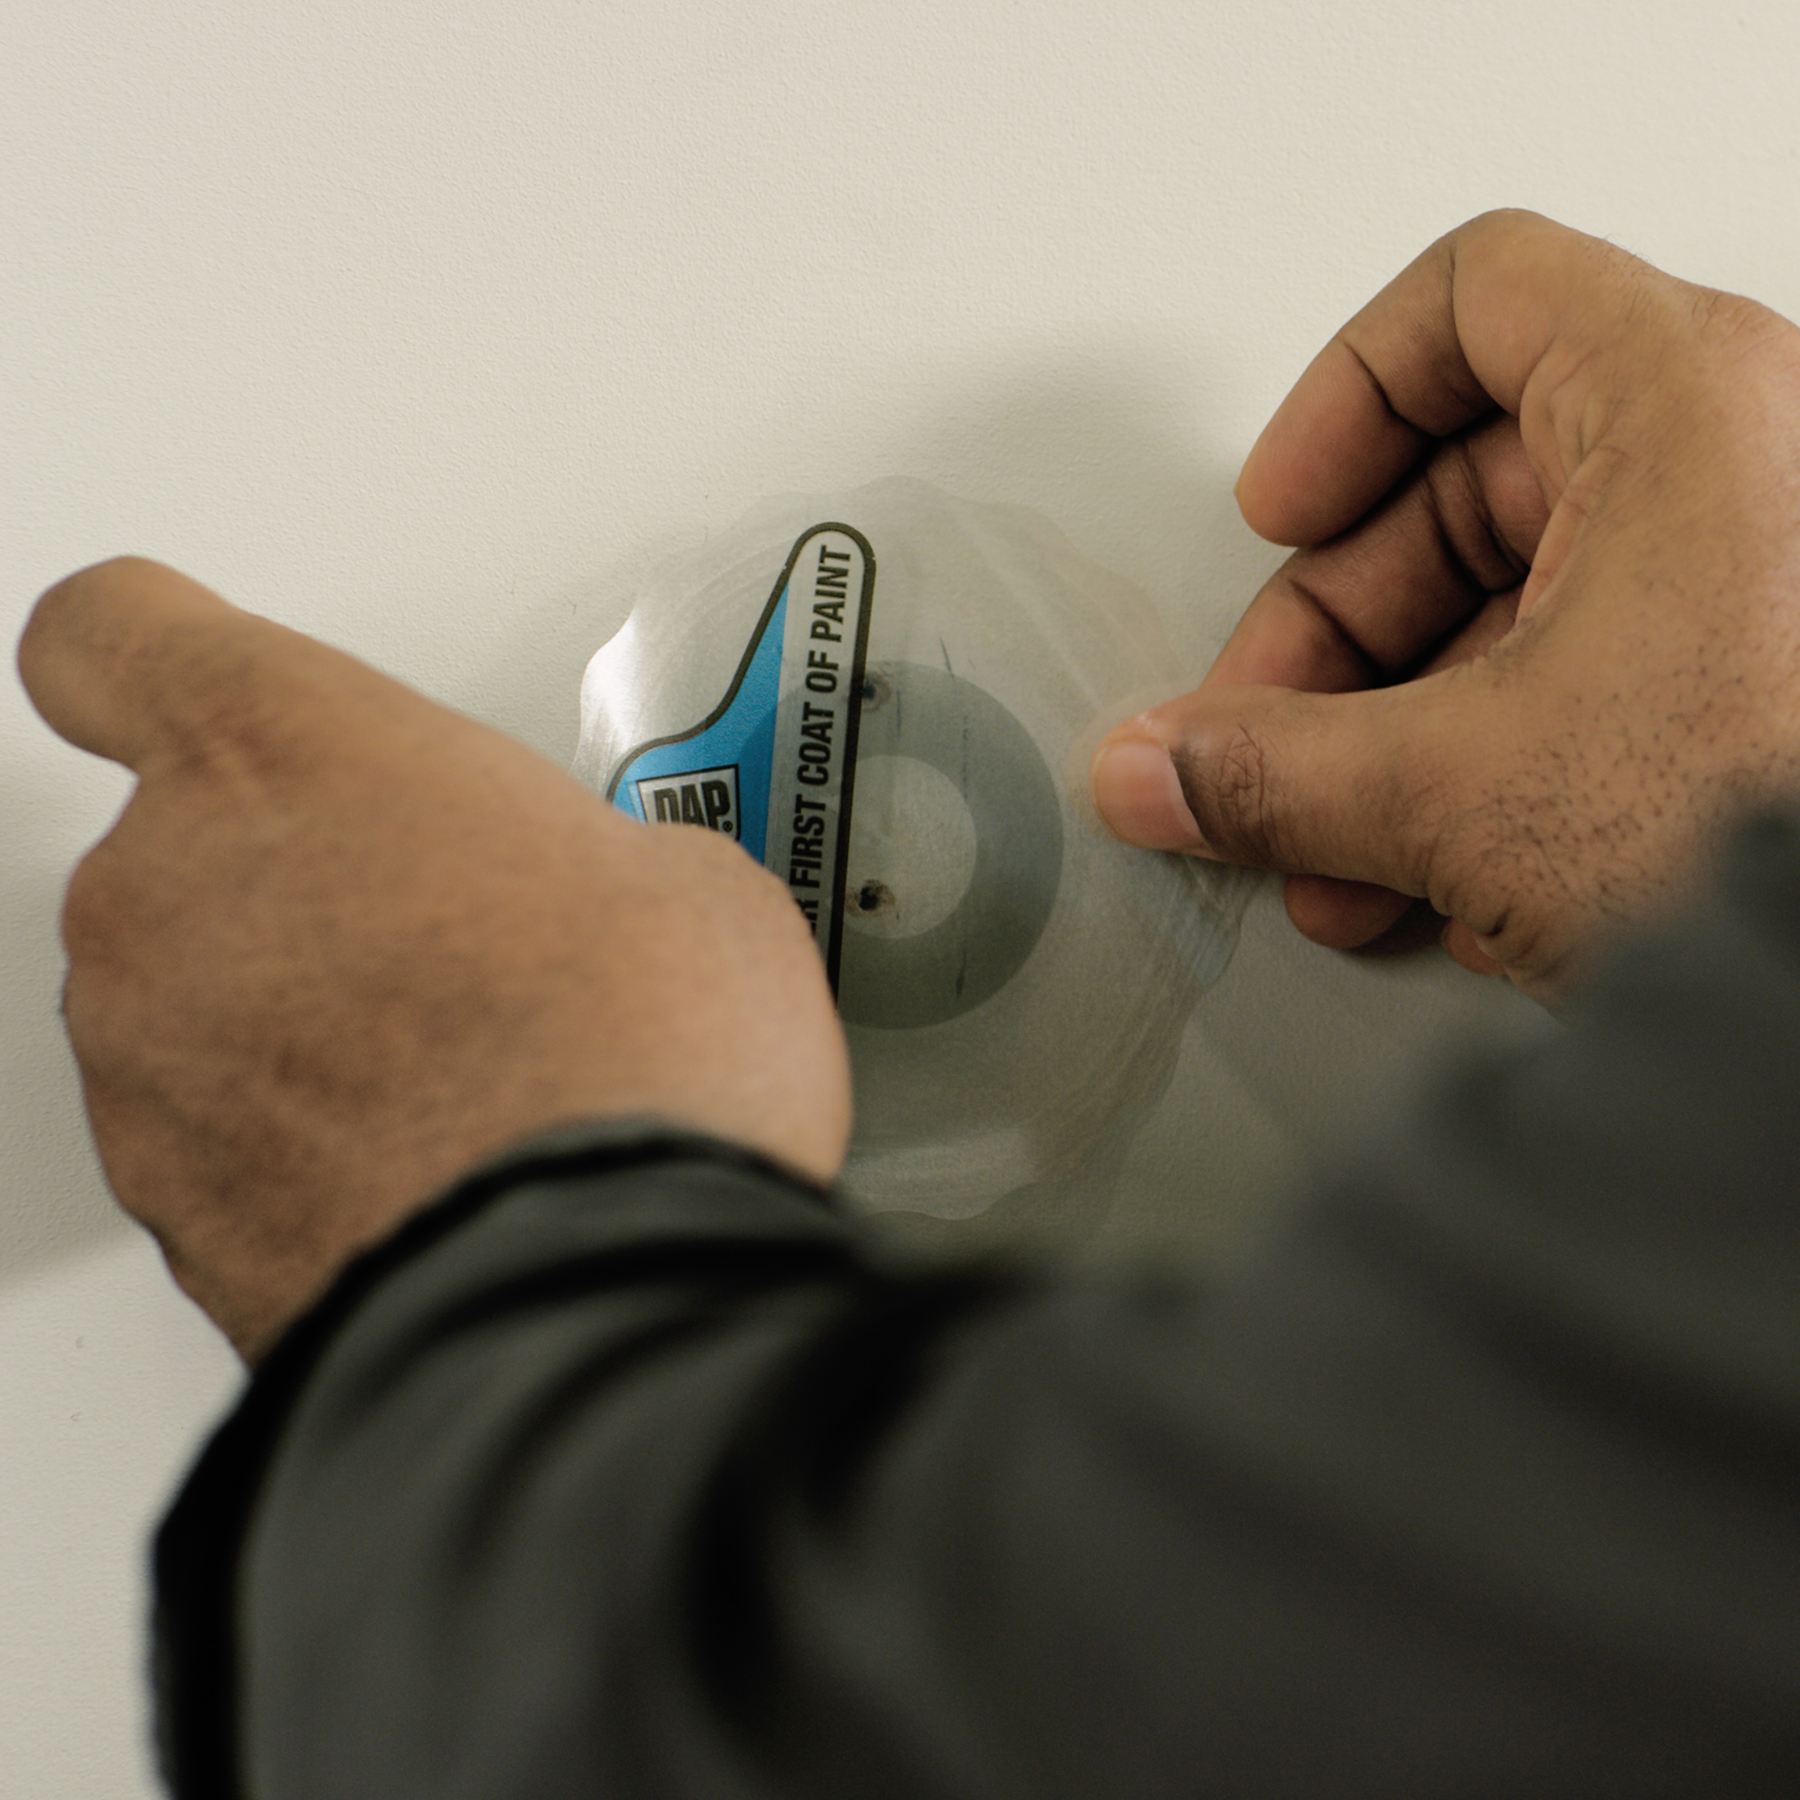
What if the protective layer doesn’t come off in one piece when I pull the pop-up tab?
We recommend pulling the tab up and away from the drywall towards yourself in order to release the protective layer from the patch. If the protective layer does not completely come off in one piece, use your fingernail to remove the rest of the protective layer prior to applying the next coat of paint.
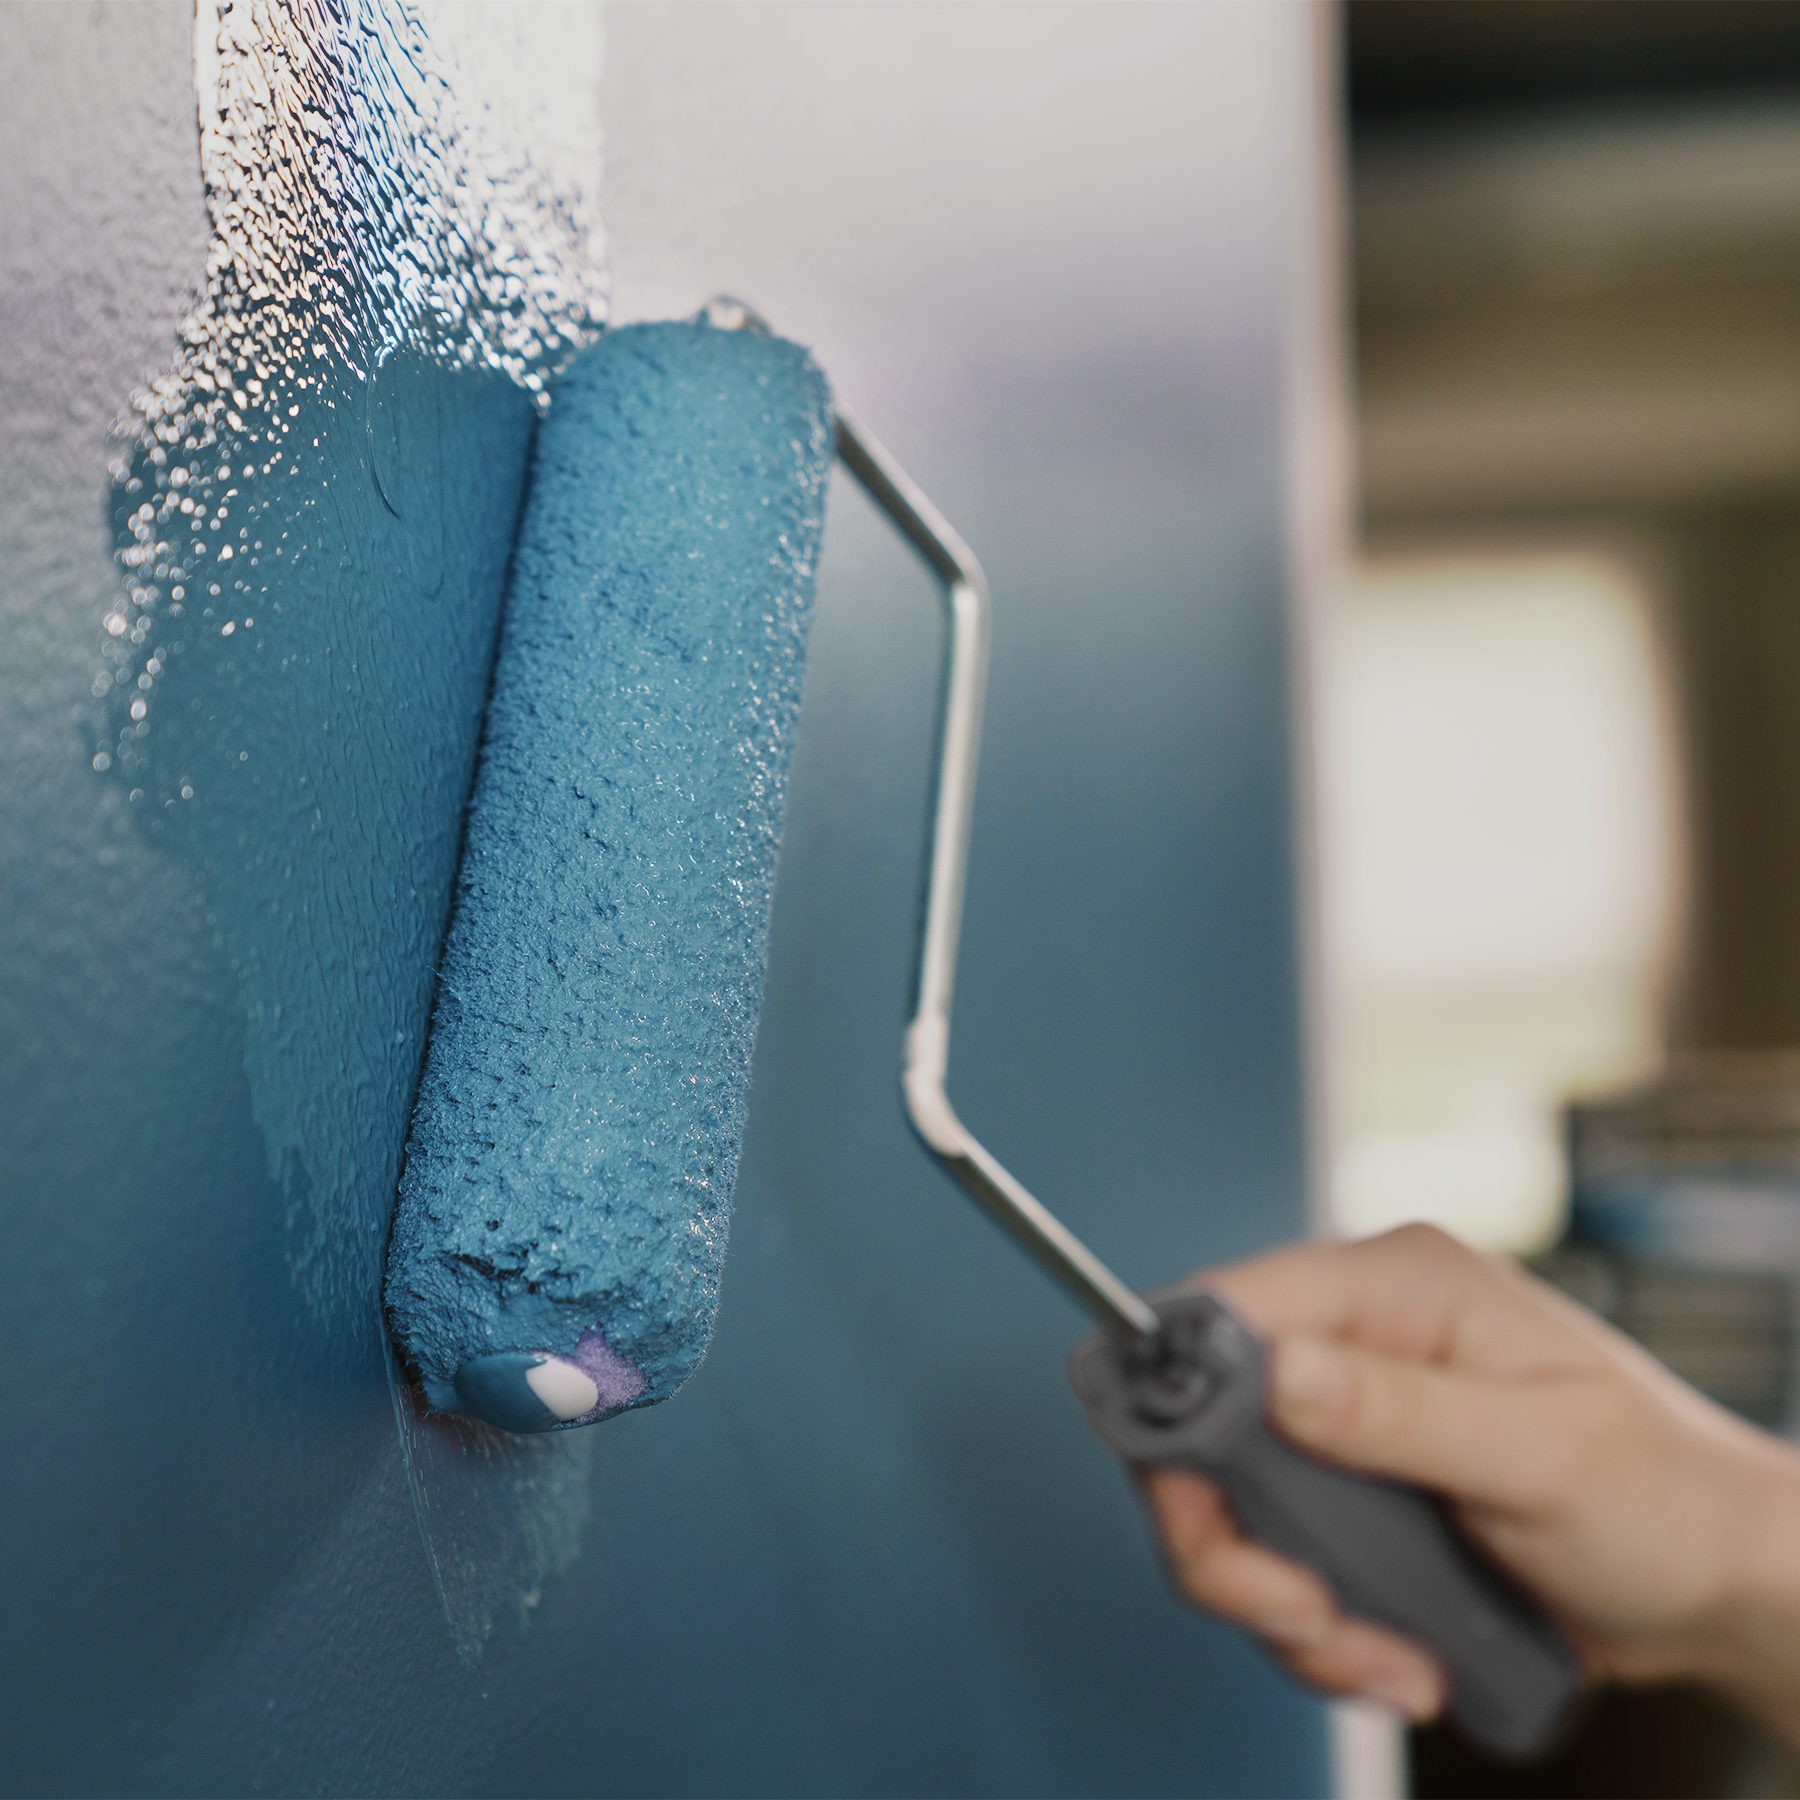
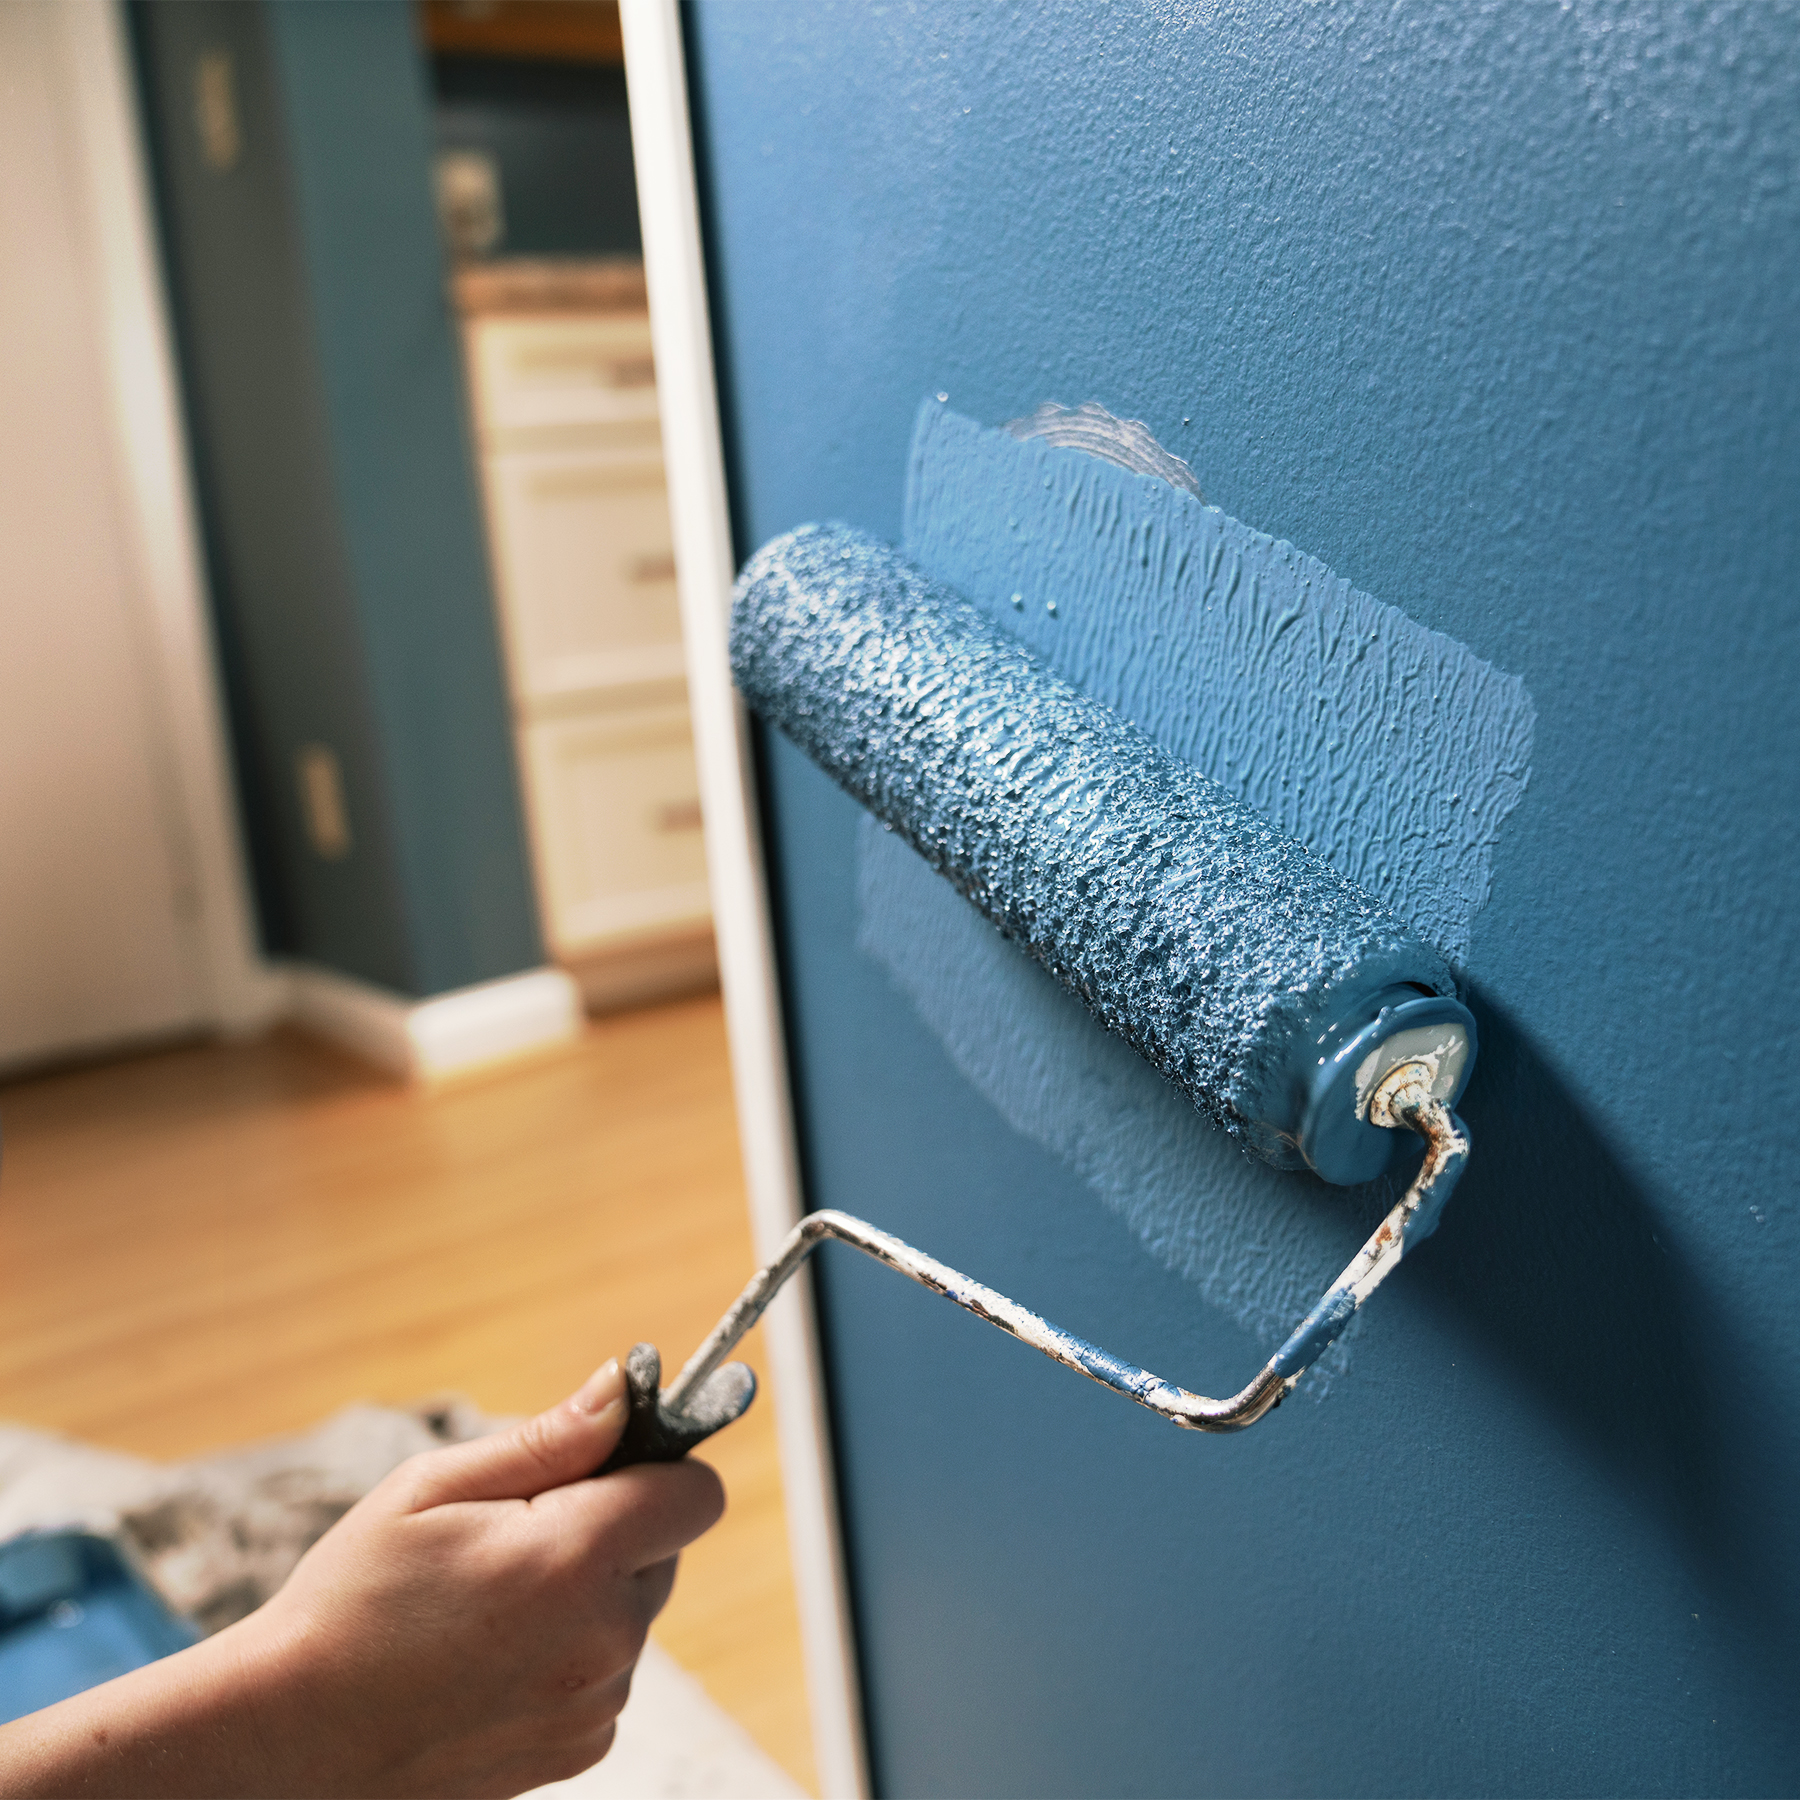
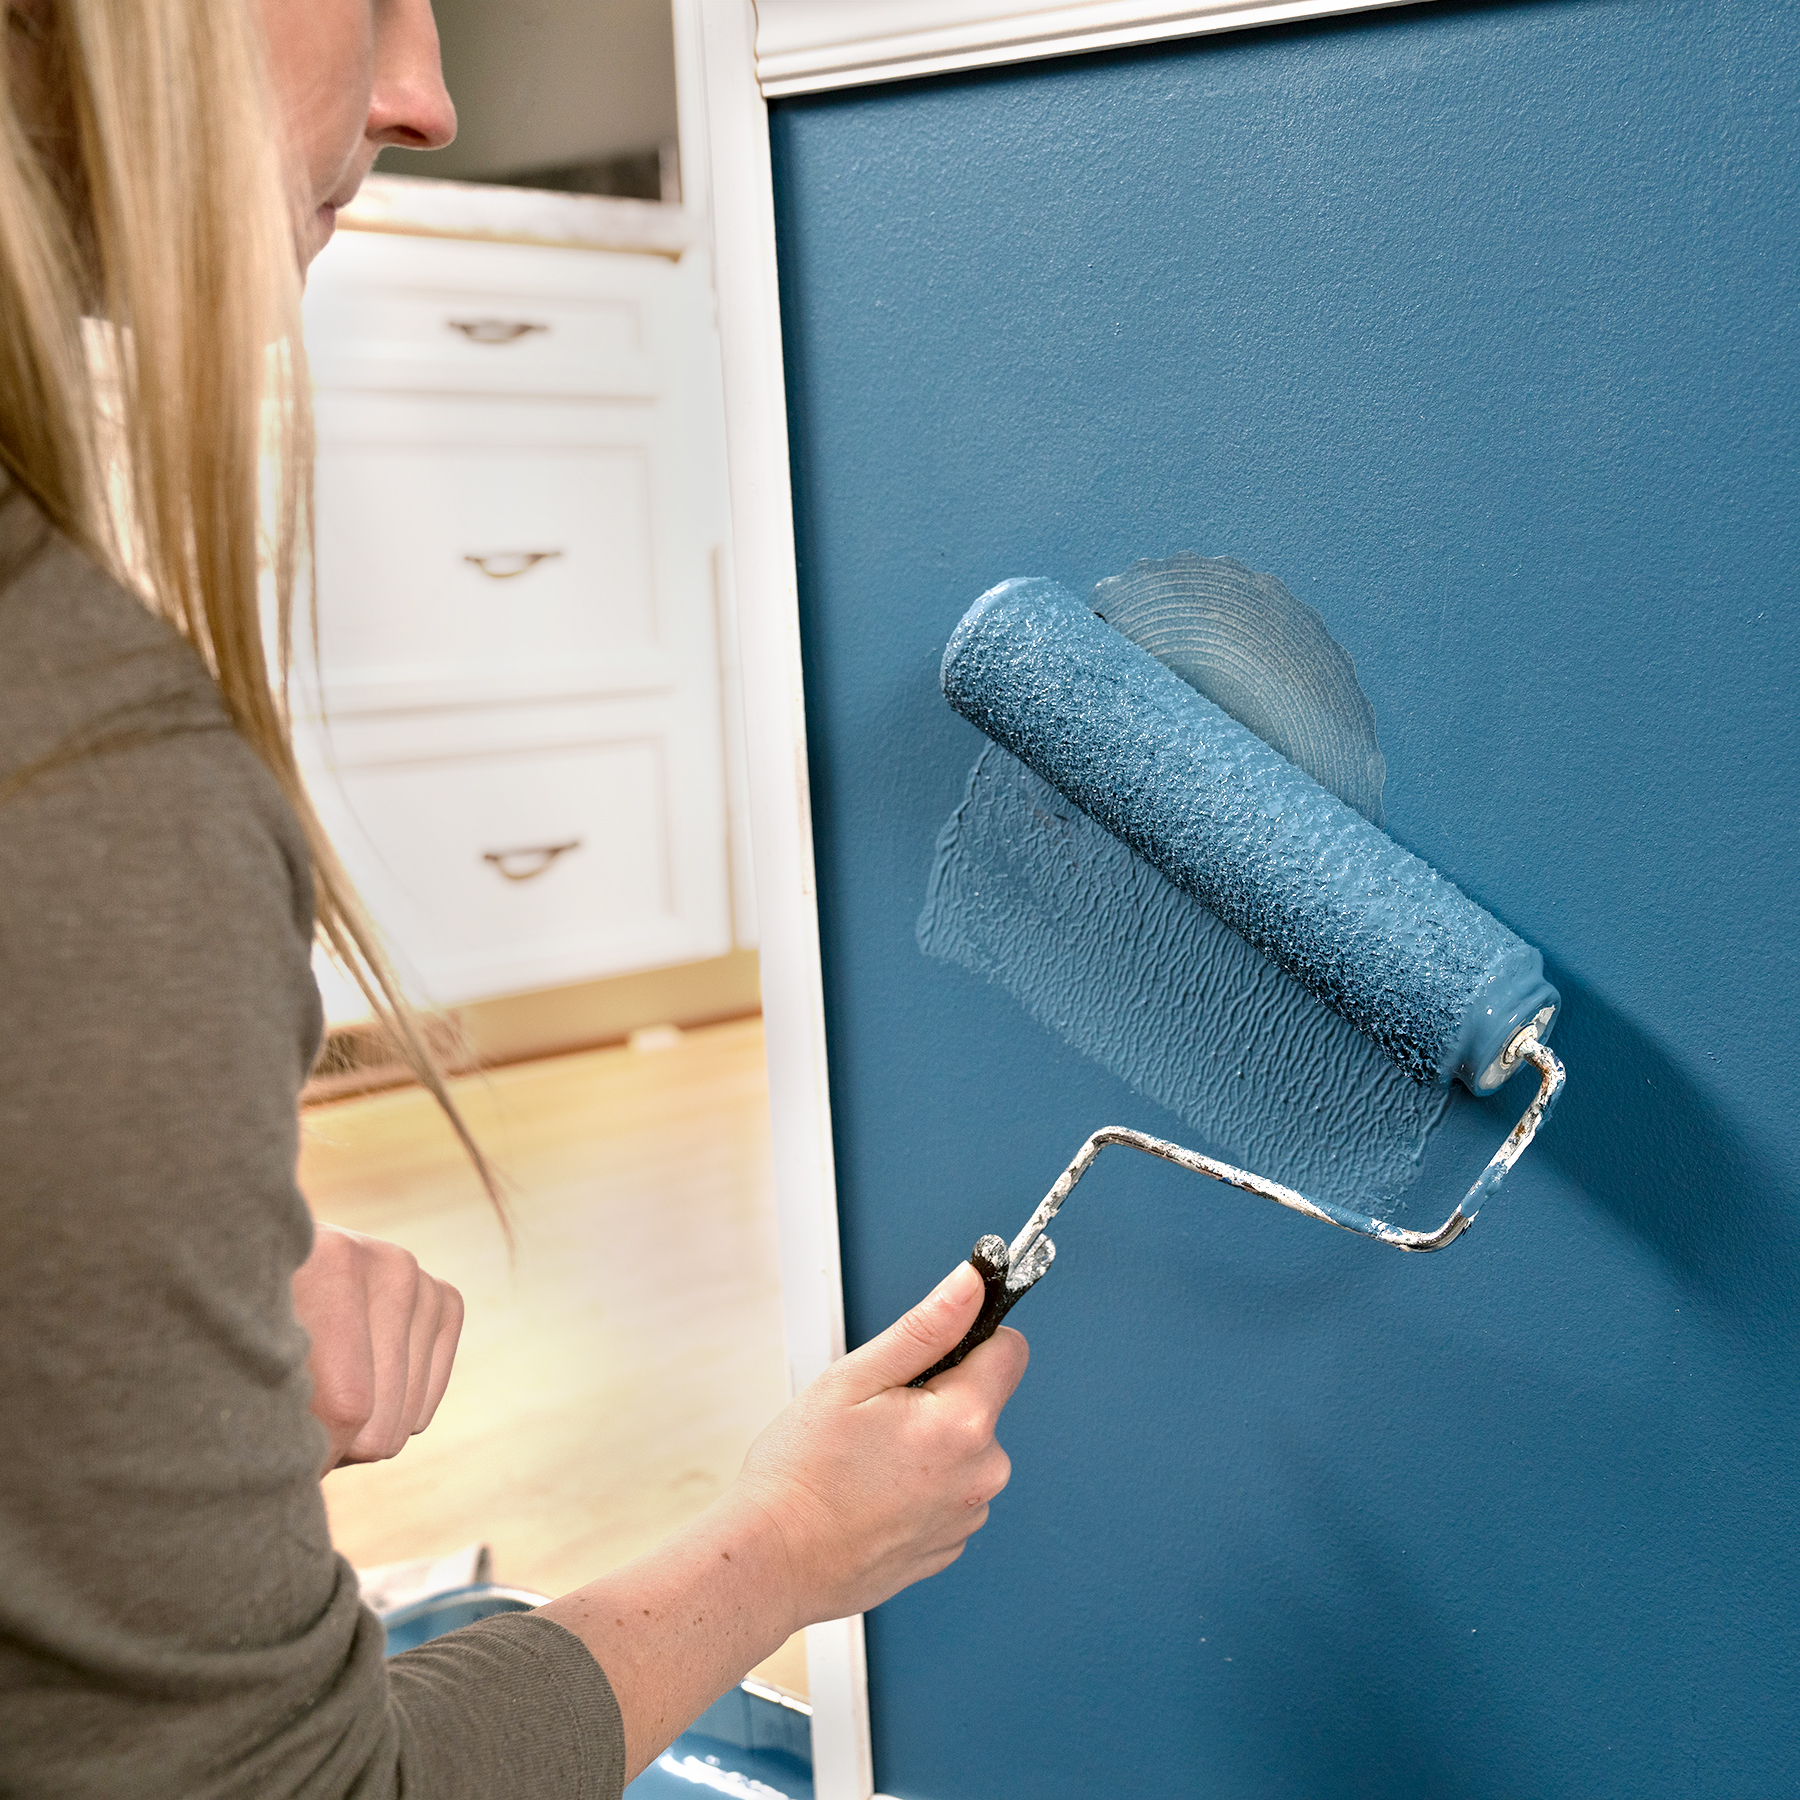
Can I use a paint brush to apply paint rather than a paint roller?
We recommend always using a paint roller. Using a paint brush is not recommended as it can leave brush strokes and won’t provide the best coverage.
Can this product be used for walls and ceiling damage?
Yes, this product is perfect for repairing damage in drywall walls and ceilings
If I don’t like the position of the patch over the damage, can I remove and reposition the patch?
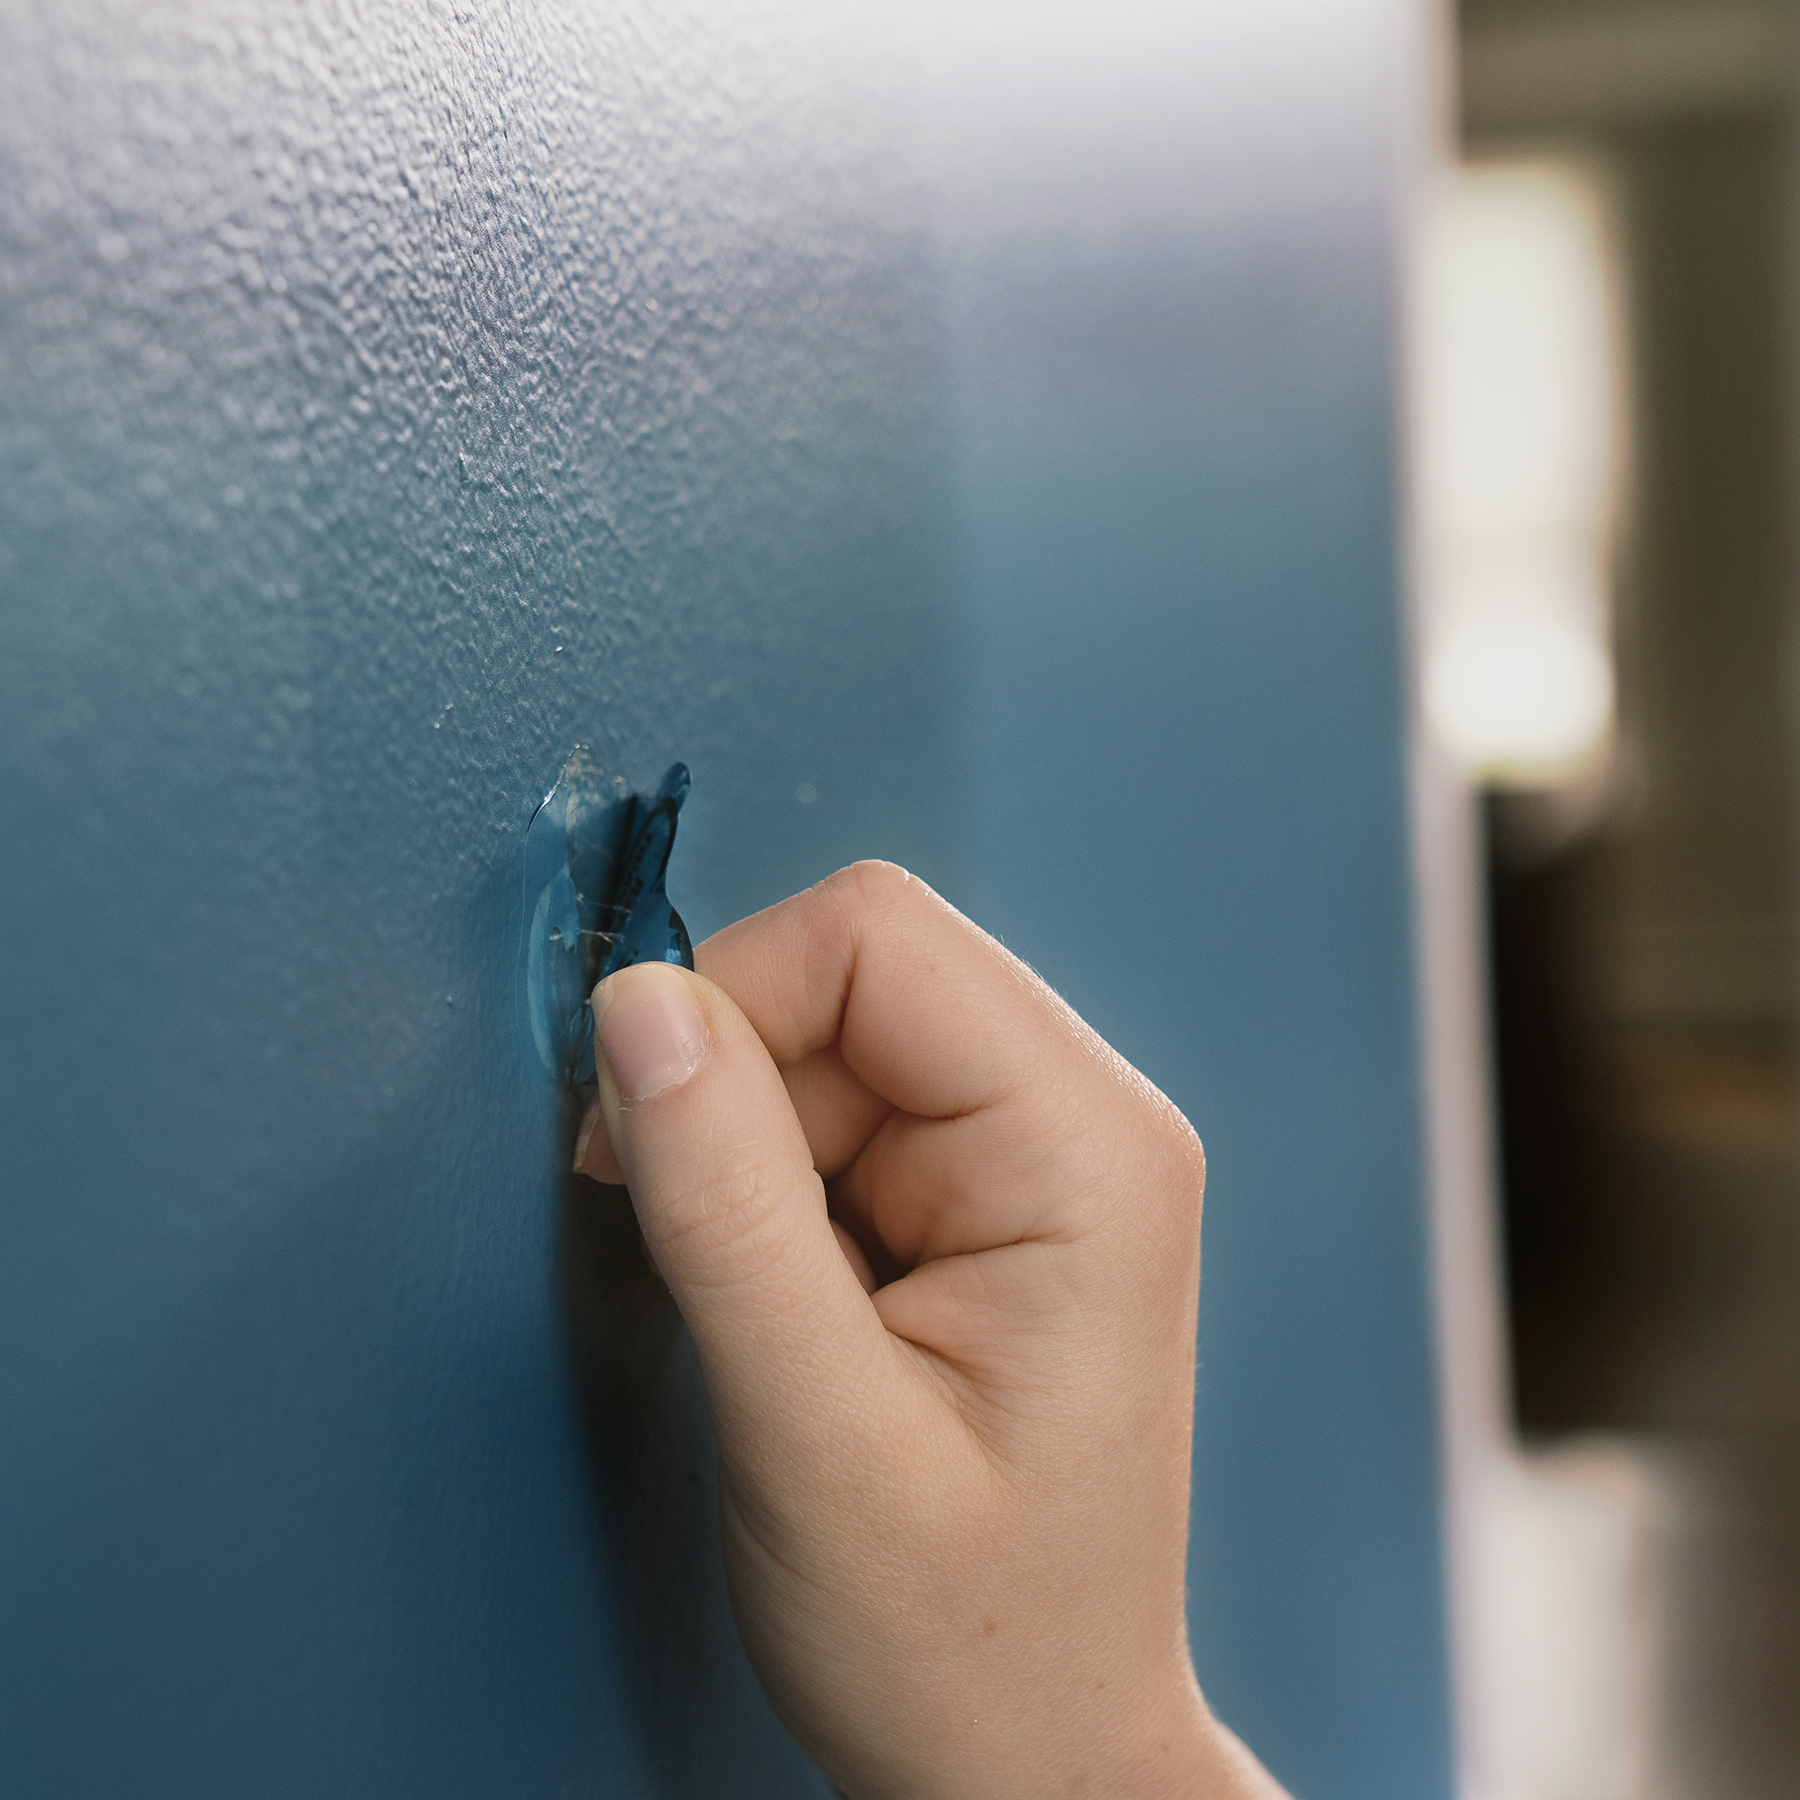
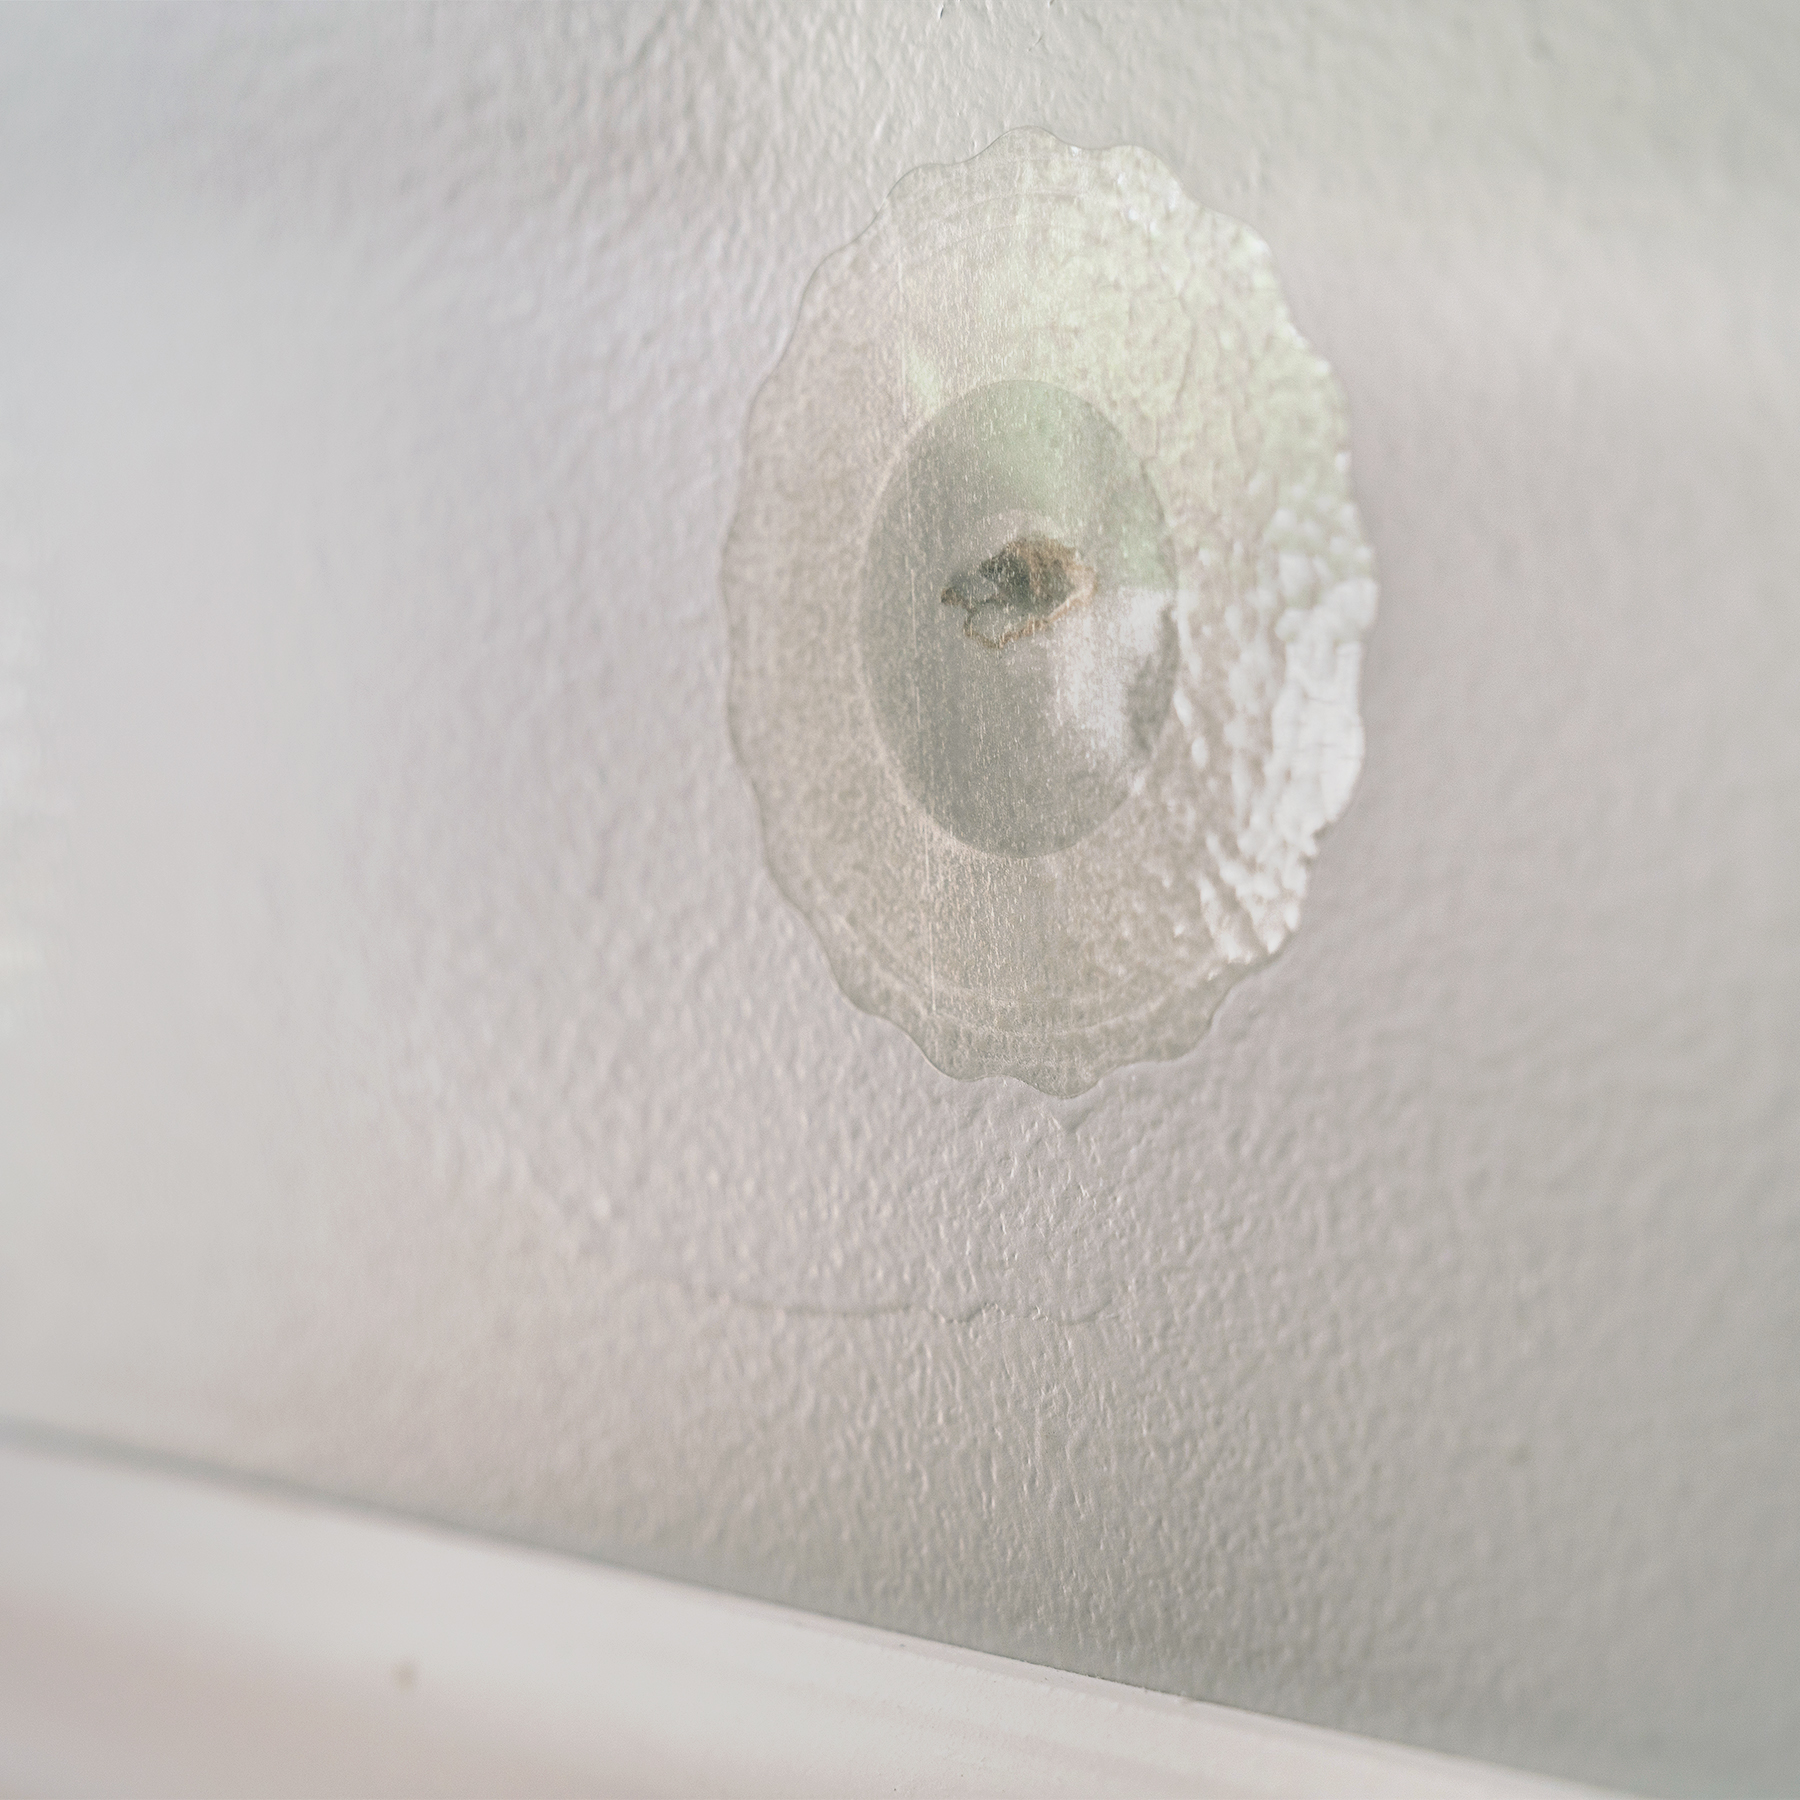
Once the patch is adhered to the drywall surface, we do not recommend removing and repositioning. This will significantly impact the patch adhesion to the drywall and may not provide acceptable, permanent, long-lasting results. To help position the patch properly on the first try, use the gray center circle of the patch as a guide to align over the center of the damage. Be sure the damaged area does not exceed the gray area.
Is the patch acceptable for exterior repairs if primed and sealed with an exterior paint?
Currently, we do not recommend using DAP Eclipse Patches for exterior applications. It is recommended to only use for interior drywall walls and ceilings.
Can I repair a textured wall or ceiling using DAP Eclipse Rapid Wall Repair Patches?
Yes, you can repair a textured wall using DAP Eclipse Patches. The product is compatible with aerosol spray textures and textured rollers. If repairing textured walls or ceilings, remove the protective layer by pulling the pop-up tab immediately after adhering the patch to the drywall (no need to apply the first coat of paint). Then apply texture, allow to dry thoroughly, then paint.