Fast N Final Lightweight Spackling
Wall & Ceiling Repair
Learn spackling basics, including how to patch drywall and plaster, choose the right spackling compound, sand repairs, and prep walls for paint.
Spackling is one of the most important steps in wall prep before painting. It’s used to fill holes, dents, and cracks in drywall and plaster so painted surfaces look smooth and seamless. Choosing the right type of spackling and applying it correctly makes the difference between a visible repair and a professional finish. This guide breaks down spackling basics step by step.
Wall & Ceiling Repair
Wall & Ceiling Repair
Wall & Ceiling Repair
Wall & Ceiling Repair
Wall & Ceiling Repair
Wall & Ceiling Repair
Wall & Ceiling Repair
Wall & Ceiling Repair
Spackling compound dries faster and shrinks less than joint compound, making it ideal for repairing holes and dents. Joint compound has a longer working time and is better suited for skim coating or taping drywall seams. For most wall repairs, spackling is the better choice.
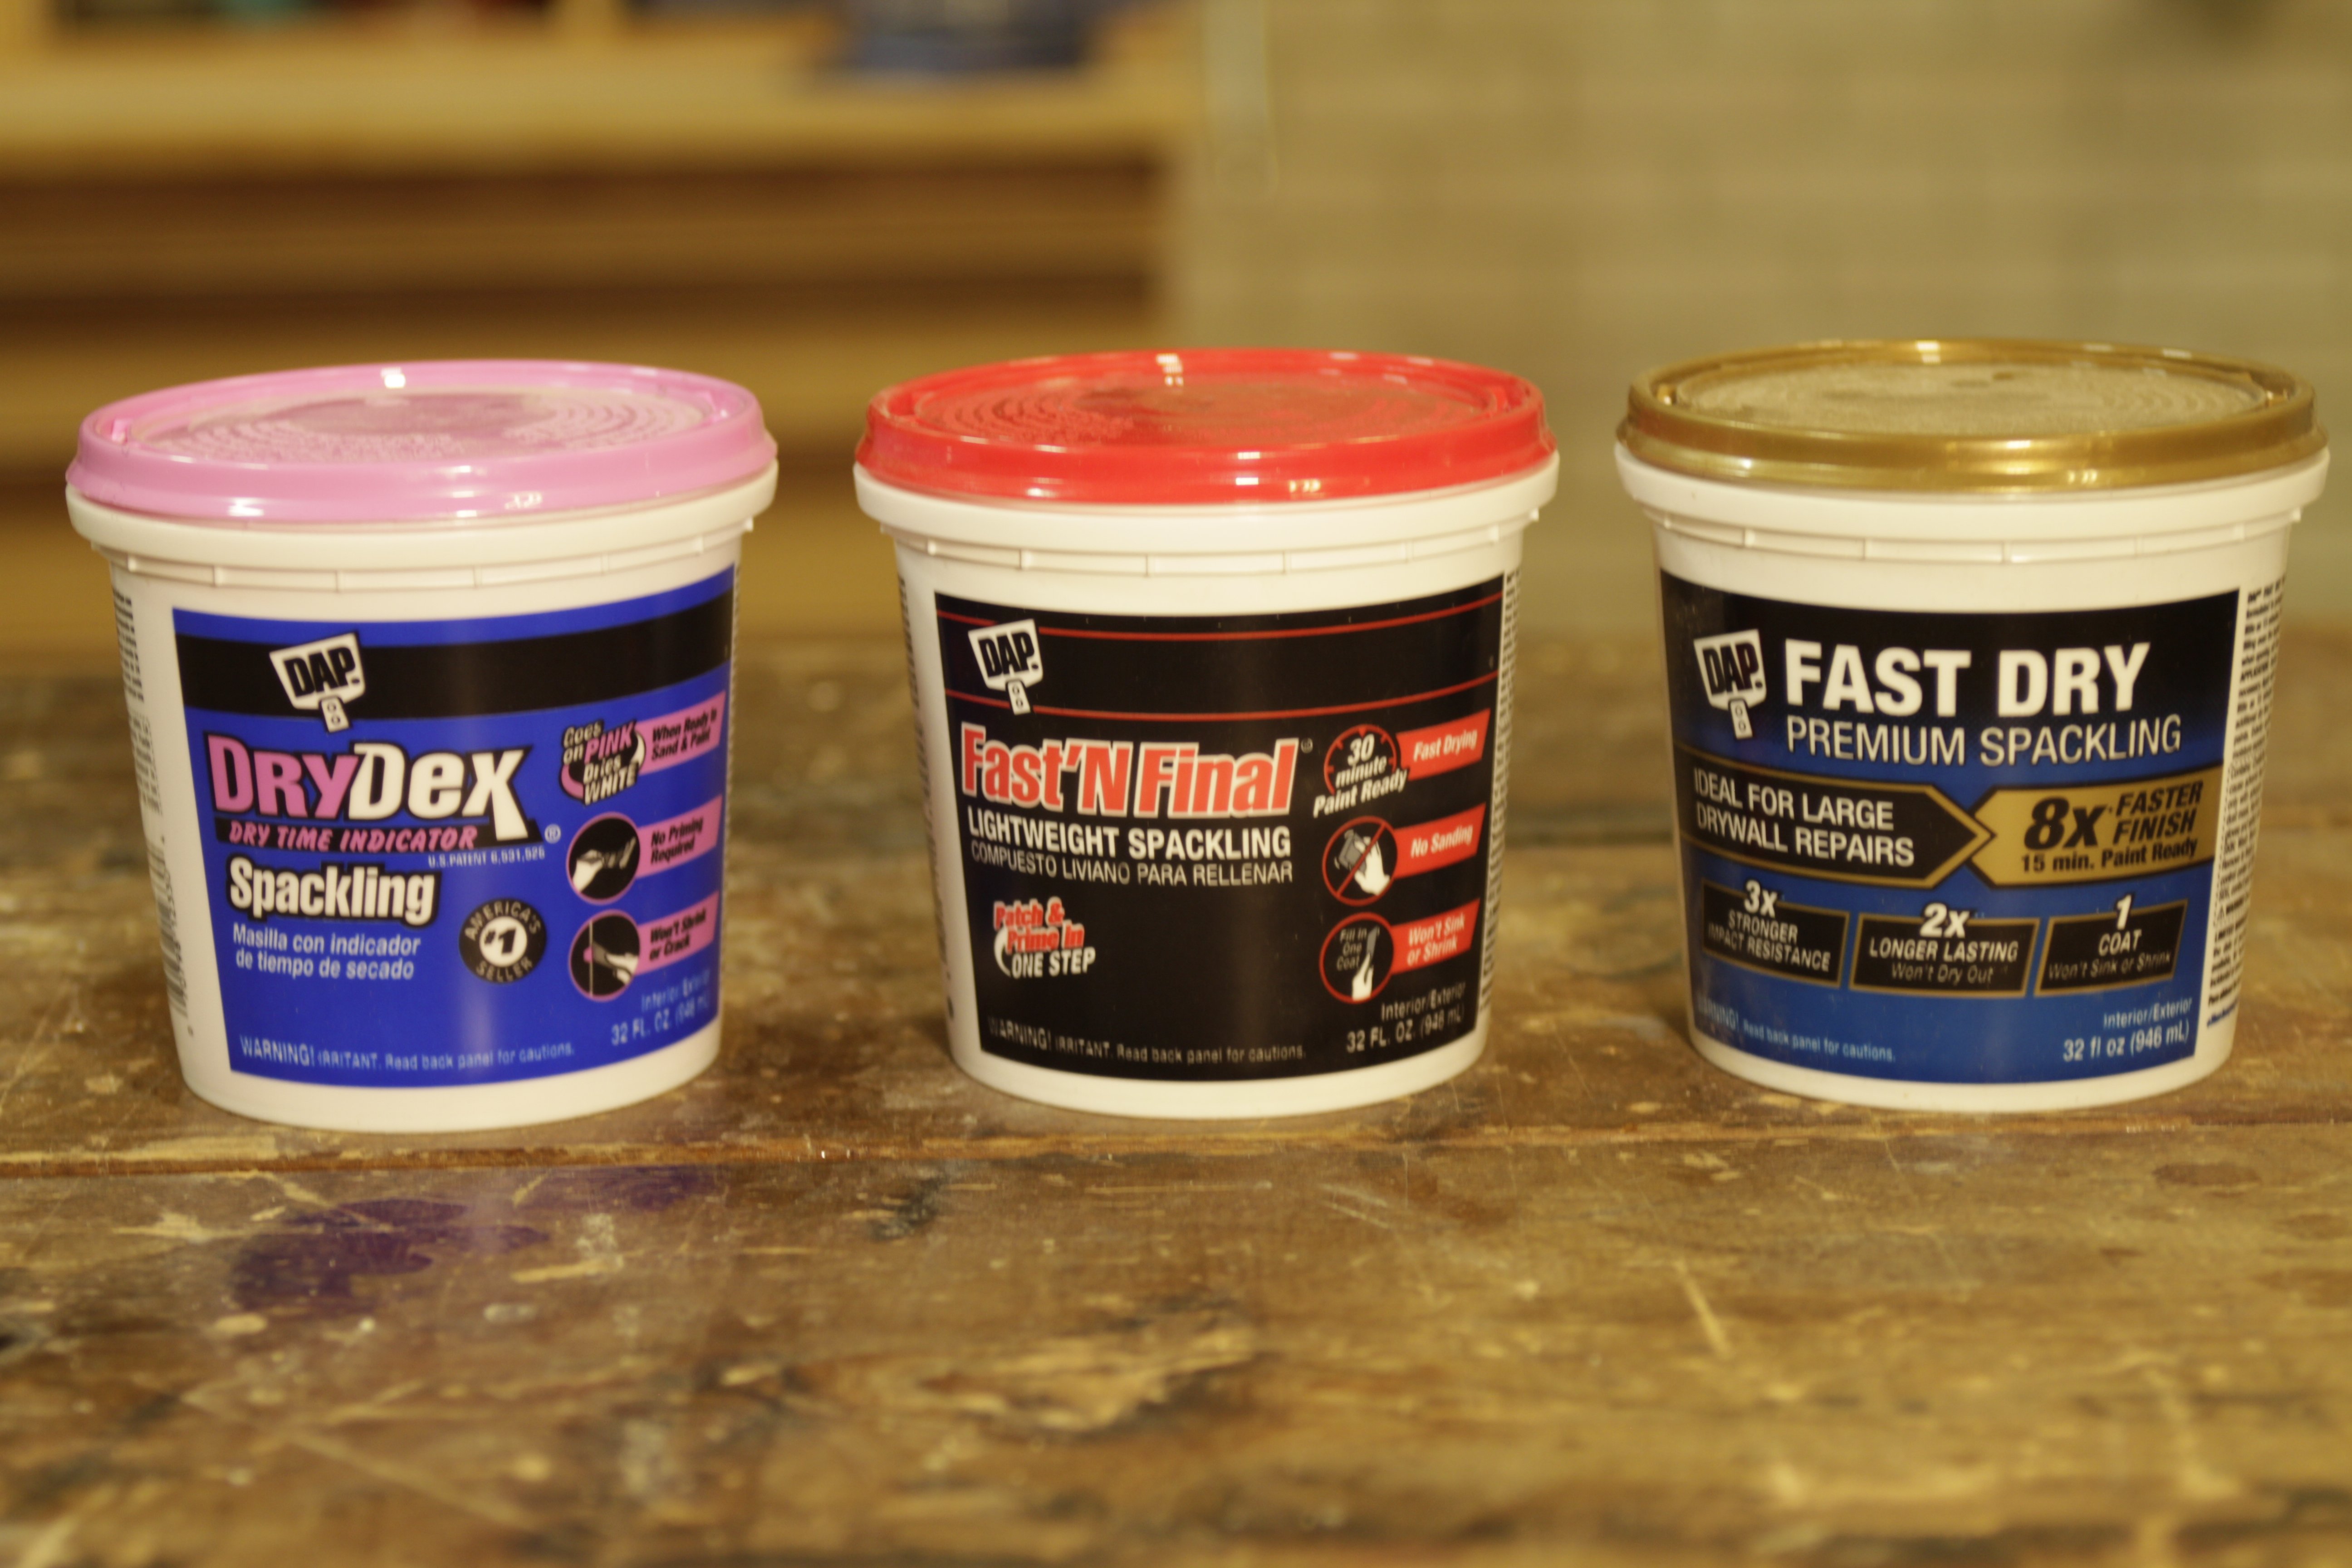
Different repairs require different spackling compounds.
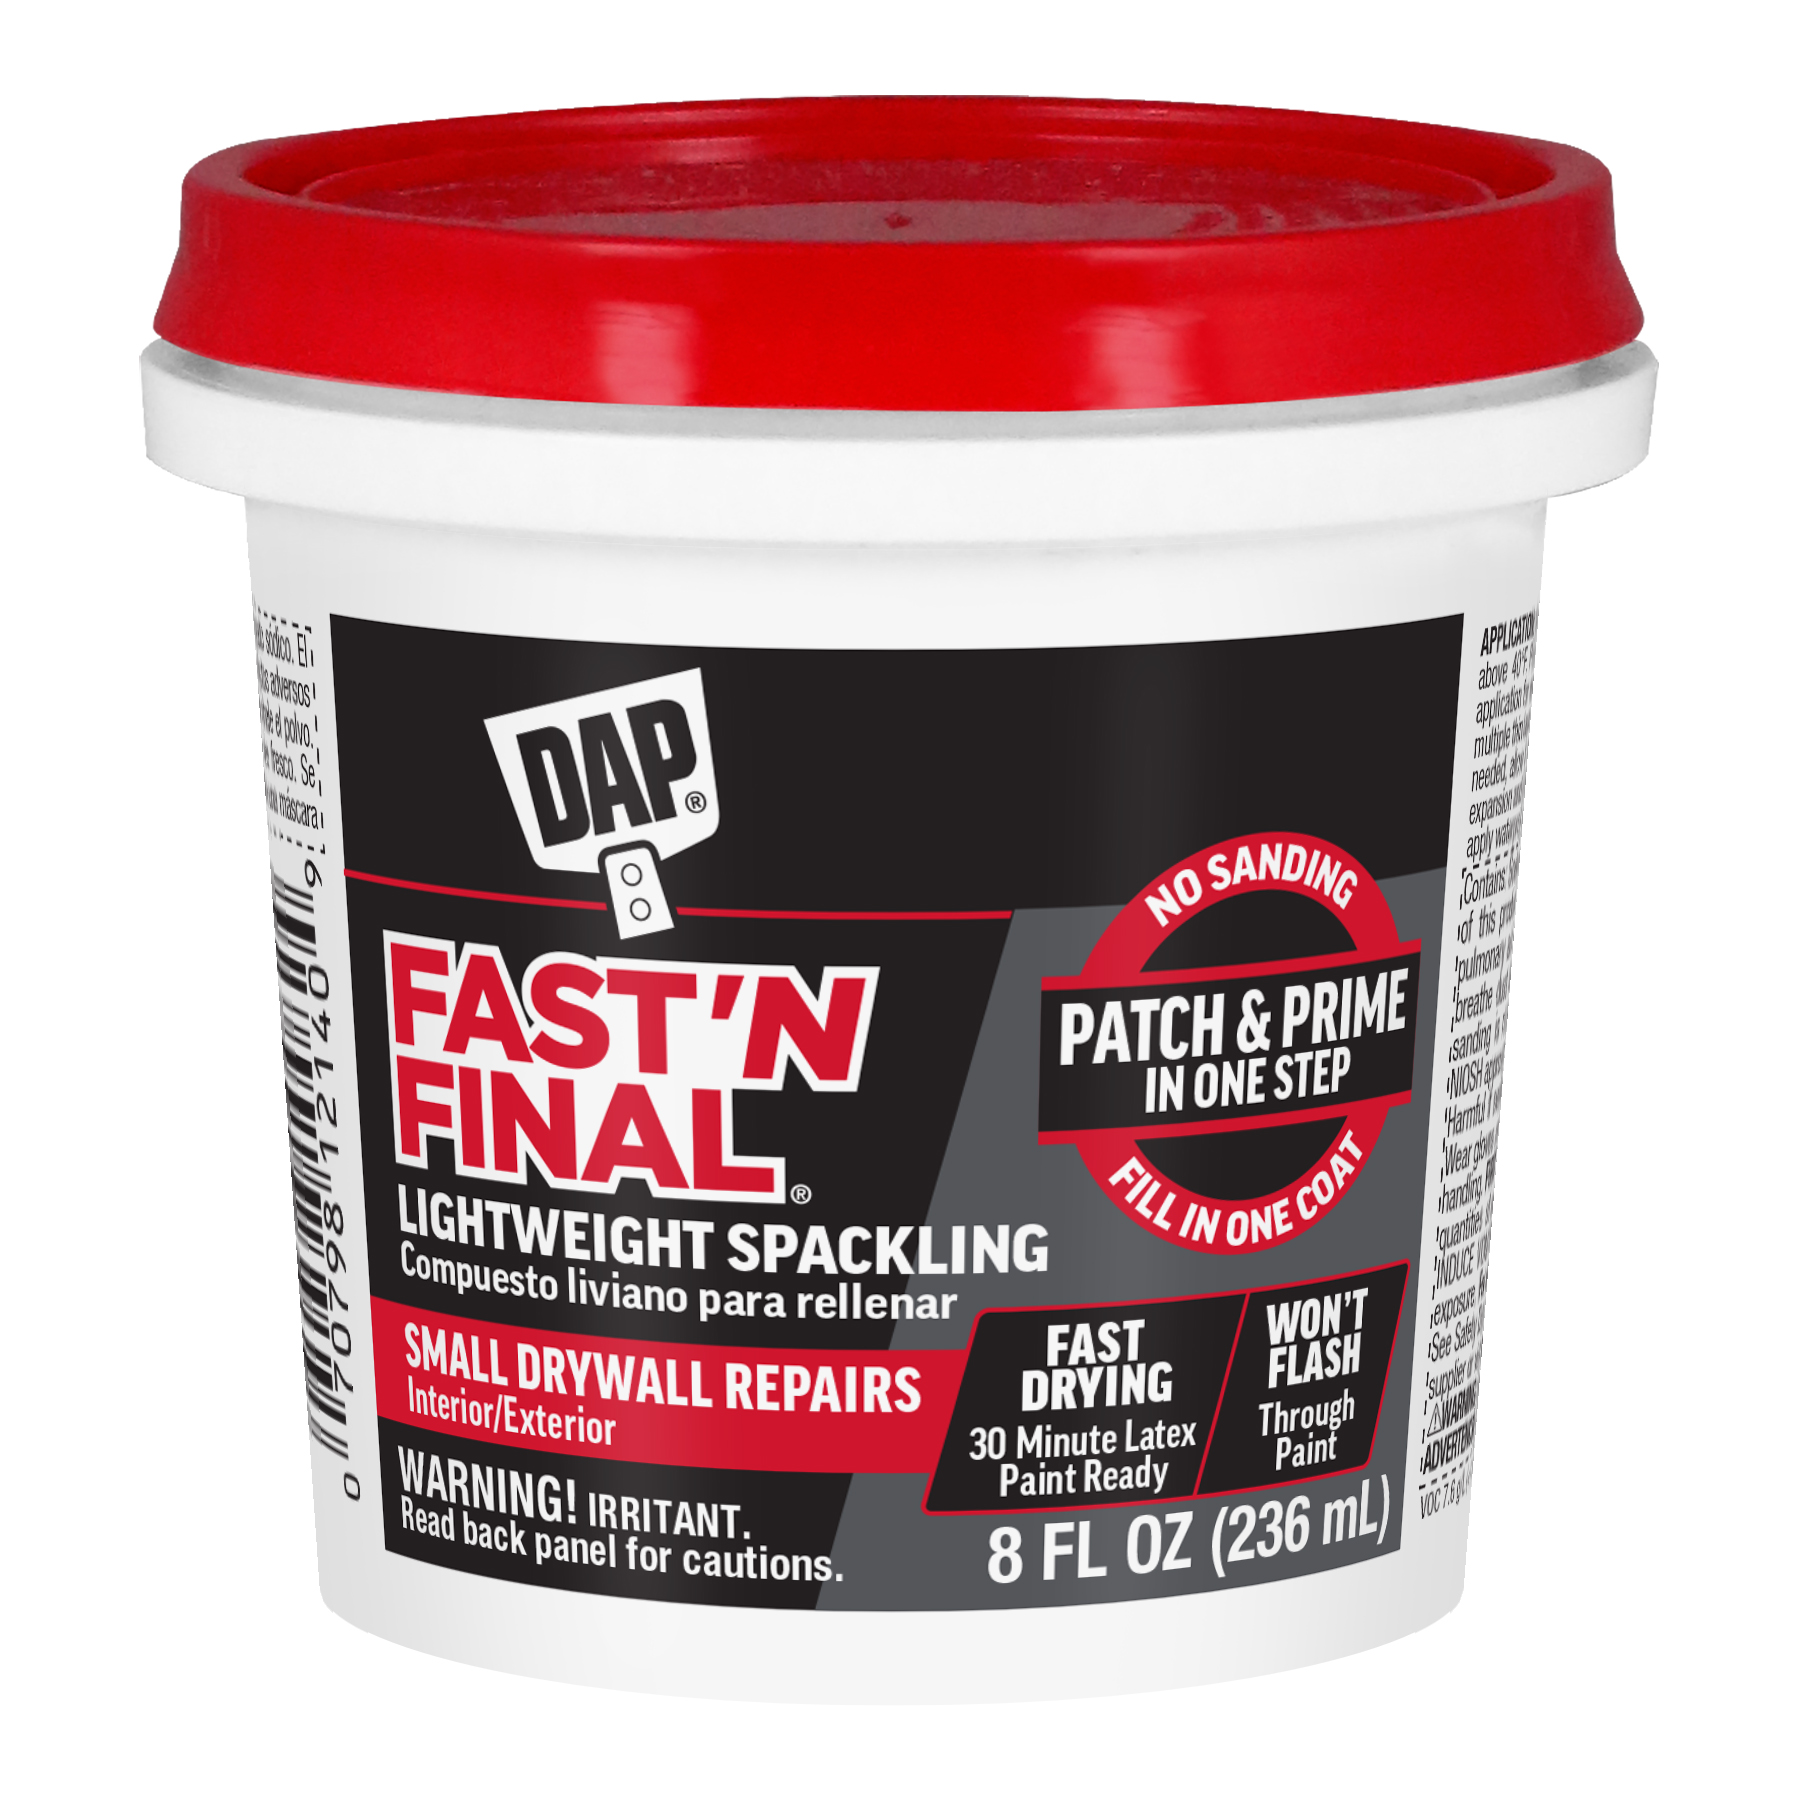
Best for small nail holes and shallow dents. Dries quickly and typically doesn’t require sanding.
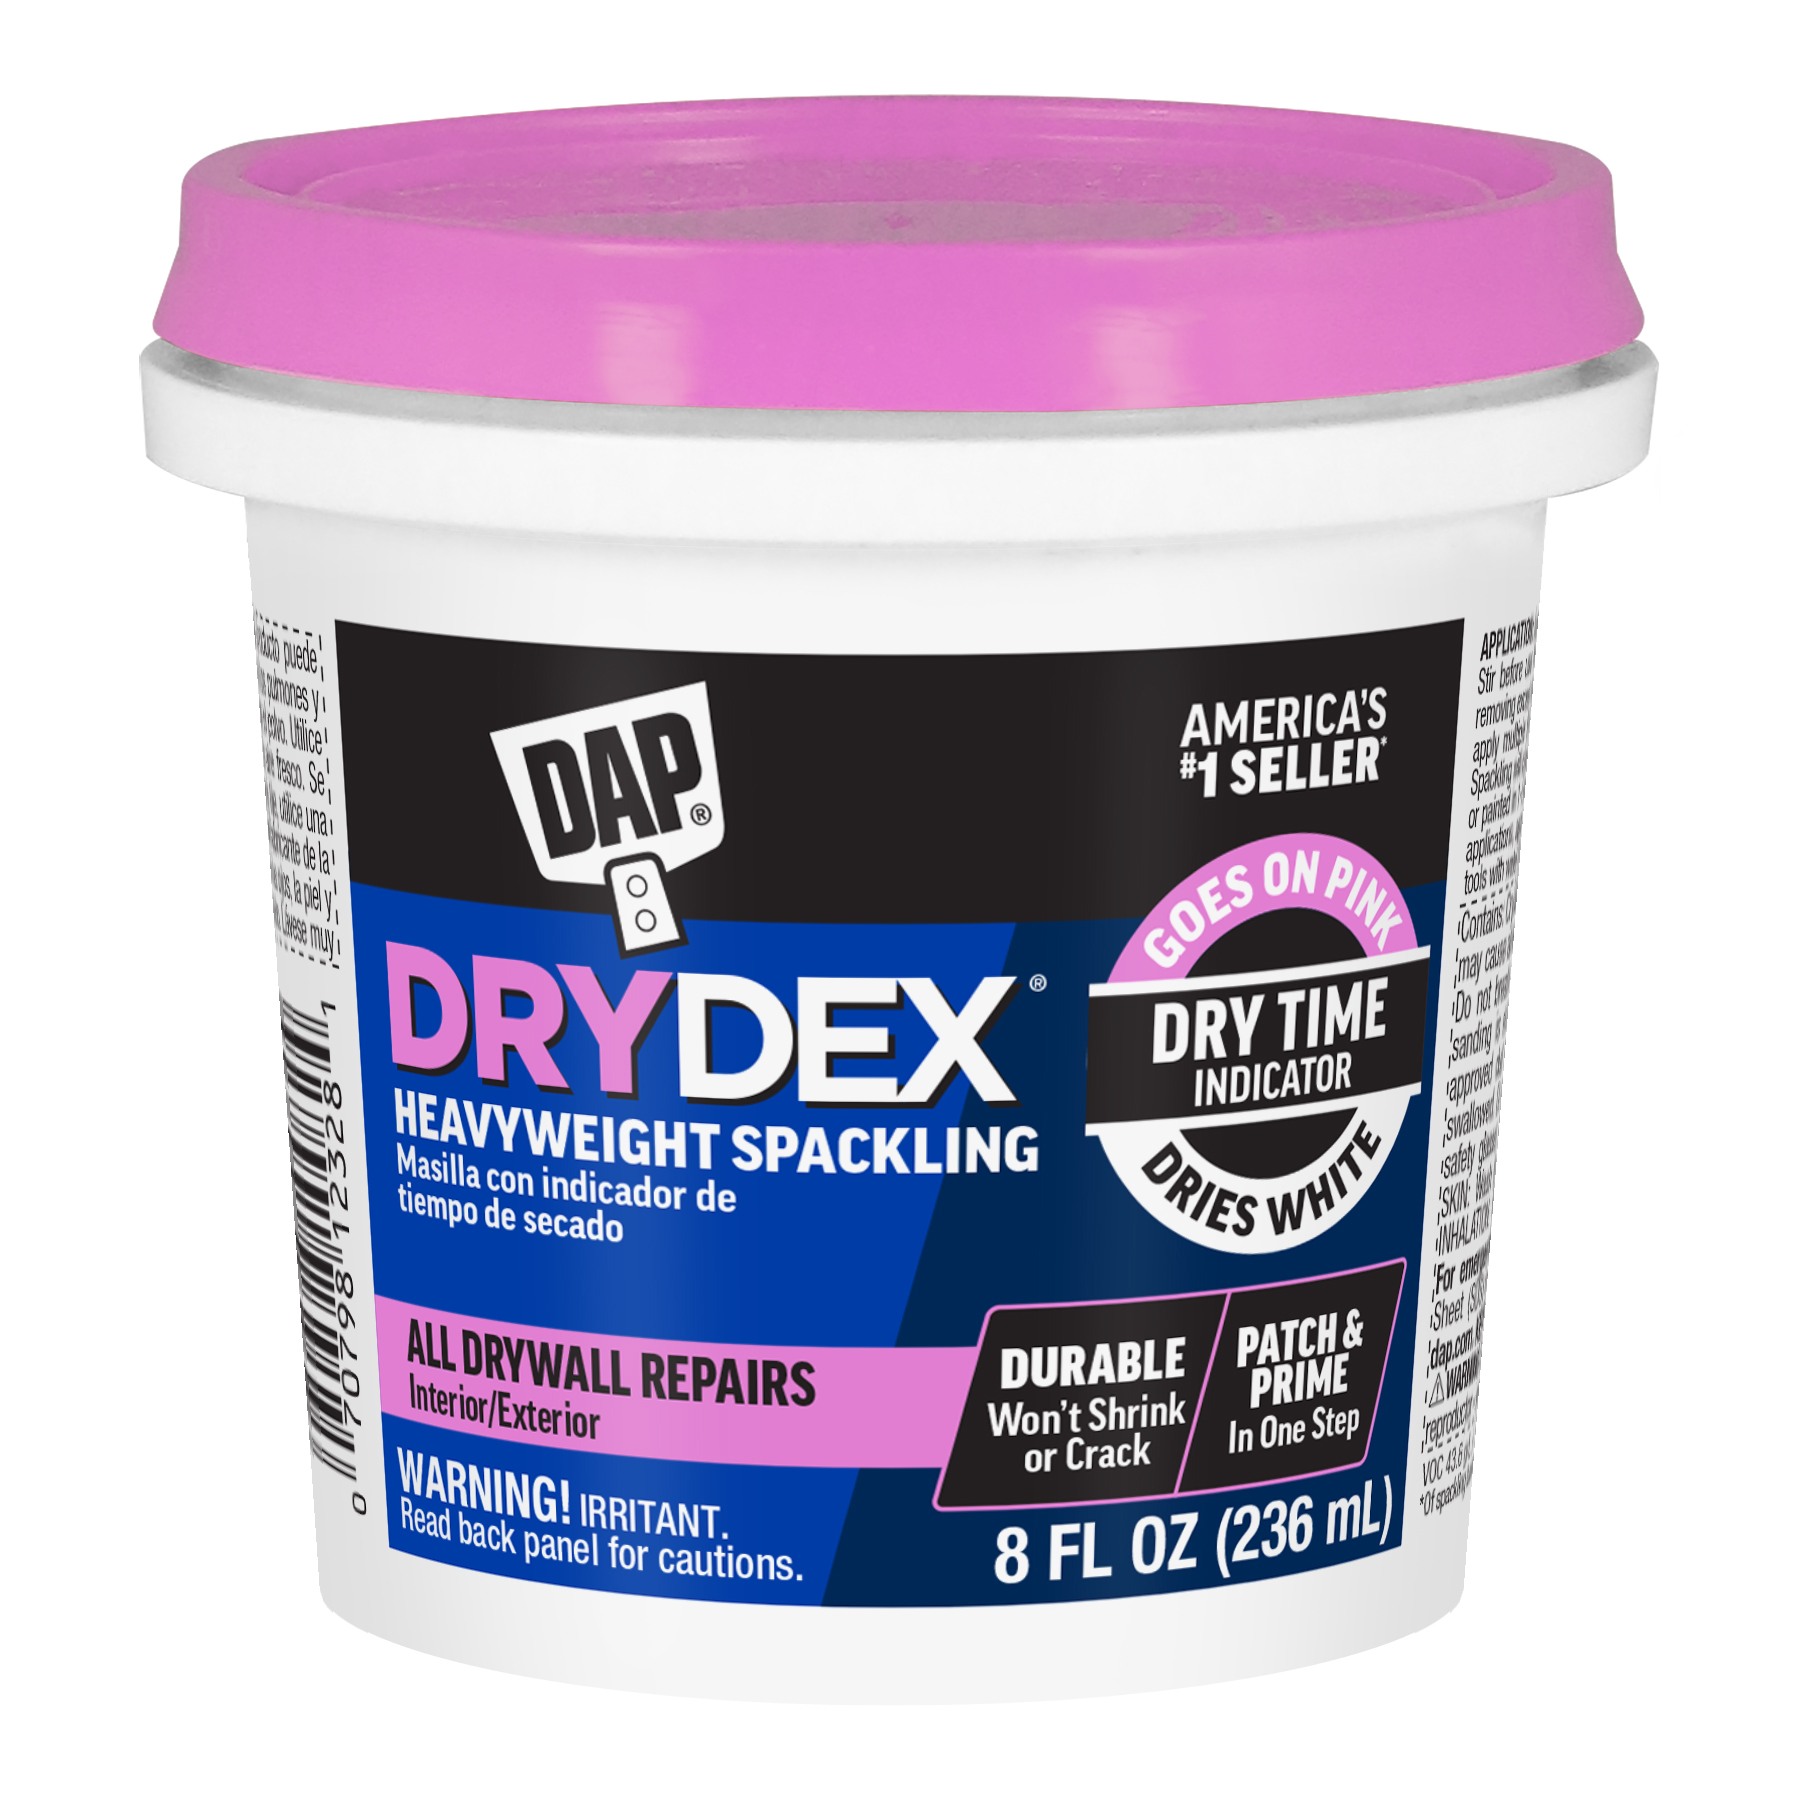
Thicker and stronger, ideal for medium-size holes. Dries slower and should be sanded smooth.
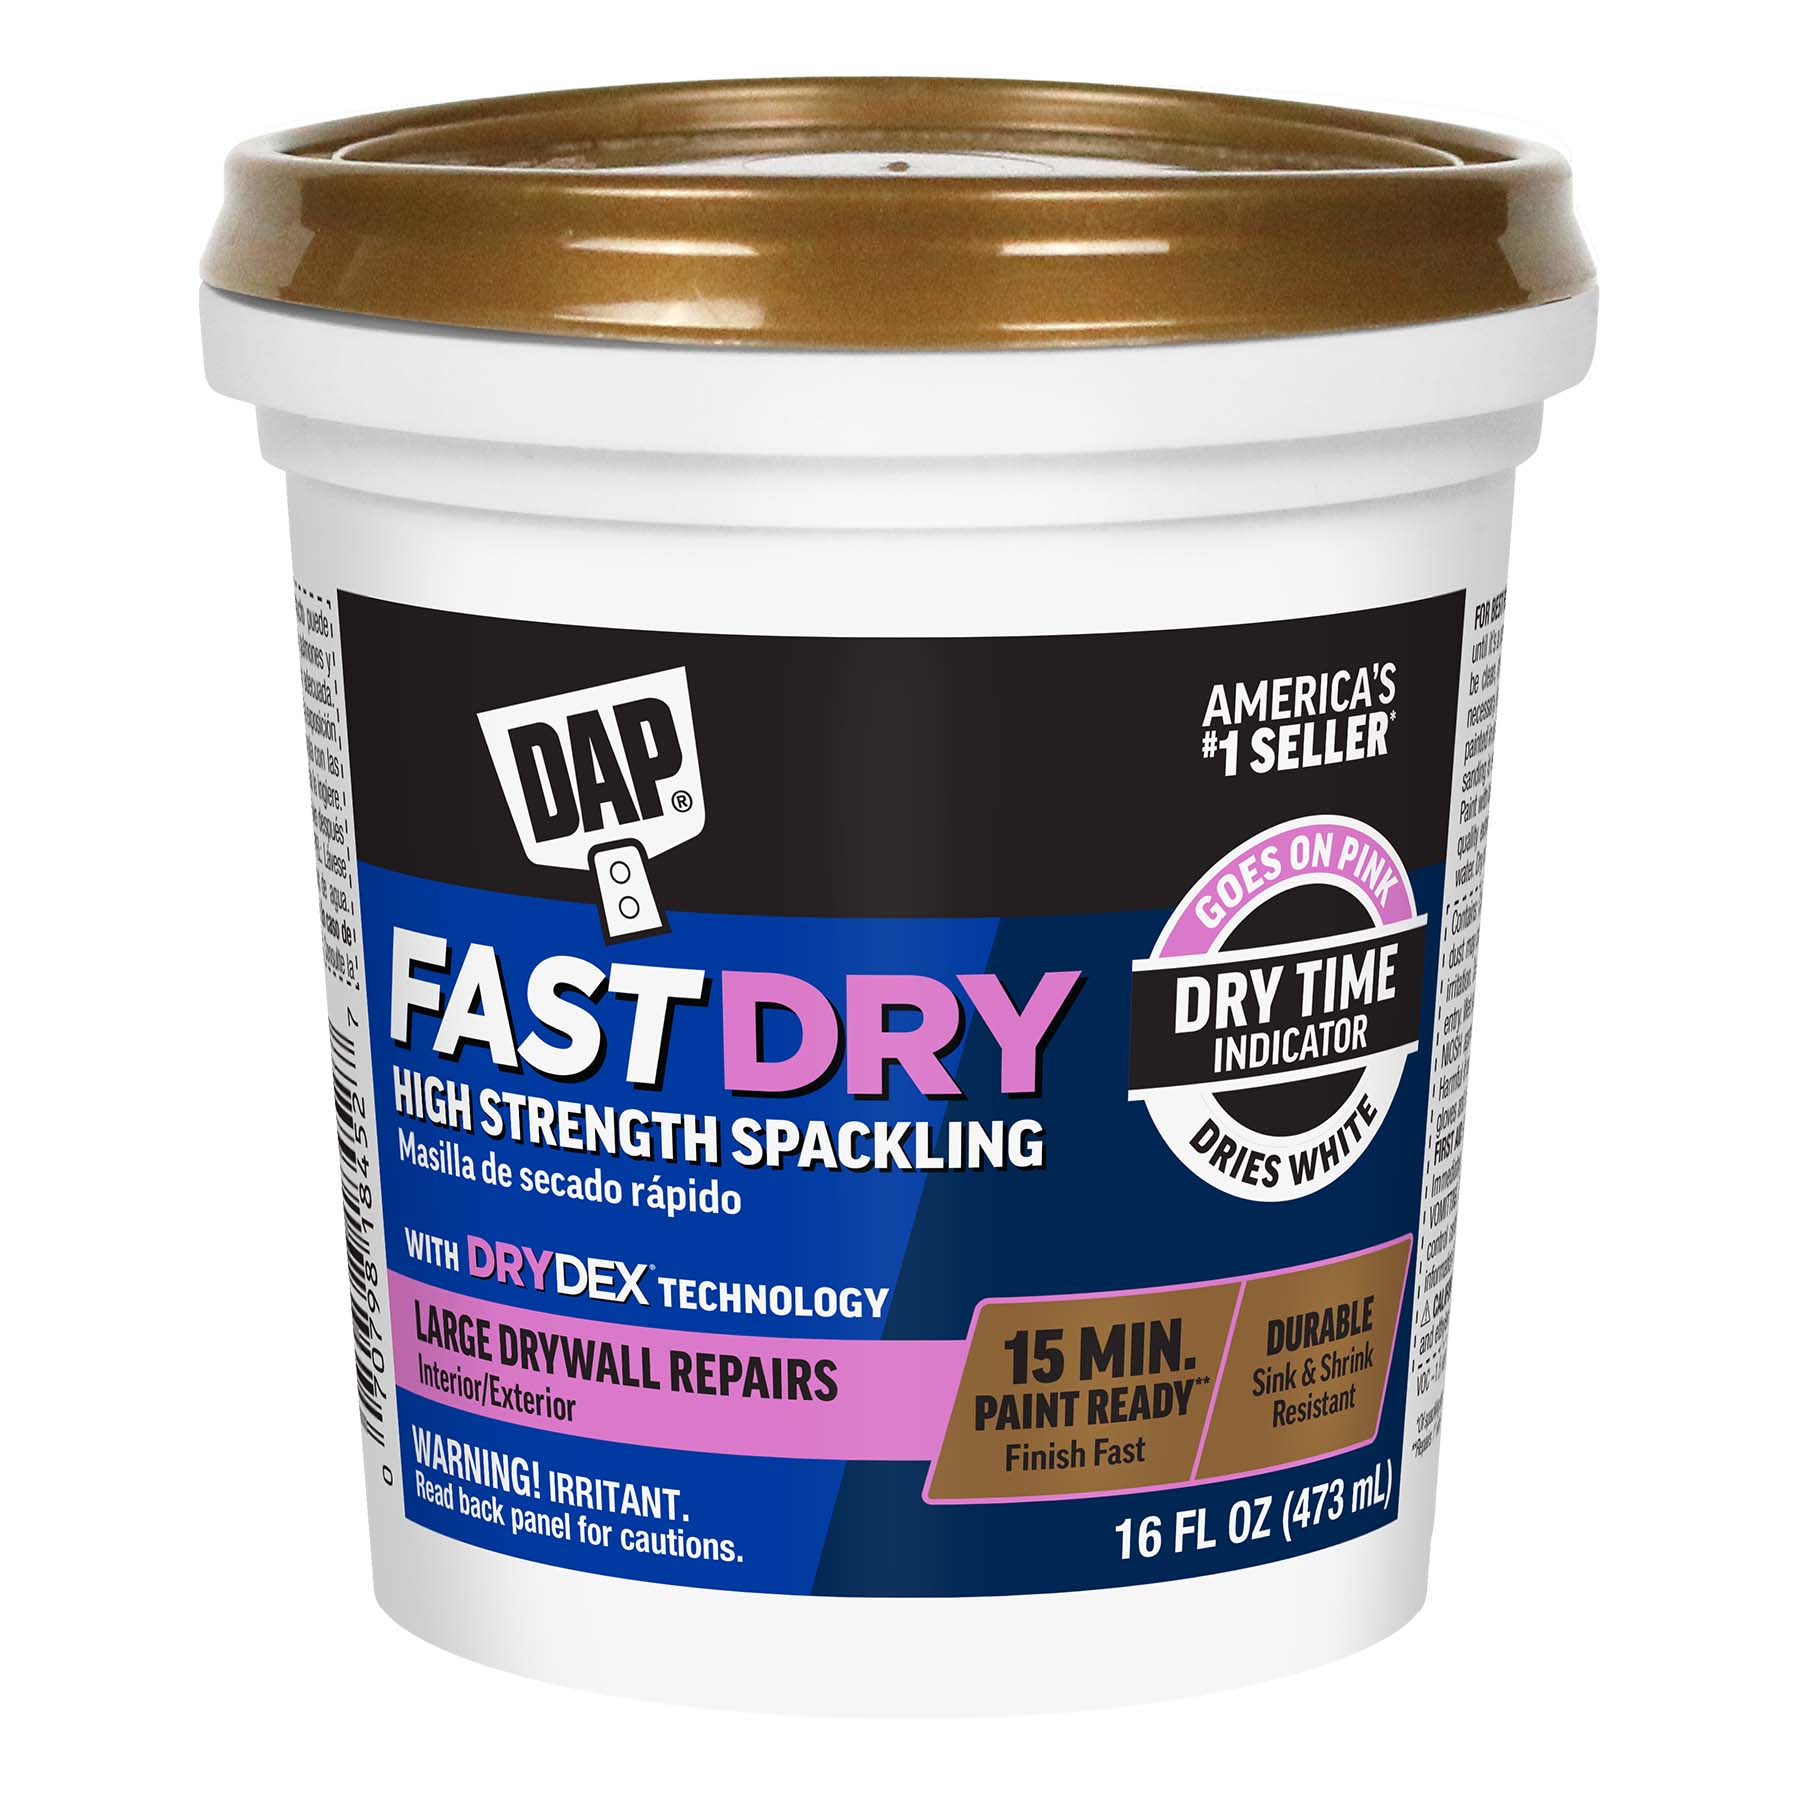
Combines fast dry time with strength and durability, making it suitable for both small and large repairs.
Choosing the right type prevents shrinking, cracking, and visible patches.
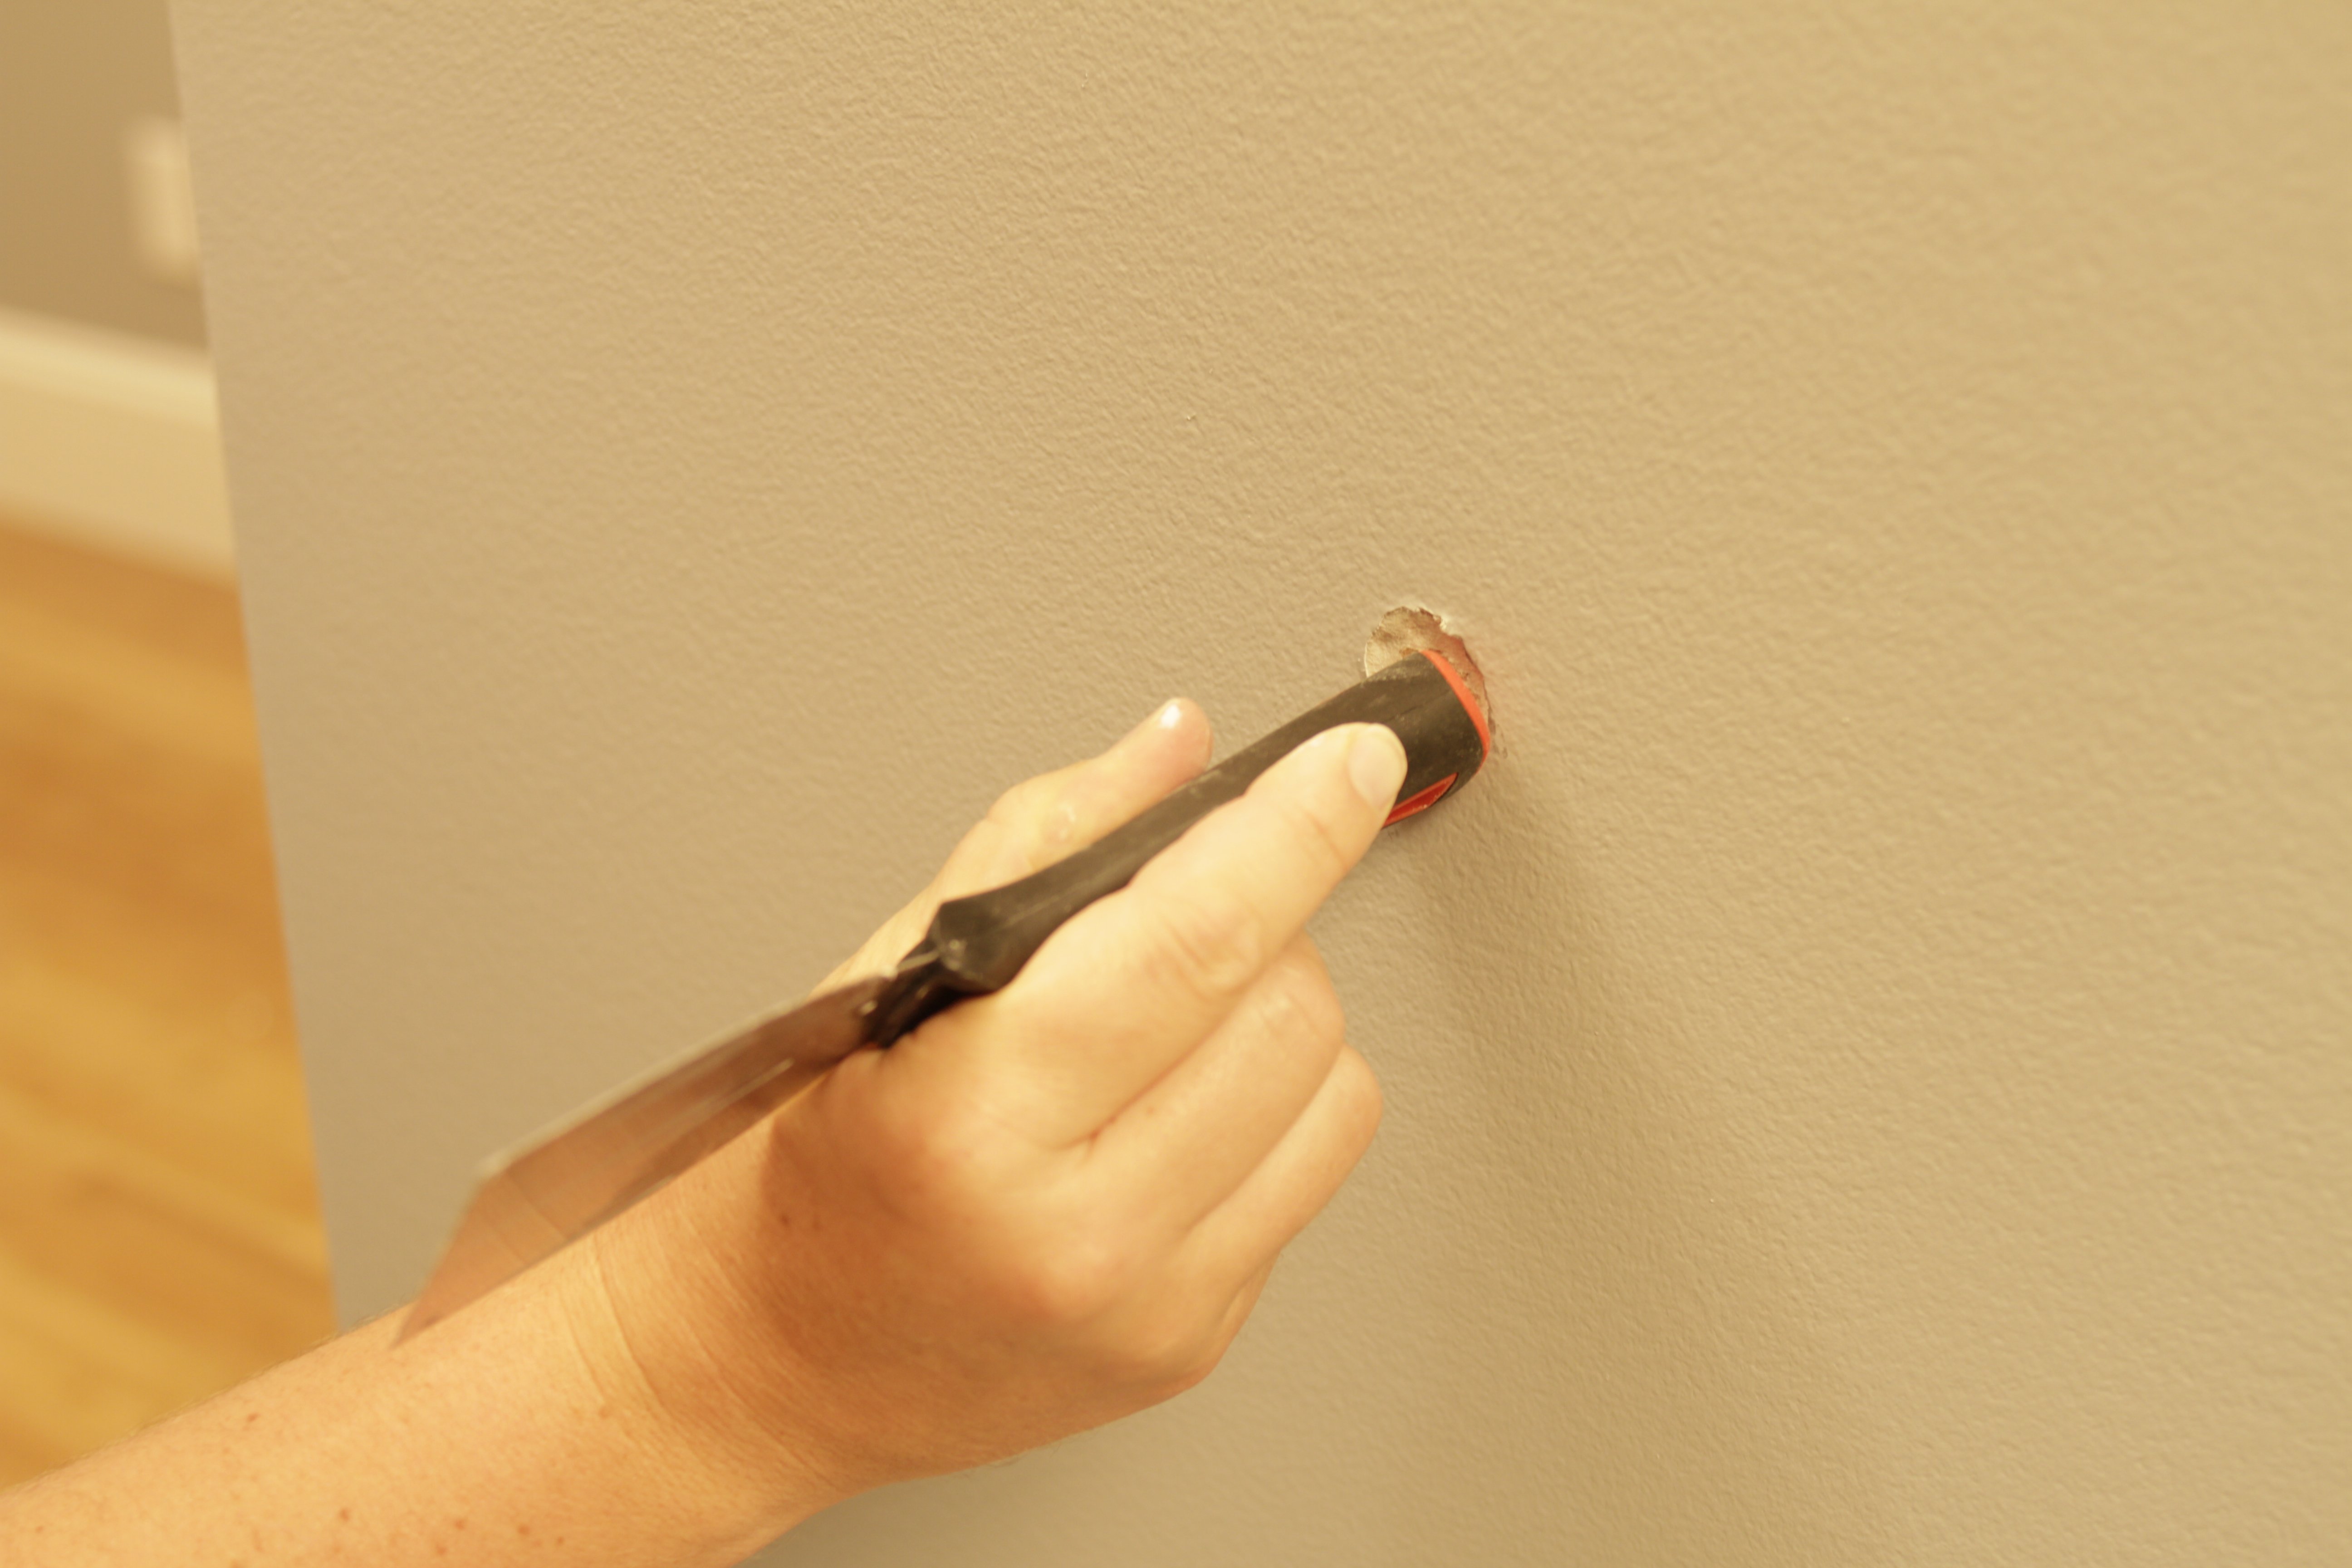
A clean surface helps spackling adhere properly.
If the spackling looks dry:
Well-mixed spackling spreads evenly and dries smoother.
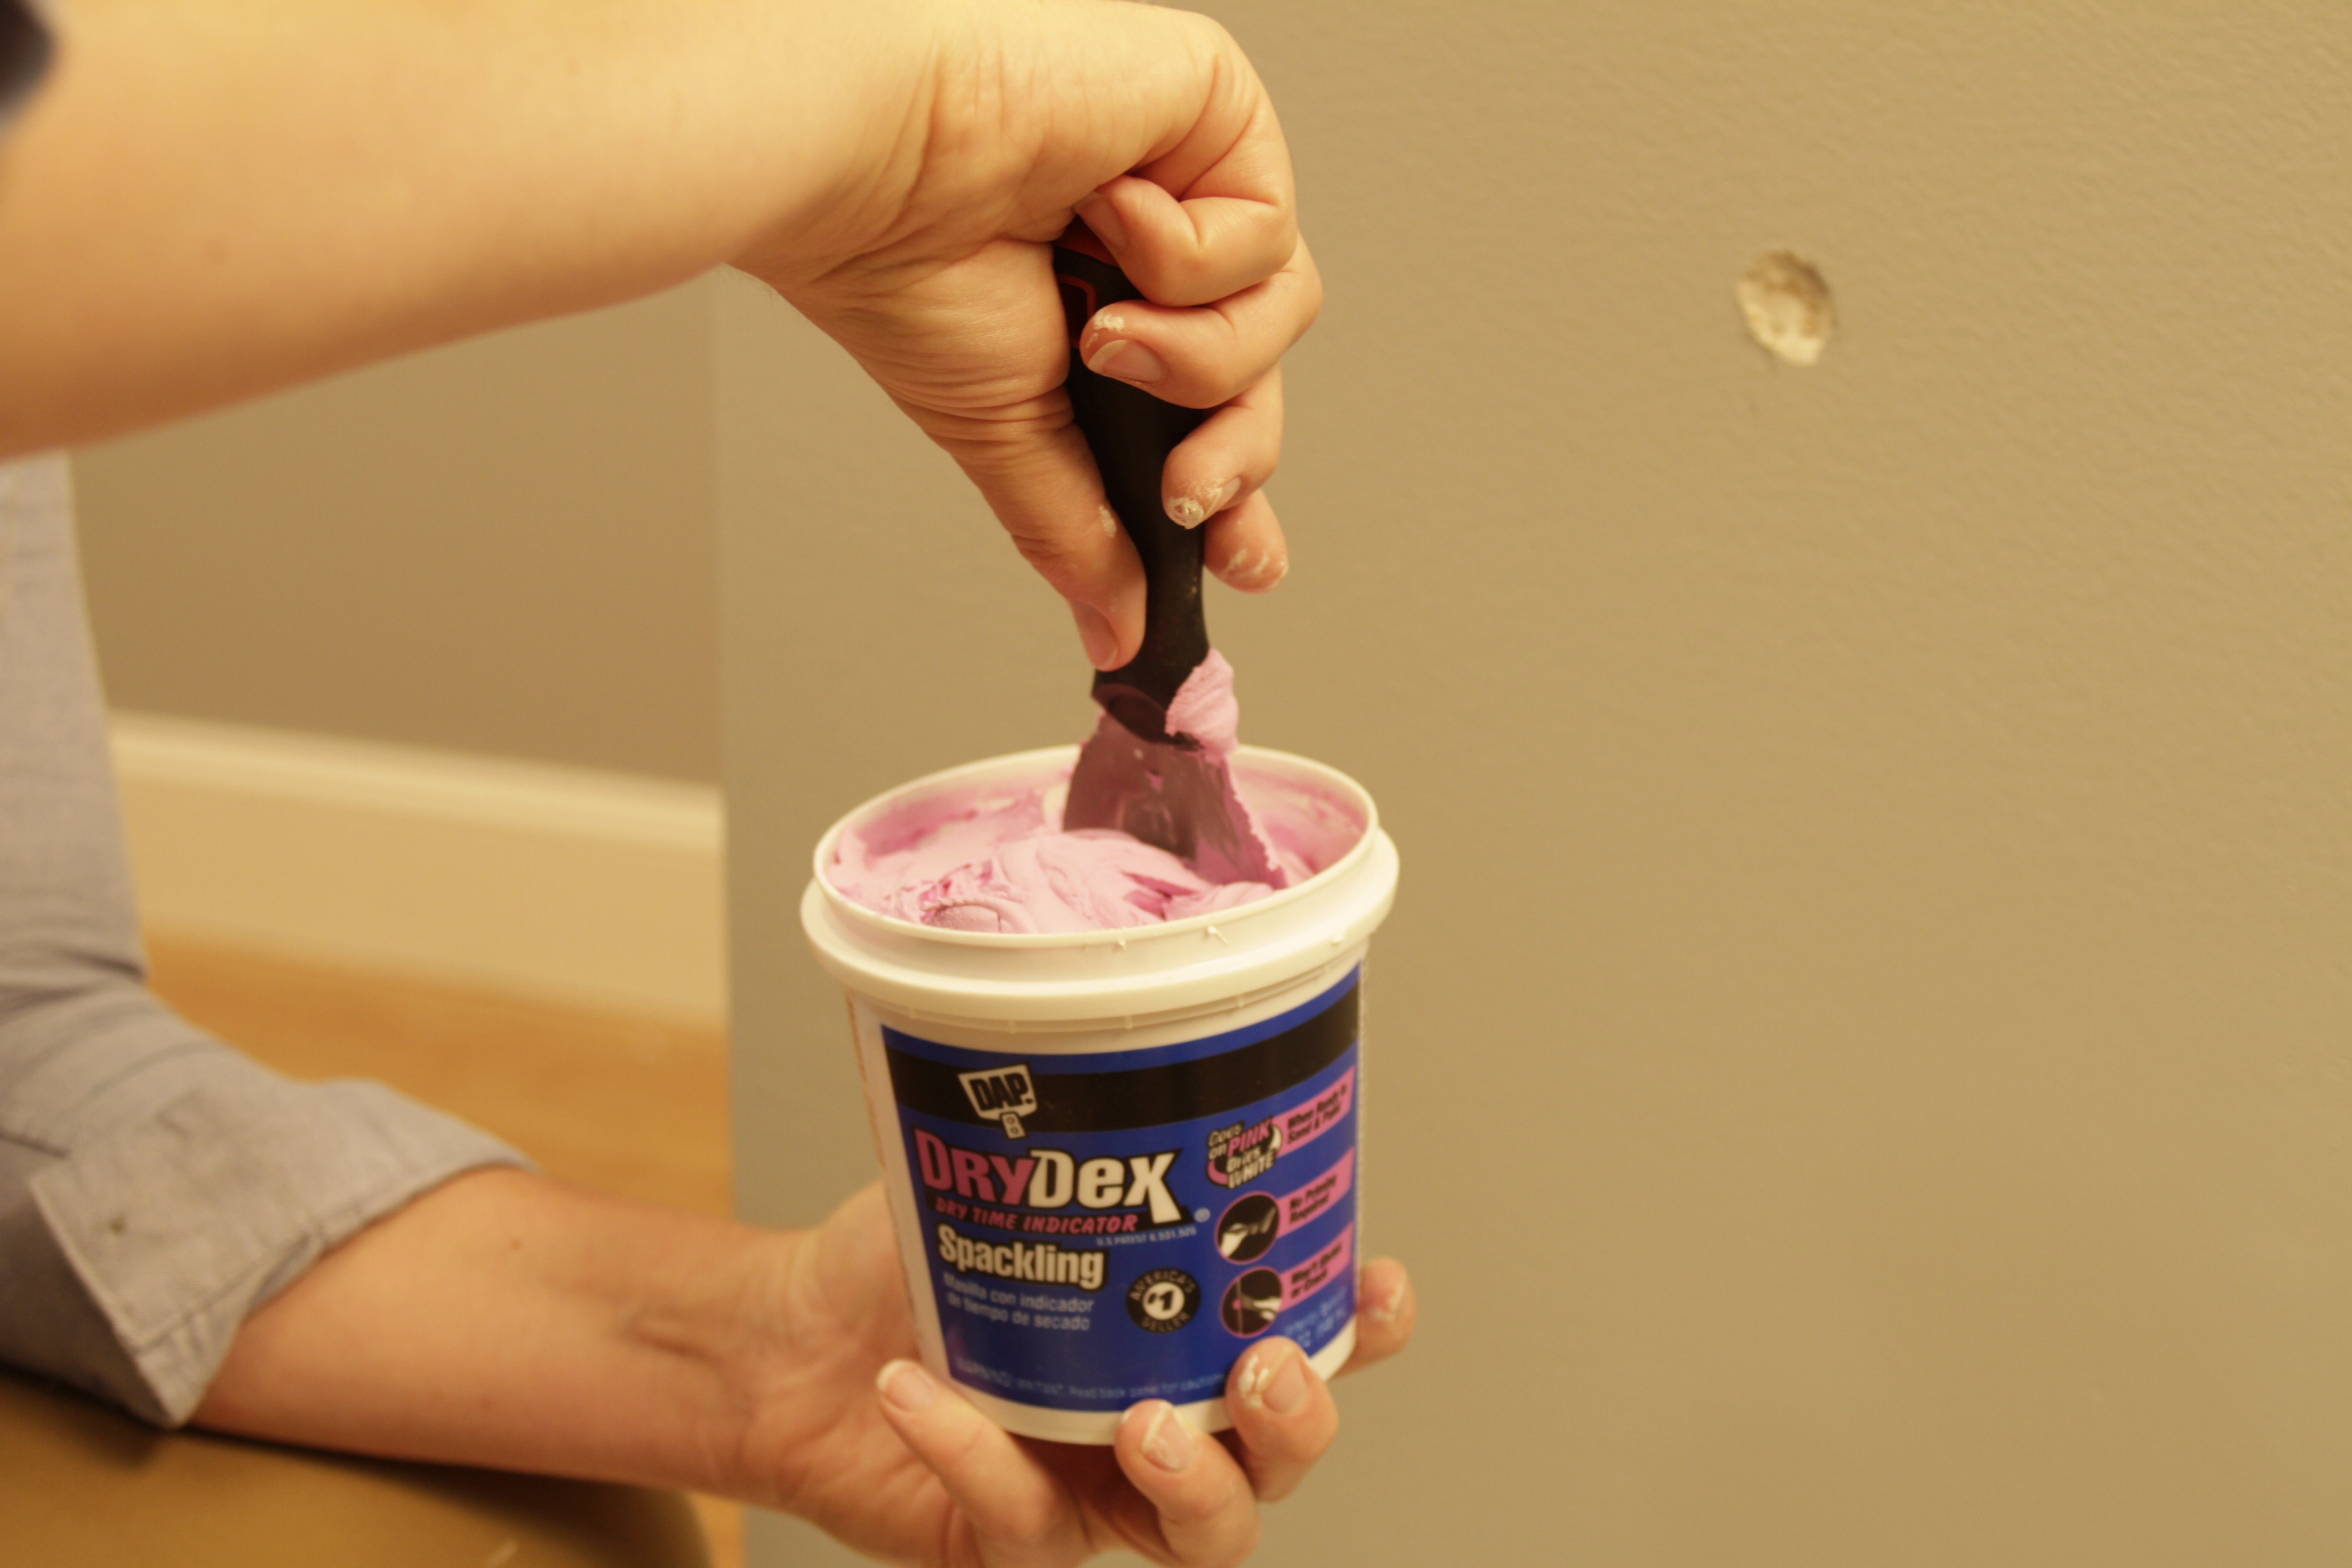
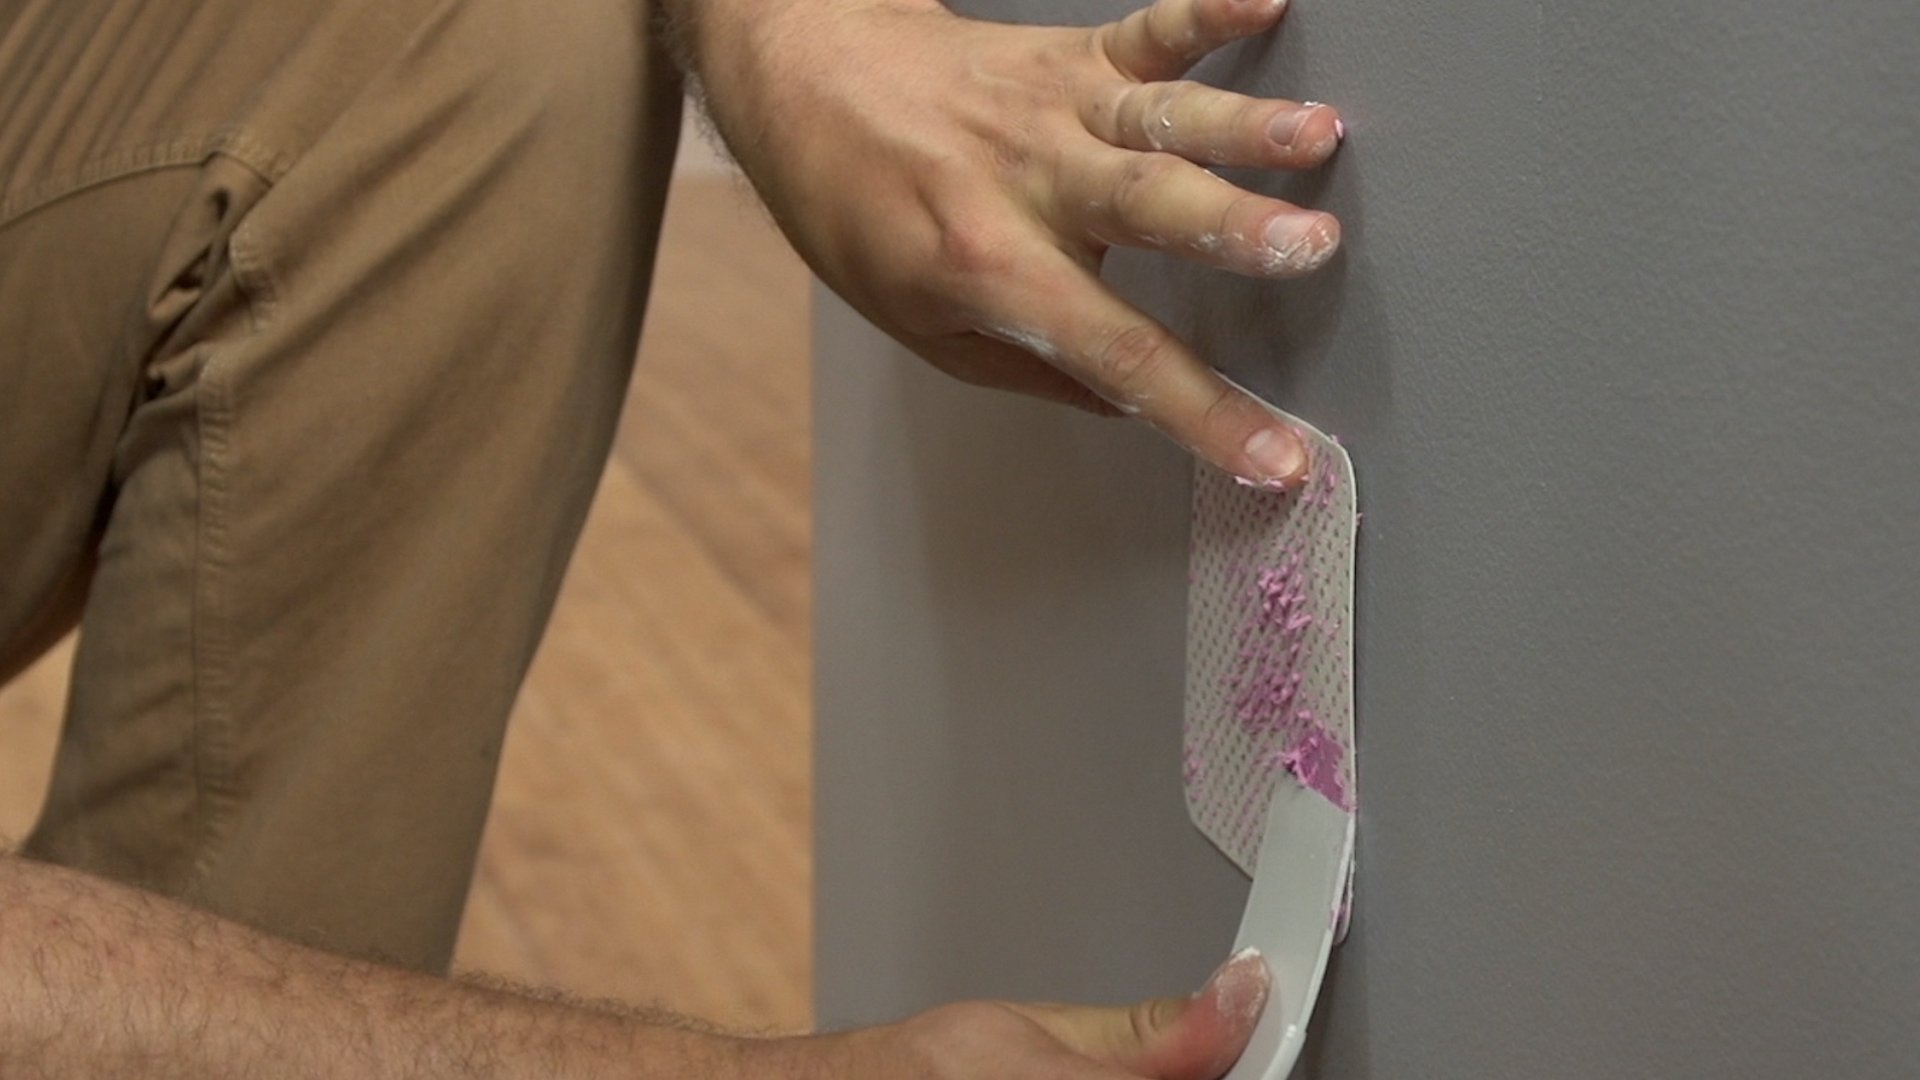
Dry-time indicator spackling changes color when ready to sand.
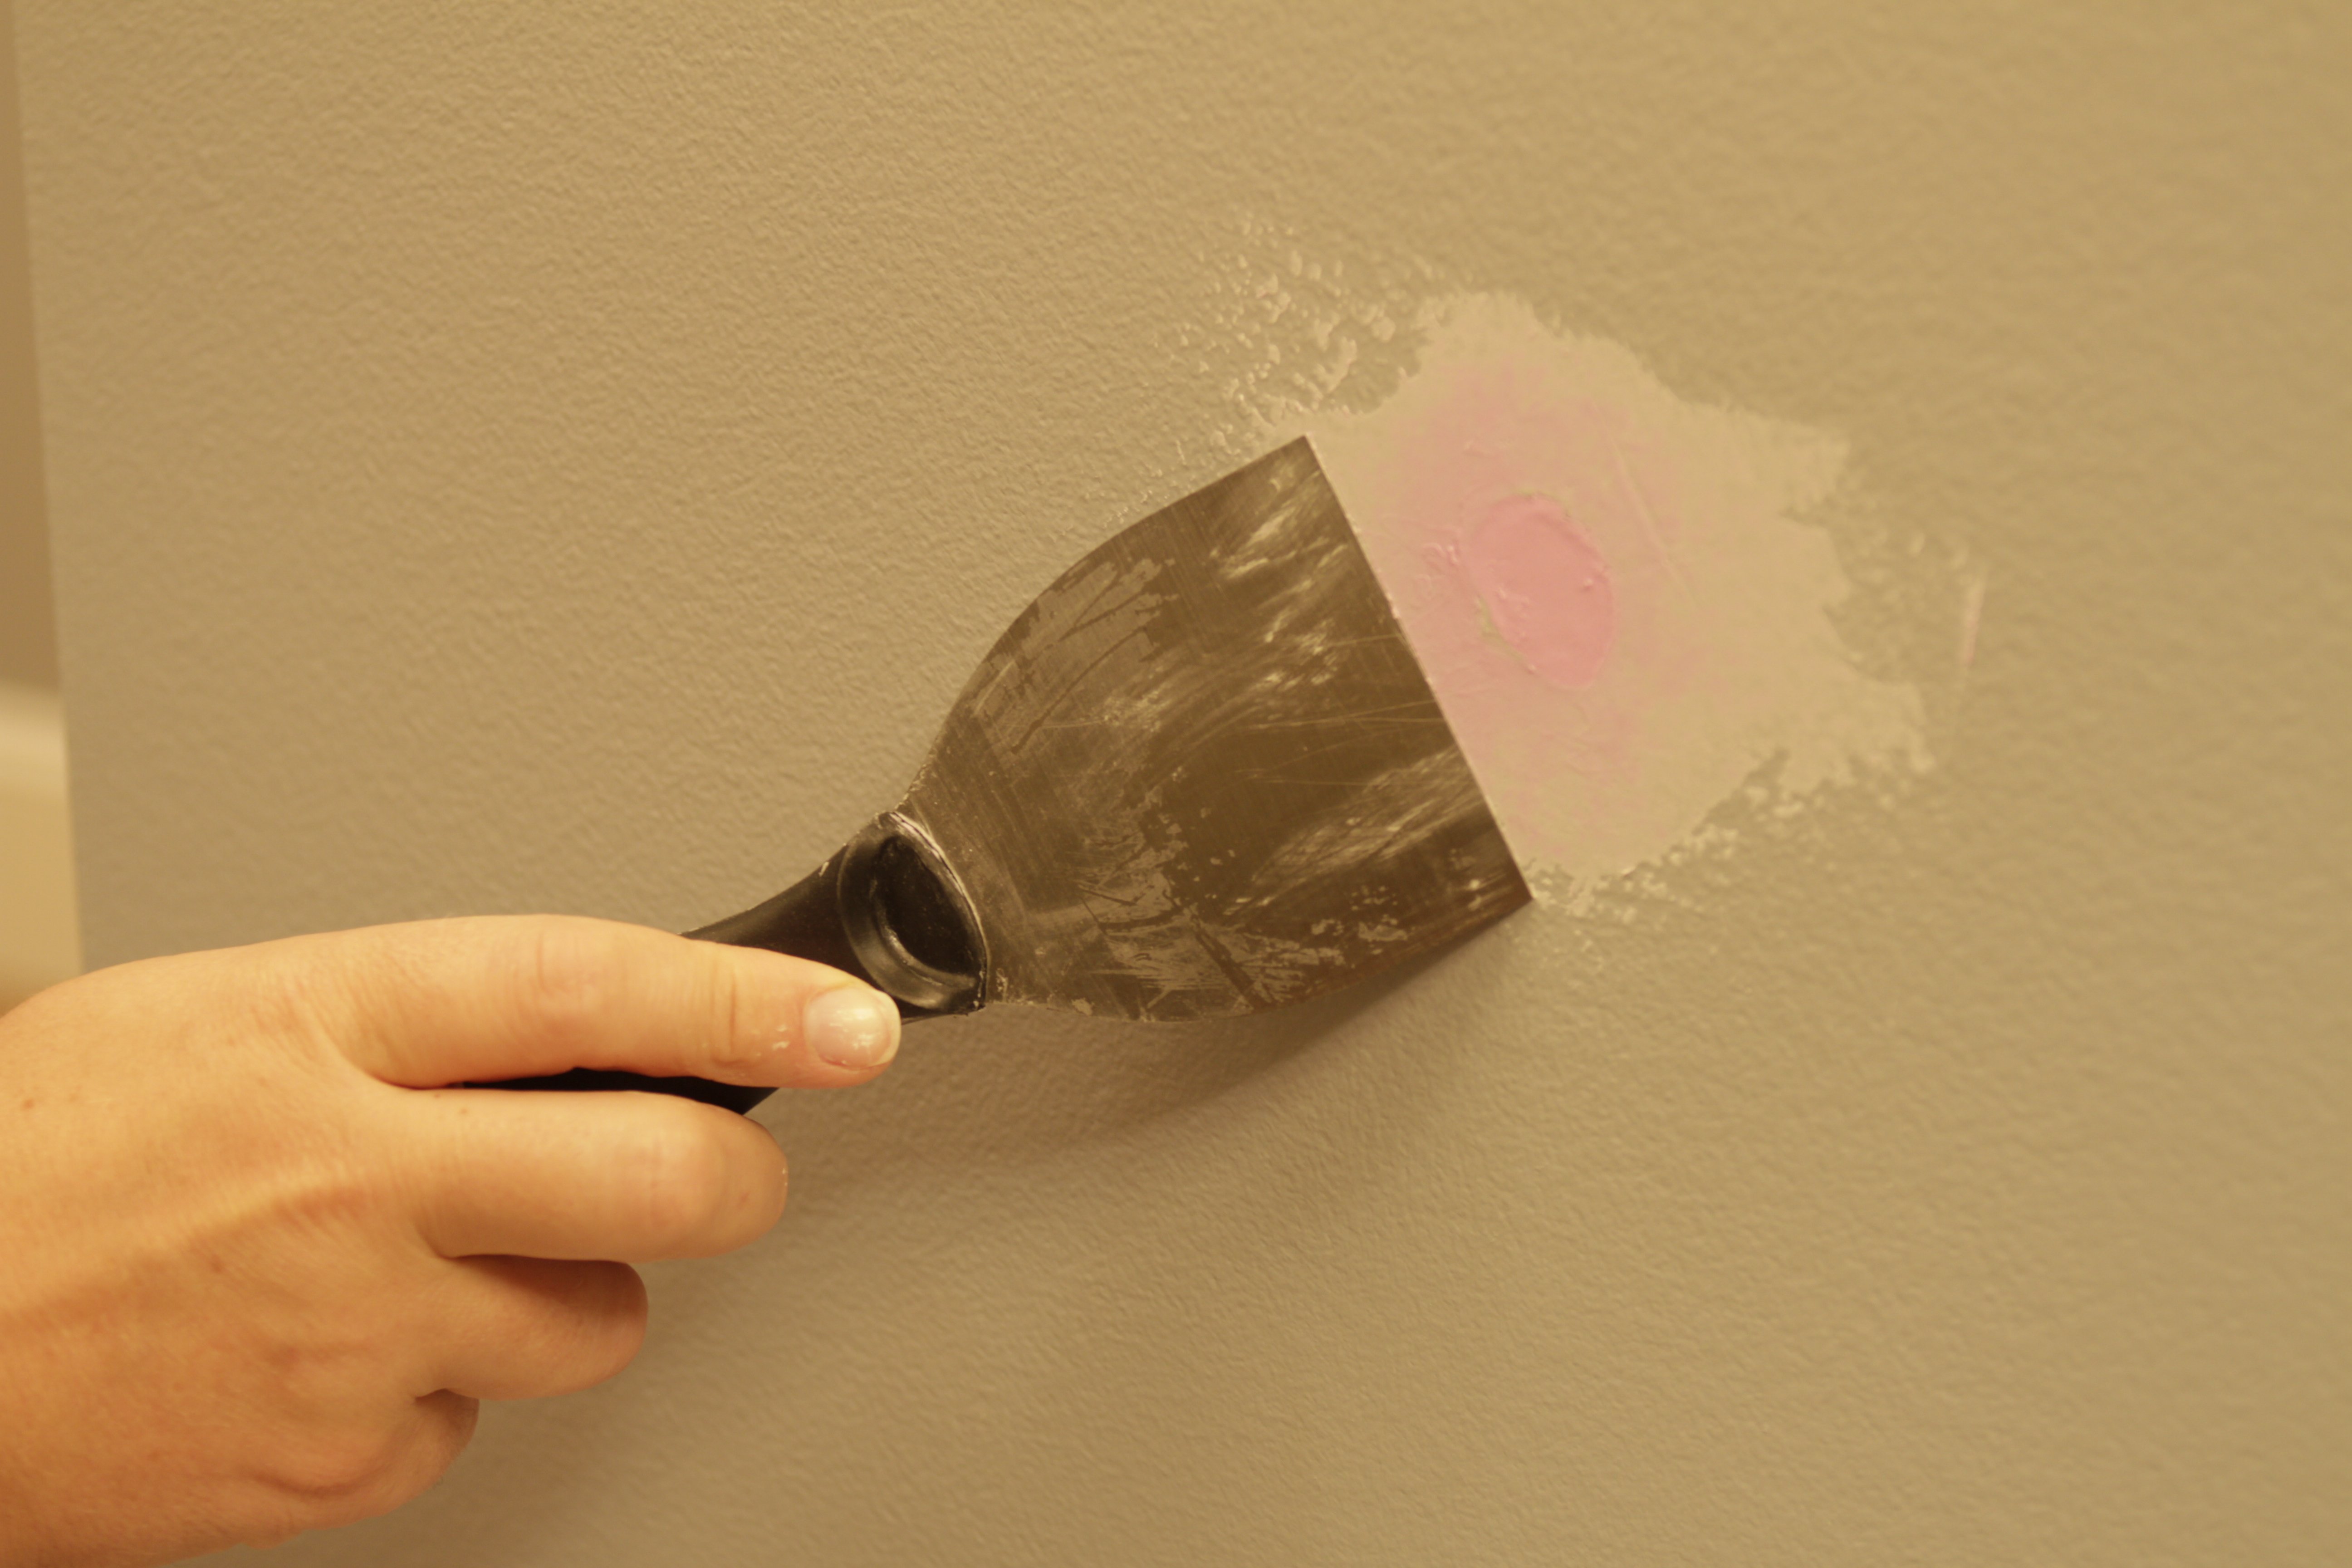
Allow the spackling to dry fully.
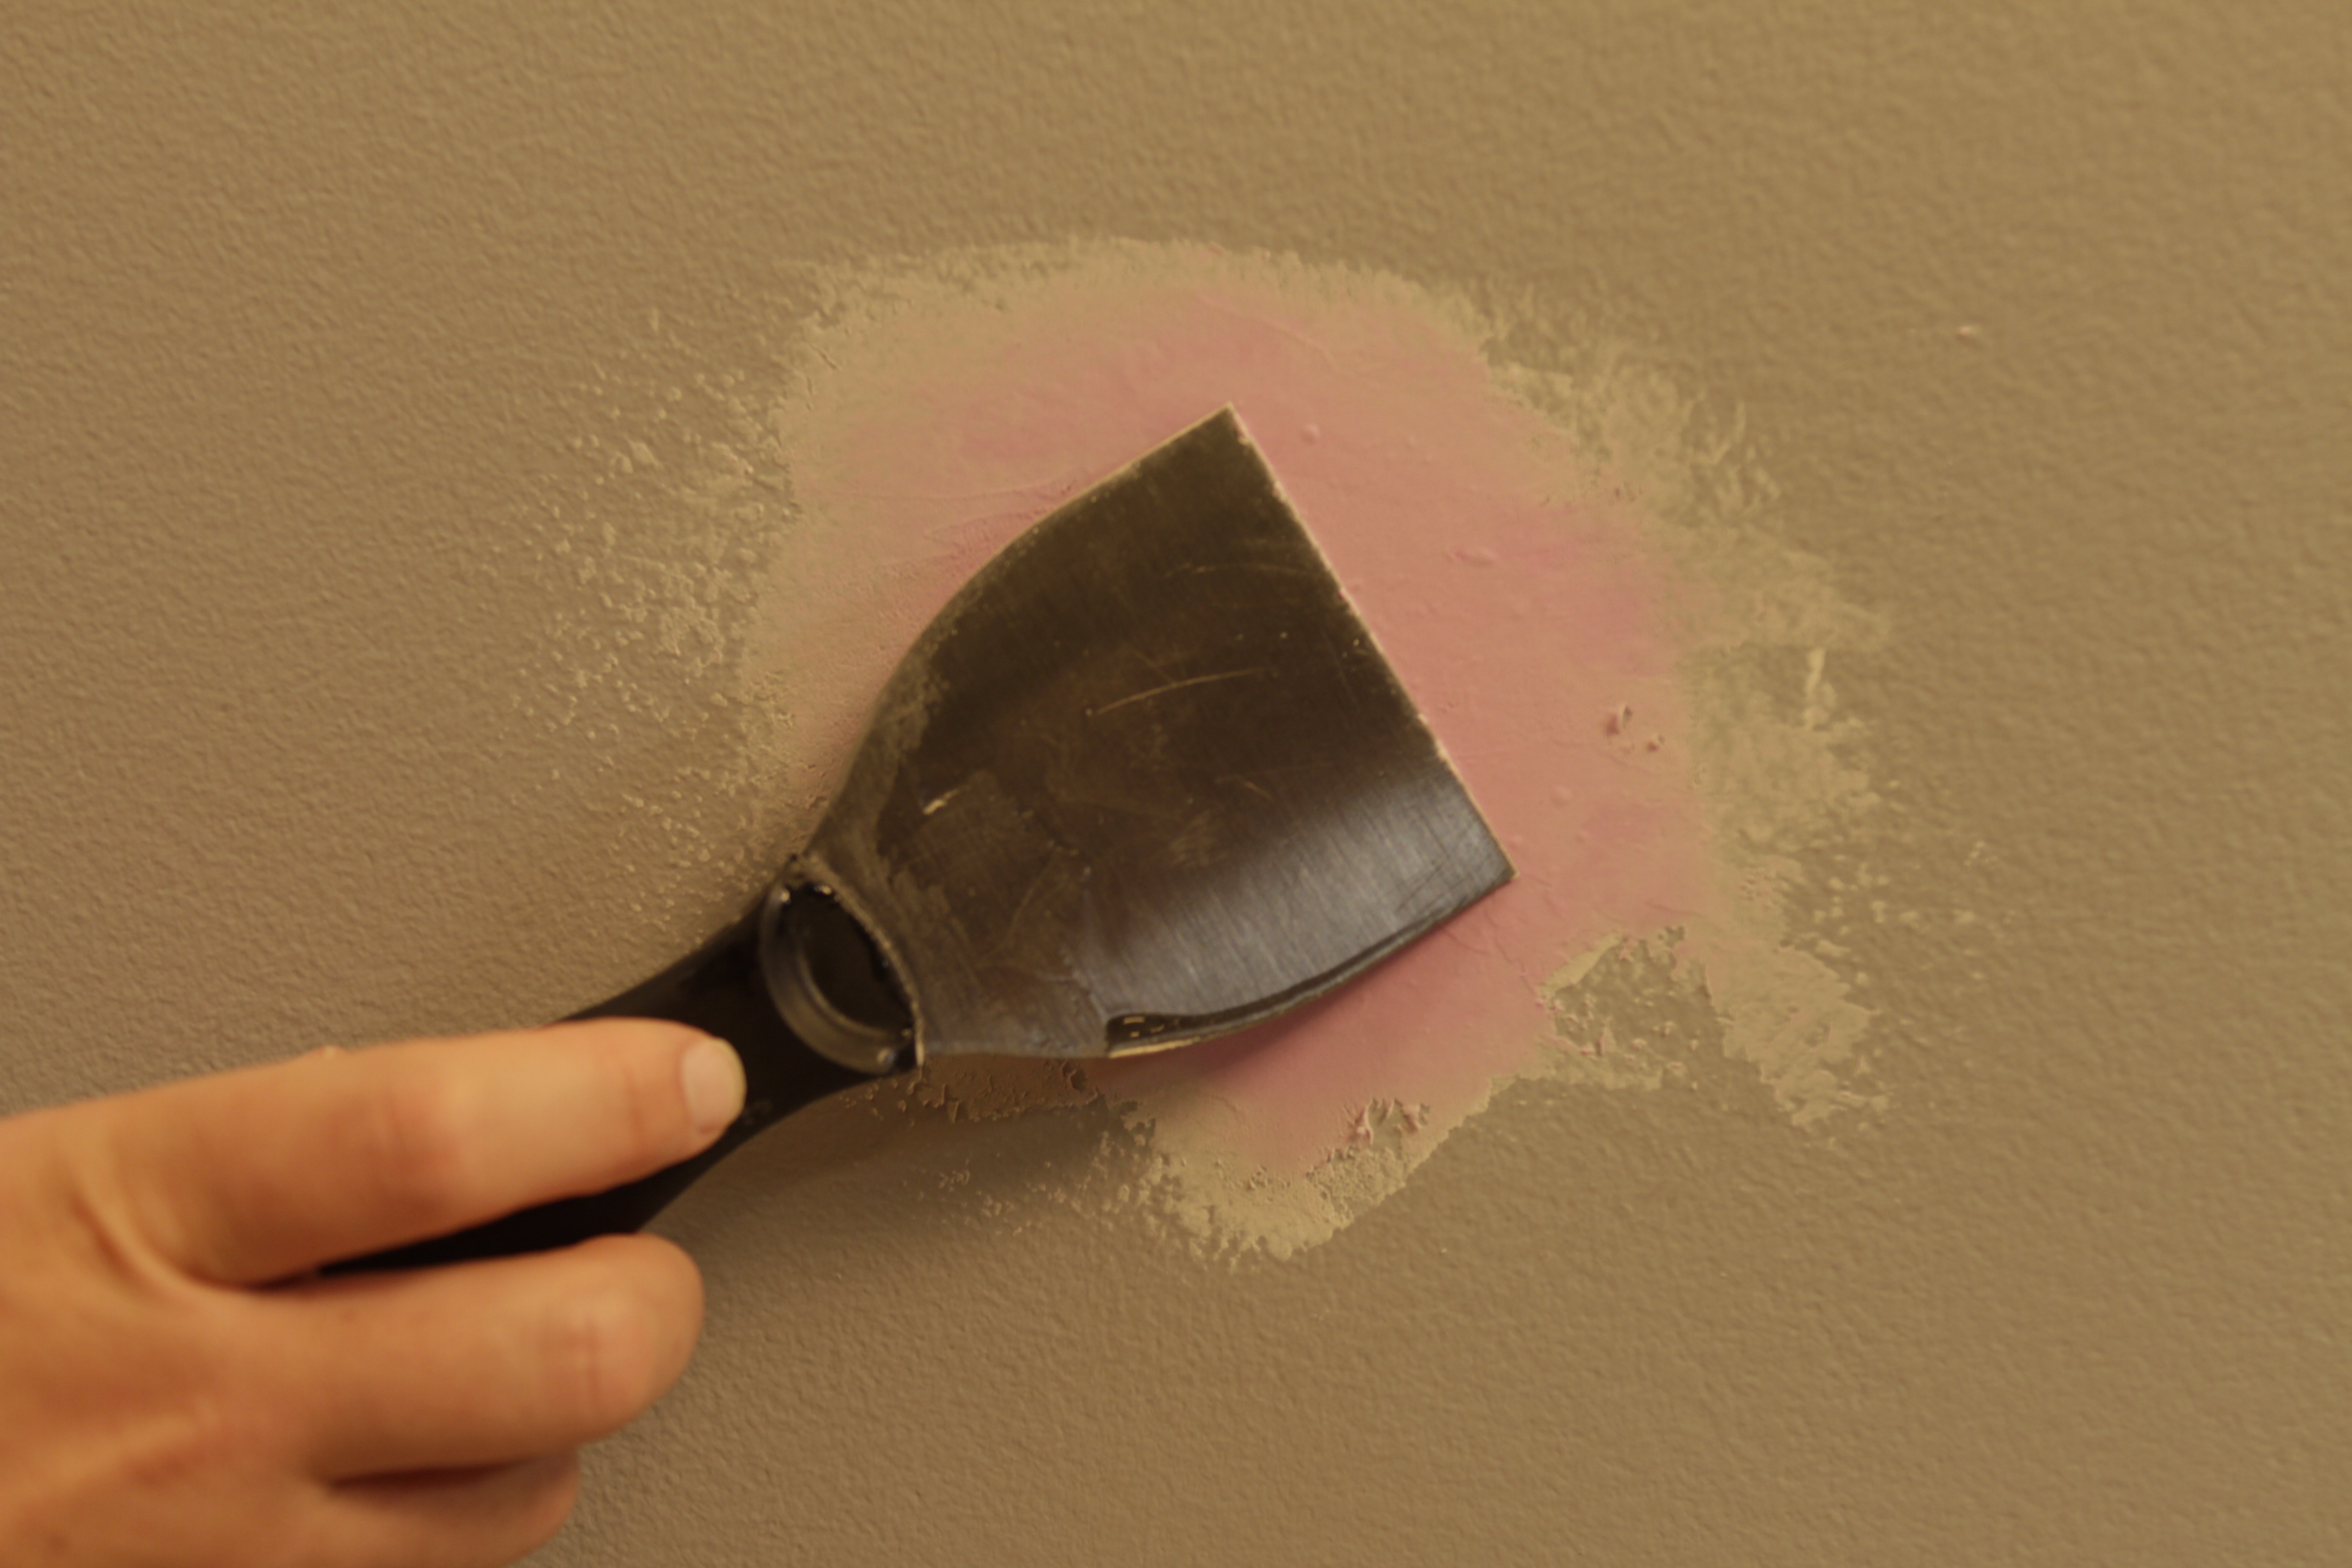
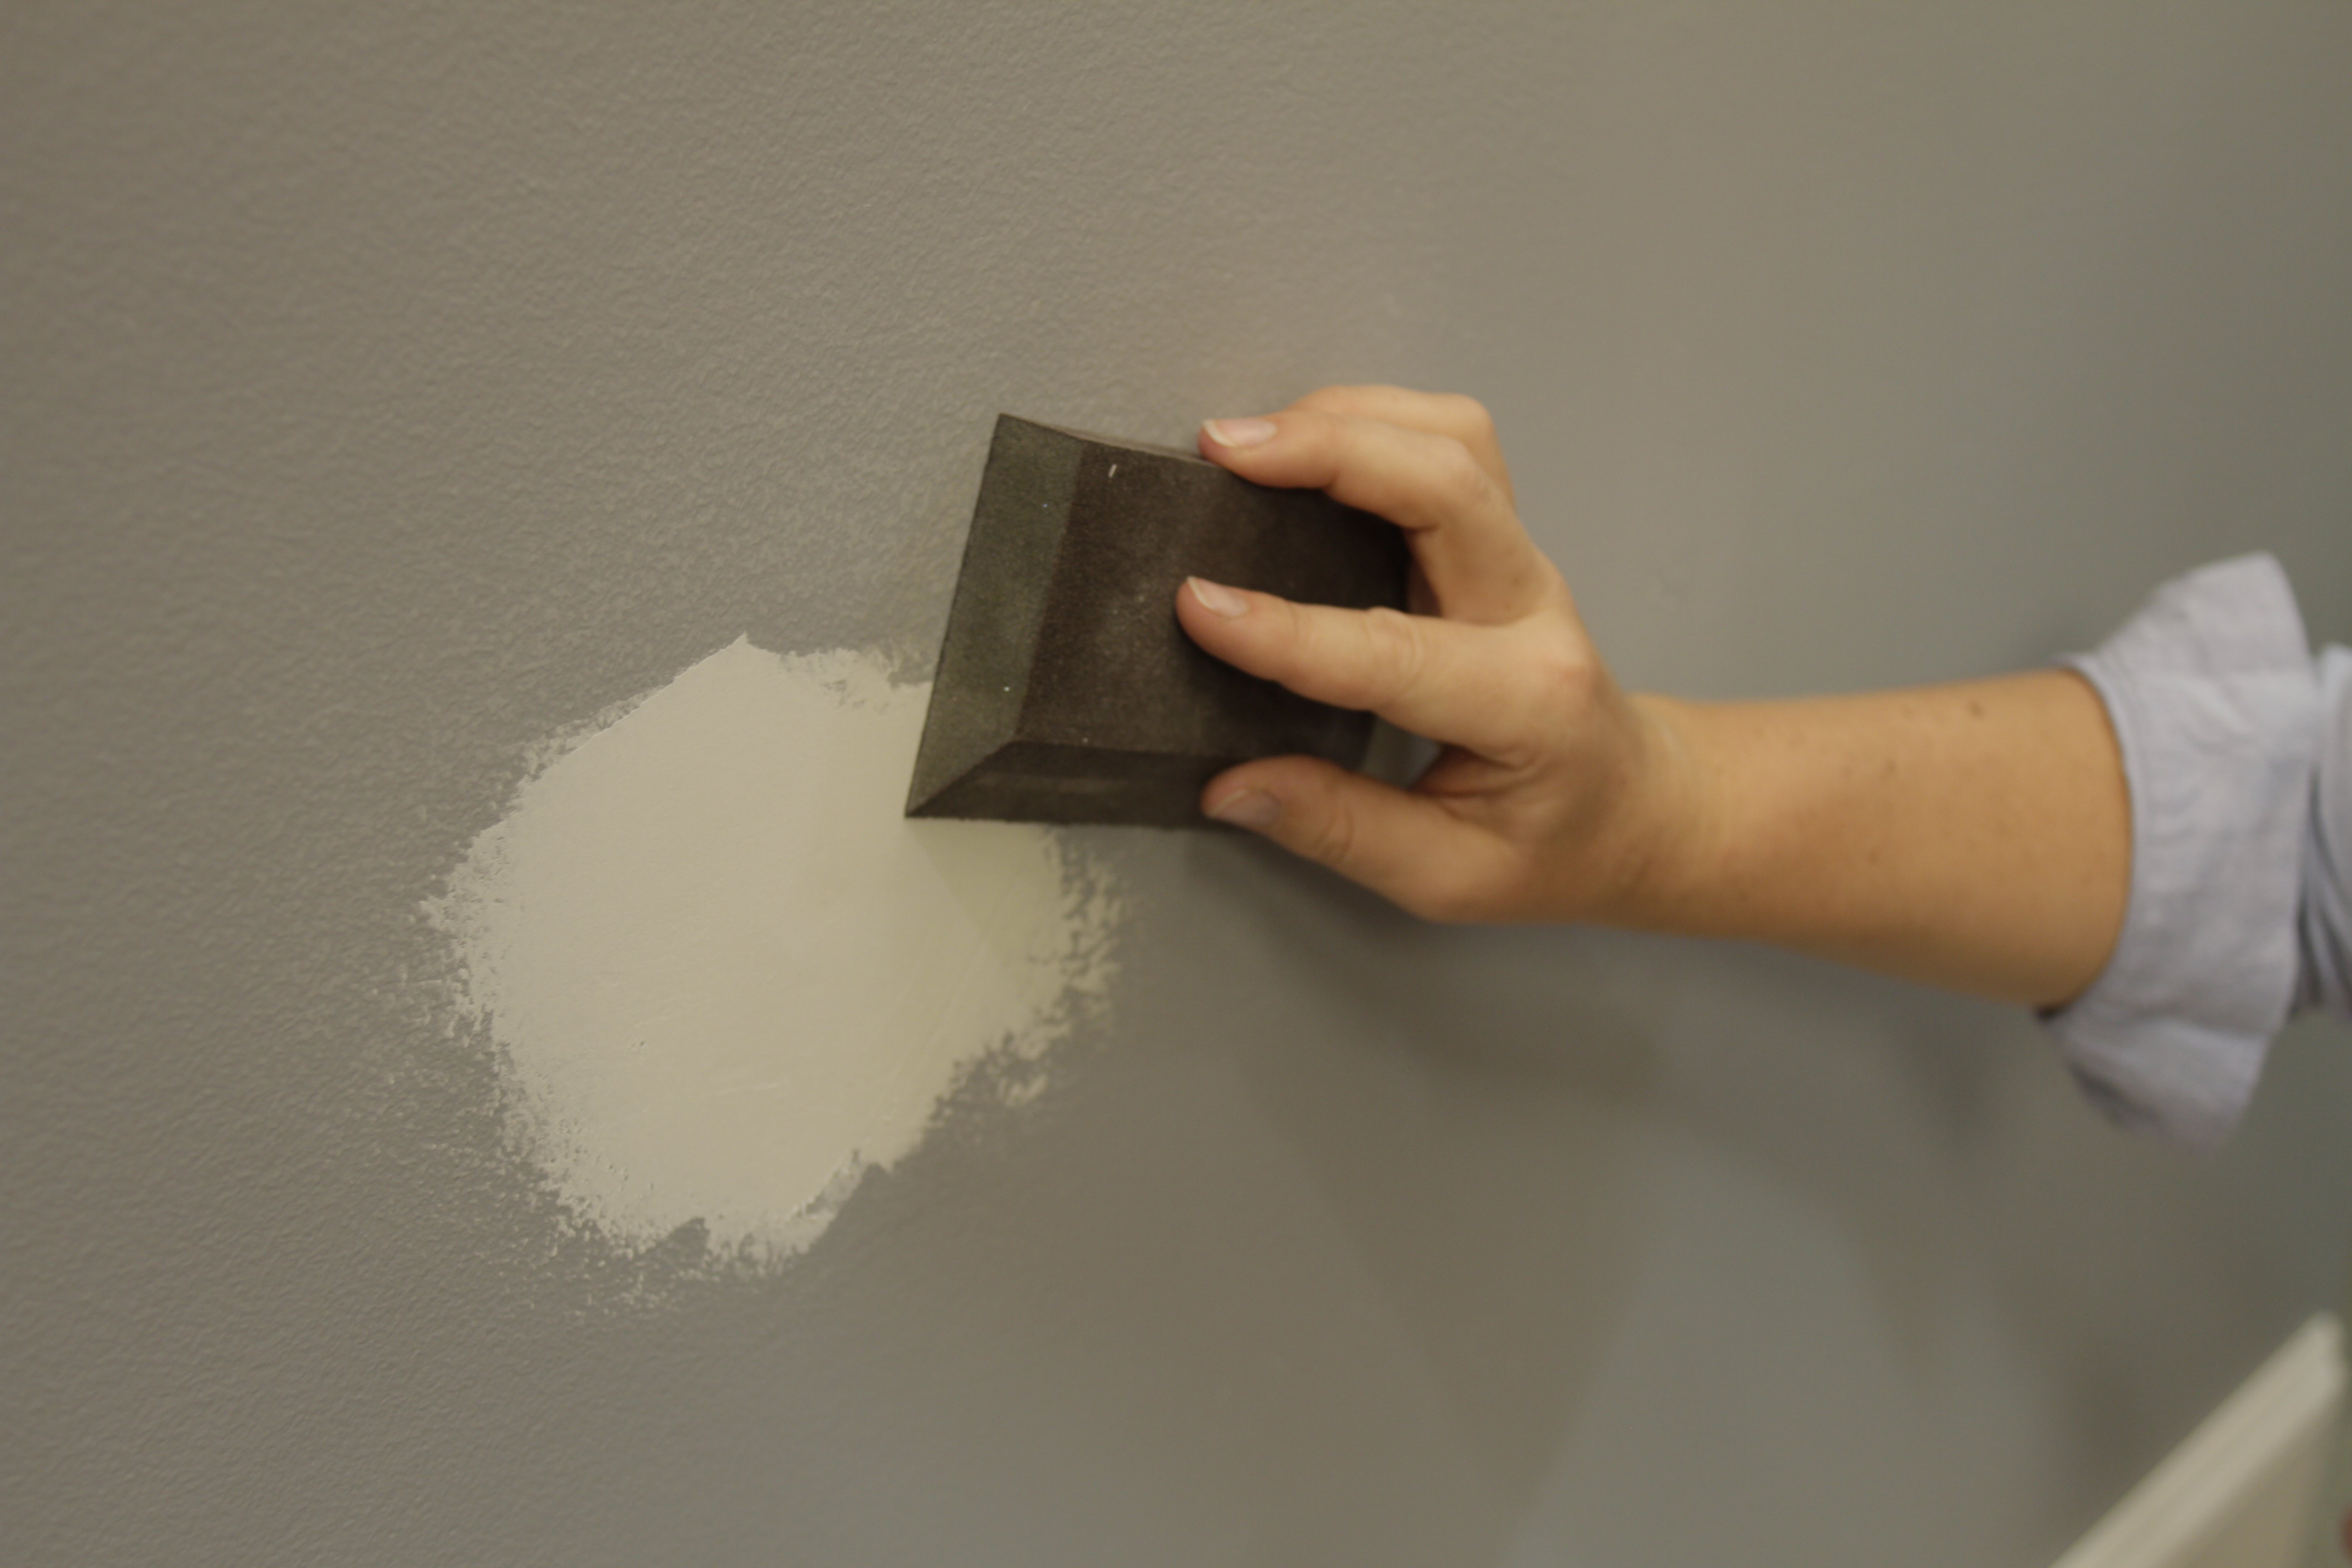
Sanding blends the repair into the surrounding wall.
For holes that go completely through drywall or plaster: