
KWIK SEAL PLUS CLEAR Safety Data Sheet
Safety Data Sheet
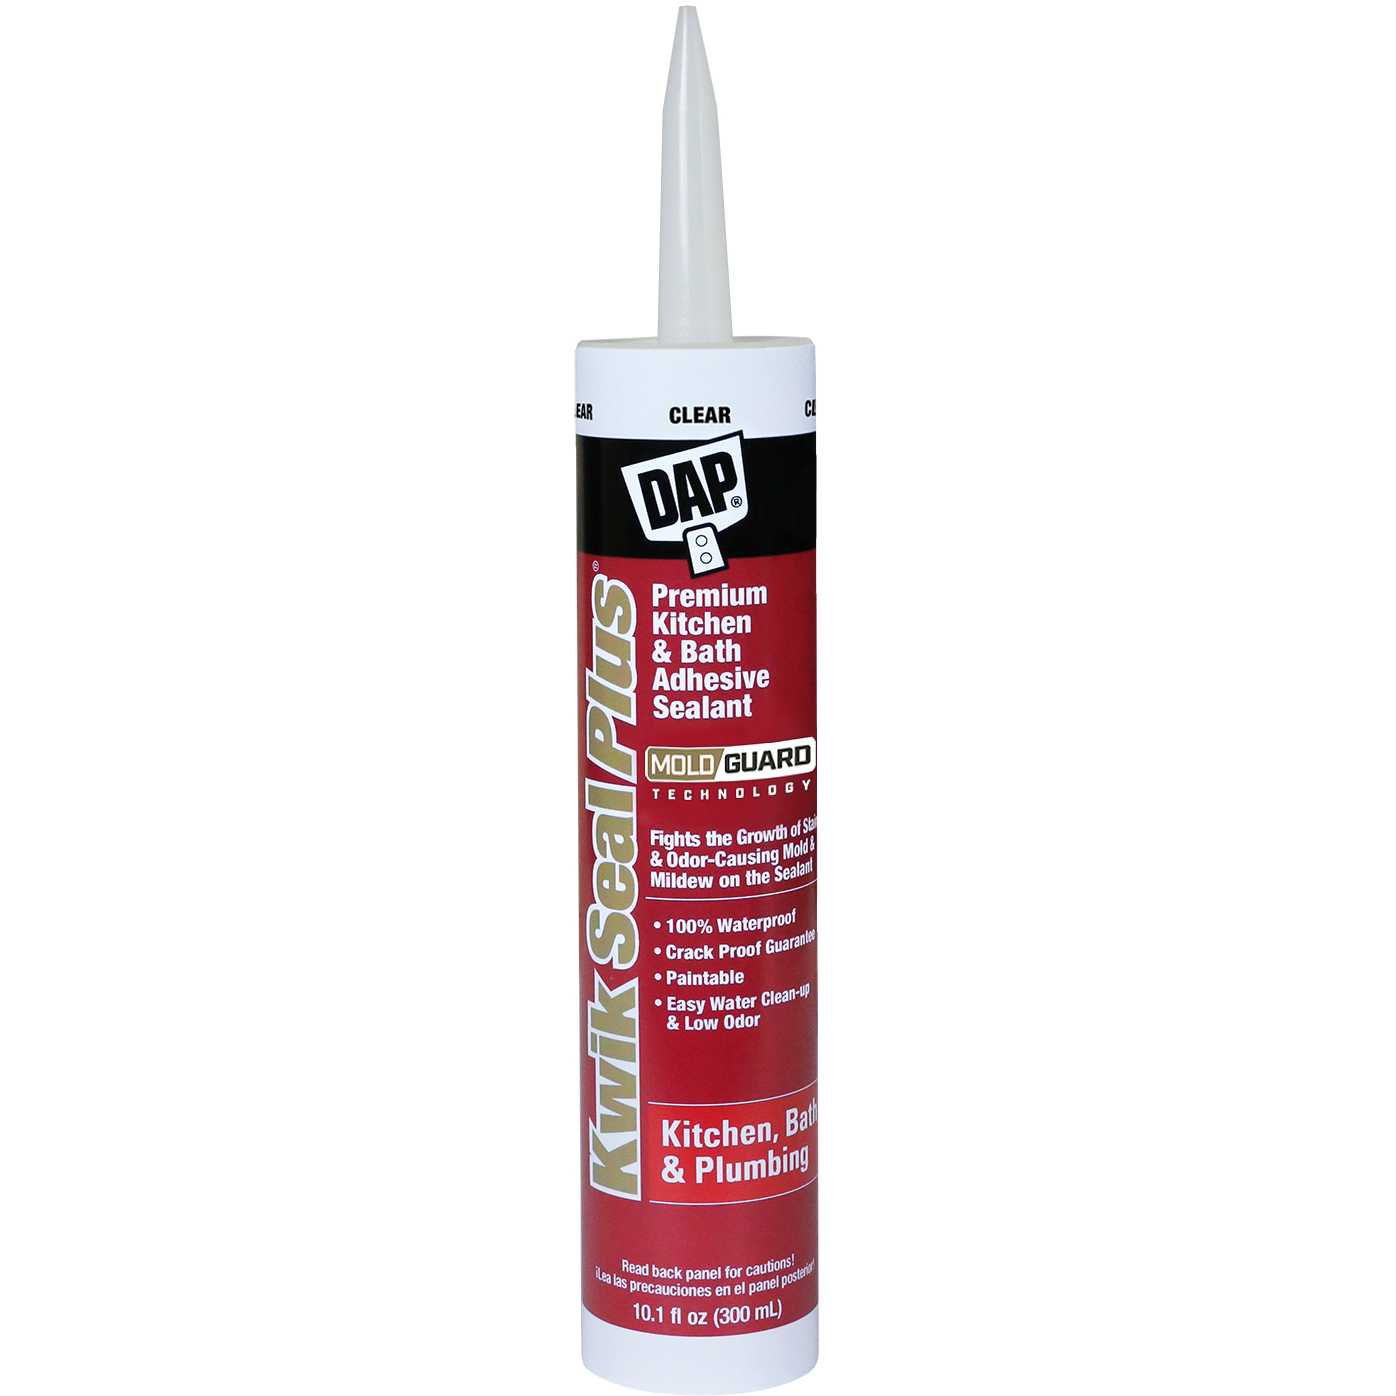
BEST FOR:Kitchen & Bath, Plumbing
Premium adhesive caulk with MoldGuard Antimicrobial Product Protection fights the growth of stain and odor-causing bacteria, mold and mildew on the caulk
Water-resistant seal offering reliable protection against moisture and humidity
Easy water clean up making application and maintenance simple and hassle-free.
Mold & Mildew Resistant: Maintains clean and pristine appearance.
Once cured, the sealant is paintable, allowing for a seamless finish that blends with surrounding surfaces.
Bonds immediately on contact for a fast, reliable seal, saving time on your projects.
Maintains a consistent surface without cracking ensuring a reliable, long-lasting performance
Minimal scent for a more comfortable working environment.
Specially formulated siliconized latex that provides maximum adhesion and flexibility for a watertight seal. It contains MoldGuard Antimicrobial Product Protection to fight the growth of stain and odor-causing bacteria, mold and mildew on the sealant.
| SKU | Code | Unit Size | Color |
|---|---|---|---|
| 7079818516 | 18516 | 10.1 FL OZ | CLEAR |
| 7079818526 | 18526 | 5.5 FL OZ | WHITE |
| 7079818510 | 18510 | 10.1 FL OZ | WHITE |
| 7079818546 | 18546 | 5.5 FL OZ | CLEAR |
| 7079818519 | 18519 | 10.1 FL OZ | BISCUIT |
| 7079818539 | 18539 | 5.5 FL OZ | BISCUIT |
Work from the inside out. Seal the inside seams and joints before the external ones so you don’t brush up against any wet caulk and have to reapply the sealant.
After you’ve applied the sealant, “tool” or smooth the bead of sealant with a caulk finishing tool dipped in water.
To ensure strong adhesion, make sure the area to be sealed is free of all old caulk, clean and dry. As a final step before applying new sealant wipe the seam with rubbing alcohol to remove residue.
Hold the caulk gun at a 45º angle to the surface and gently squeeze the trigger with steady pressure to apply an even and consistent bead of sealant to the seam. Move the caulk gun slowly and steadily, filling the joint with sealant.
For areas where it may be hard to navigate a caulk gun and cartridge, try using a squeeze tube. Squeeze tubes don't require a caulk gun and fit easily in the palm of your hand so you can get into tight spaces and corners. It's also great for smaller projects.
Prior to sealing, apply painter’s masking tape above and below the joint you’ll be sealing. Once you’ve finished, make sure to remove the tape while the caulk is still wet.
The “secret” to straight edges: Prior to sealing, apply painter’s masking tape above and below the joint you’ll be sealing. Once you’ve finished, make sure to remove the tape while the caulk is still wet.
Cut the nozzle at a 45º angle and load into caulk gun. Hold the caulk gun at a 45º angle to the surface and gently squeeze the trigger with steady pressure to apply an even and consistent bead of sealant to the seam. Move the caulk gun slowly and steadily, filling the joint with sealant.
Technical Data Sheets & Safety Data Sheets Related to This Product
KWIK SEAL PLUS CLEAR Safety Data Sheet
Safety Data Sheet
KWIK SEAL PLUS CLEAR Technical Data Sheet
Technical Data Sheet
KWIK SEAL PLUS COLORS Safety Data Sheet
Safety Data Sheet
KWIK SEAL PLUS COLORS Technical Data Sheet
Technical Data Sheet
KWIK SEAL PLUS CLEAR Safety Data Sheet
Safety Data Sheet
KWIK SEAL PLUS CLEAR Technical Data Sheet
Technical Data Sheet
KWIK SEAL PLUS COLORS Safety Data Sheet
Safety Data Sheet
KWIK SEAL PLUS COLORS Technical Data Sheet
Technical Data Sheet